
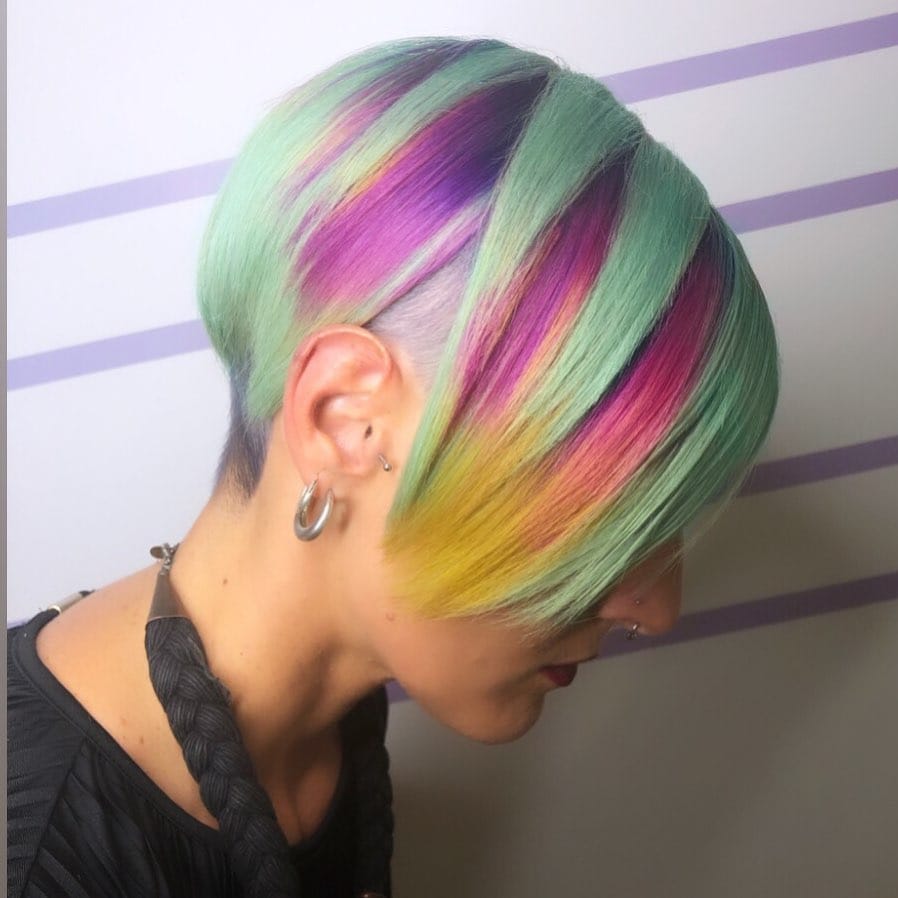
Want to change your hair color but not the color of your pillowcases? You are not alone. With the supreme staining talents of box dyes, everyone asks how to prevent hair dye from bleeding on a pillow.
Properly prepping your hair before dyeing, extensive towel-drying following a cold and exhaustive rinse after coloring, heavy use of color-sealant hair products, wearing a protective headpiece, and minimizing sweat potential can prevent hair dye from bleeding on a pillow.
In this article, we break down why hair dyes can bleed and for how long, the measures you can take to prevent bleeding, and how to rescue any fabrics that suffer staining in the worst-case scenario.
Why Does Hair Color Bleed?

The most likely culprit behind bleeding hair dye is applying too much heat to hair with fresh color. Rinsing with water that is too hot or using a tool like a blow dryer after rinsing instead of doing a towel dry can activate bleeding.
Heat breaks open hair cuticles serving as the outermost protective barrier to each strand. Cuticles with openings create the opportunity for the dye to bleed.
Unhealthy hair can also lead to bleeding dye because of existing damage to cuticles. Consistent application of severe products with strong chemicals or using a semi-permanent dye that does not wholly permeate each strand are additional contributing factors to bleeding color.
How Long Does Hair Dye Bleed?
Hair dye can bleed for up to 72 hours after application. The timeframe for potential bleeding varies based on factors like the quality, style, and color of the dye.
Some types will settle within 24 or 36 hours, but others are vulnerable for several days, with 72 hours being the maximum.
How Can I Prevent My Hair Dye from Bleeding on Pillow?
Certain preventative measures can reduce the amount of bleeding from hair dye. Here are the steps you can take to keep hair dye from bleeding on a pillow.
Step 1: Prepare Your Hair
Hair with damage is less capable of retaining dye than hair that is healthy and strong. Before applying hair coloring, boost your hair health with consistent trimming, hydrating treatments, and avoiding tools that apply heat.
Prep your hair with a clarifying shampoo a few days before the dyeing process. Clarifying treatments remove excess buildup that can interfere with how the strands retain color.
If your hair feels noticeably dry, add a leave-in deep conditioner after the clarifying product. You can also combine hair dye with a protein filler consisting of keratin to strengthen the strands and preserve the color, minimizing bleeding.
DIY protein fillers made with protein-rich ingredients like egg whites, avocado, and Greek yogurt can serve as protective hair masks before and in between dye treatments.
Spending the time and effort to properly prep your hair before dyeing it will fortify the strands and cut down on the possibility of color bleeding. Maintaining overall hair health is vital when coloring is a part of your routine.
Step 2: Skip the Harsh Dyes
Natural hair oils are essential to healthy cuticles. Products containing severe ingredients like ammonia, parabens, and alcohol break down natural oils, weakening the cuticles that preserve hair dye.
Instead, seek out gentler dye products incorporating natural, hydrating ingredients like aloe, oat milk, and coconut oil. Avoiding harsh hair products, in general, will help reduce color bleeding risk.
Step 3: Rinse Well with Cold Water
Rinsing your hair out after a dye job can feel arduous, but you need to be patient and ensure your hair is free of any excess dye.
Not all the dye permeates during the process, leaving a detached surface layer that will transfer to a pillow, skin, clothing, and anything else it comes into contact with. A thorough rinse after dyeing is one of the best safeguards against color bleeding on a pillow.
Cold water seals the hair cuticles and locks in the most dye. Rinsing with hot water has the opposite effect. It opens cuticles and releases dye which causes bleeding and accelerates color fading. A cold rinse after a color treatment preserves the integrity and vibrancy of the dye.
Step 4: Thoroughly Dry with a Towel
The “with a towel” portion of this step is critical. We know that heat in a rinse jeopardizes hair dye by opening the cuticles, and heat from a blow-dryer has the same negative effect. Hot temperatures equal bleeding color. Remember to pat dry with a towel instead of rubbing.
Moisture inflates hair cuticles, making room for the dye to bleed out. Getting into bed with freshly dyed hair that is still wet guarantees bleeding on your pillow.
Step 5: Apply Color Sealant
Color-sealing products fortify the cuticles to preserve the dye. After completing an exhaustive cold water rinse to eliminate excess dye, use a color sealer and rinse before applying the hair dye’s partnering conditioner.
Color sealers safeguard the dye by locking hair cuticles. You can use color-sealing serums, creams, or sprays. Apple cider and vinegar combinations are also popular DIY sealers because of their acidic properties that effectively balance hair’s pH levels.
Find a color sealer that works for your hair and apply it after a fresh dye job to prevent bleeding.
Step 6: No Sweat
Wet hair leads to color bleeding, and that includes hair that is wet from your own sweat. It’s frustrating to spend all that time drying your fresh hairdo just to still wake up with dye stains on your pillow from sweating in your sleep.
Some ways to lower the possibility of night sweats leading to dye bleeding include lowering your bedroom’s temperature and wearing minimal or lightweight clothing to bed.
Step 7: Add a Barrier


Applying a color sealer might not be enough to fully protect your pillowcase from the dye. You can take extra preventative measures by wrapping your pillow in an old t-shirt or towel you don’t mind staining for the first few nights after a fresh dye job to preserve your pillowcase.
Another option is to wear a silk bonnet or sleeping cap as a barrier between newly-colored strands and your bedding. Bonnets and sleeping caps require dry hair because moisture and consequently hair dye can leak through the fabric and stain a pillowcase.
How to Remove Hair Dye Stains from Pillowcases and Fabric

In case you came across our color-preserving tips too late, here is an explanation of how to eliminate hair dye staining.
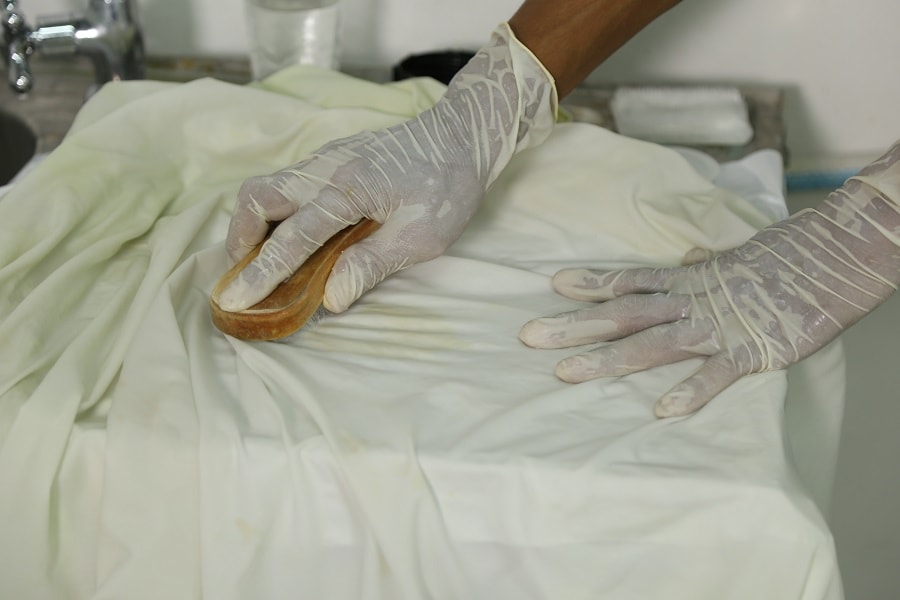
Begin by gently spot-cleaning the stain with a heavy-duty laundry detergent, using a soft brush. Intense scrubbing deepens the dye into fabric fibers. If you don’t have any detergent on hand, high-performance dishwashing liquid can act as a substitute.
Rinse the pillowcase with cold water and soak it in oxygen or chlorine-based bleach for at least 8 hours. If the stain doesn’t clear from the first treatment, continue the process until it does.
Never put an item into a dryer that has dye staining because the dryer heat will seal the stain into the fabric. To have the most success in stain removal, treat hair-dye stains as soon after noticing them as possible.
If the bedding has dry-clean-only care instructions, do not attempt to remove the stain yourself, or you risk causing further damage to the fabric.
Summary
Here are the steps you need to take to minimize color bleeding risk:
- Properly prepare your hair and boost its health before the dye treatment
- Do not use hair products containing harsh chemicals that damage cuticles
- Thoroughly rinse freshly-dyed hair using cold water
- Towel-dry your hair completely before getting into bed
- Use color-sealing products after rinsing
- Do what you can to minimize sweating overnight that could activate color bleeding
- Create an additional protective barrier between freshly-dyed hair and your pillow by covering the pillow with an old shirt or towel, or by wearing a silk bonnet or sleeping cap.