When double stitch braids look right, the scalp lines stay clean, the braid sits raised and the whole style feels sharp instead of bulky. You get there by focusing on three things: a straight center part, small add-ins and every crossing going under the middle. Once your hands catch that rhythm, the braid starts making sense very quickly.
Ready to master the technique? Grab your combs, clear some mirror space, and let’s break down exactly how to execute the double stitch braid, from the first parting to the final polish.
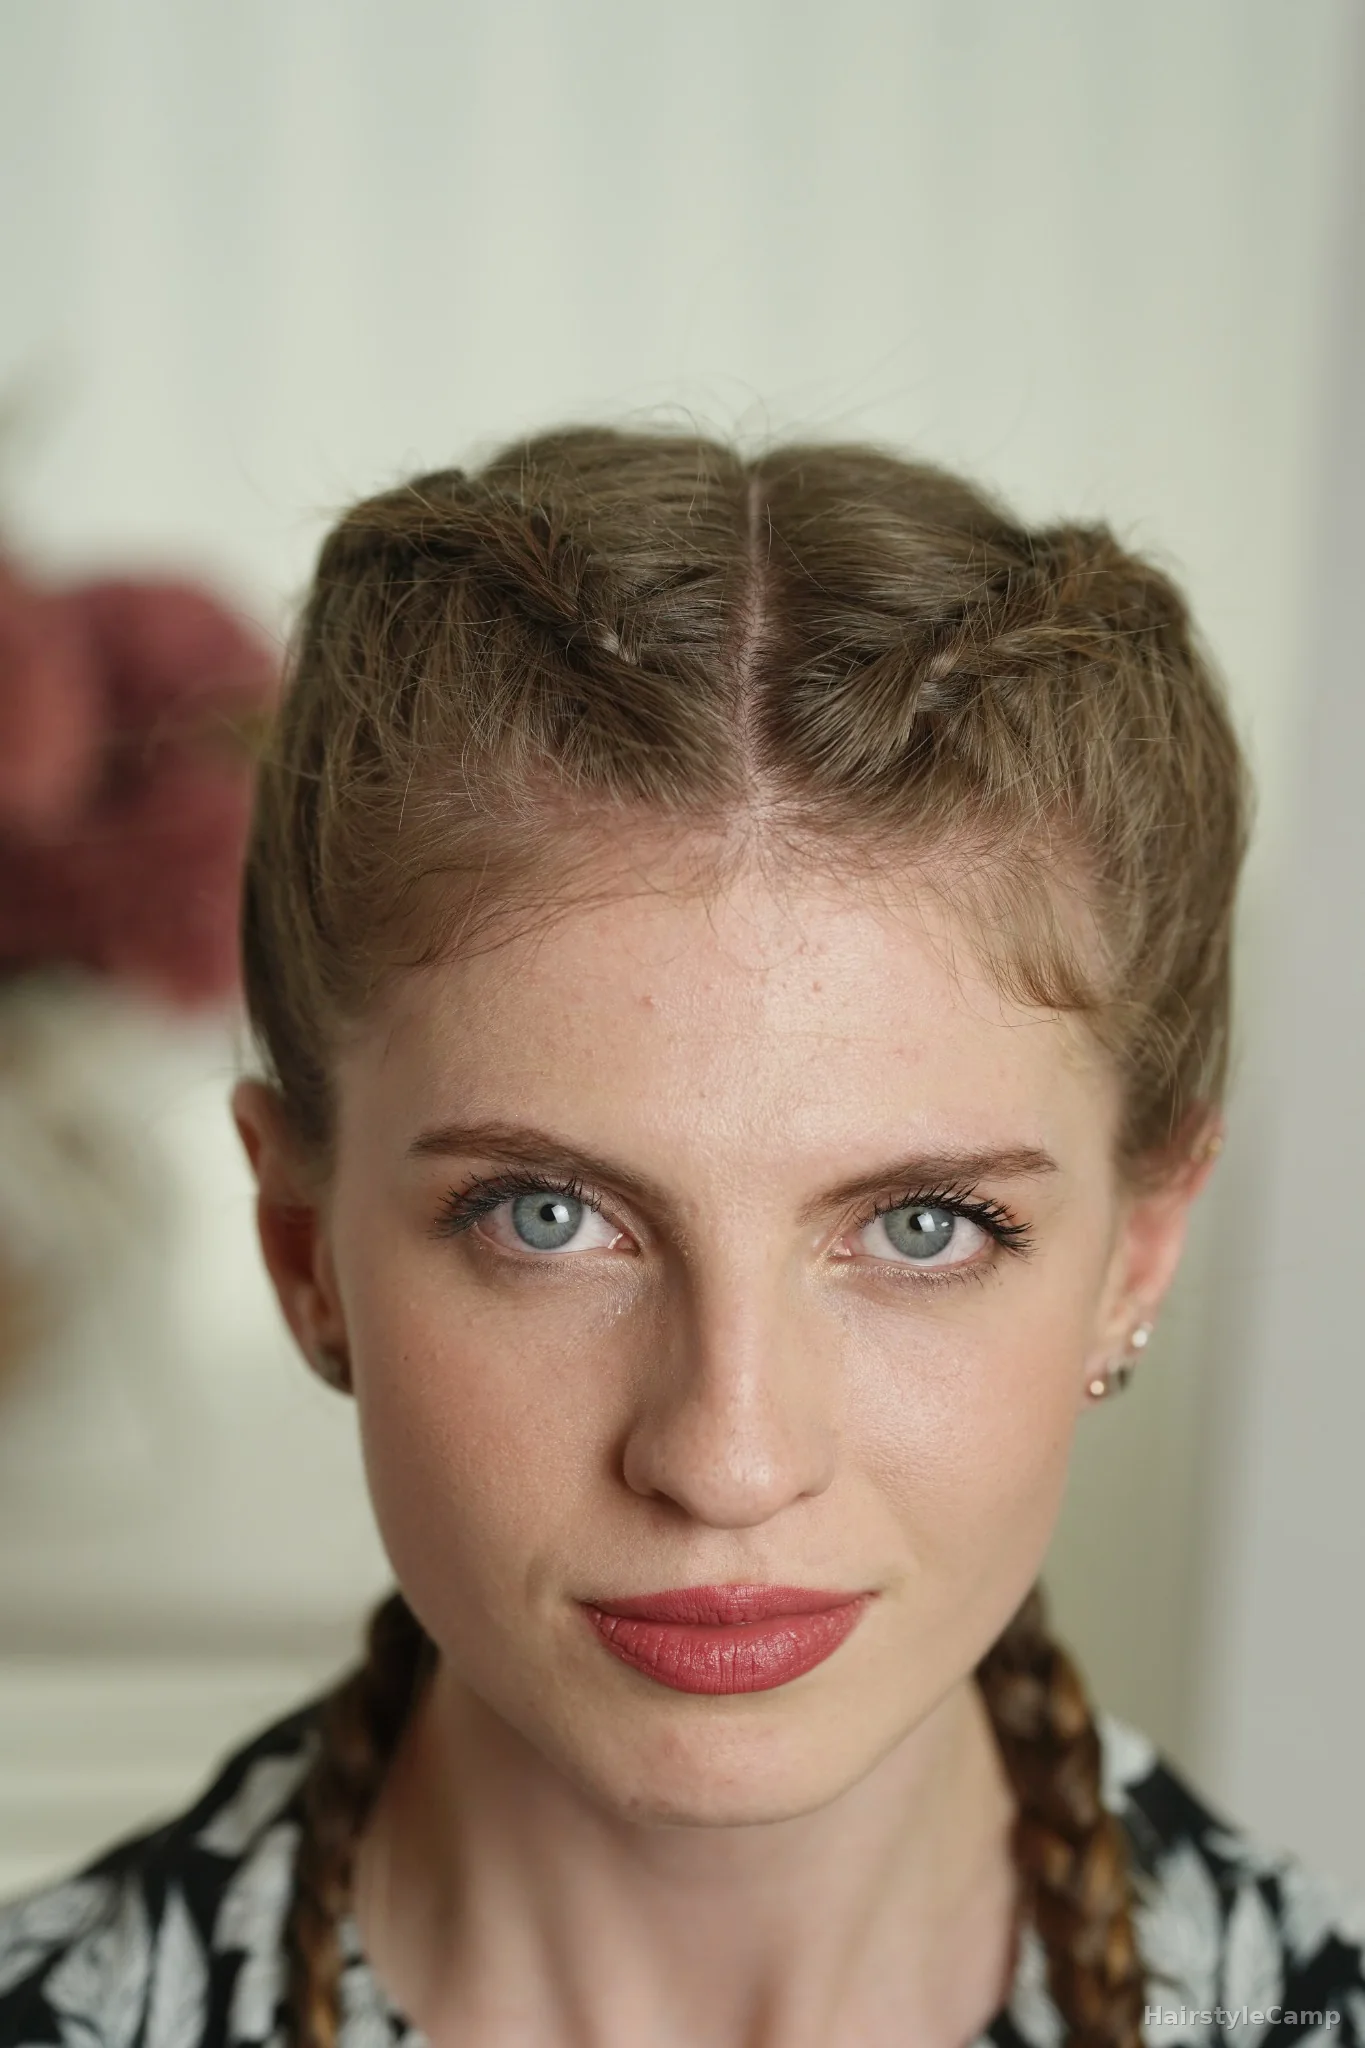
Prep the hair and set your working side
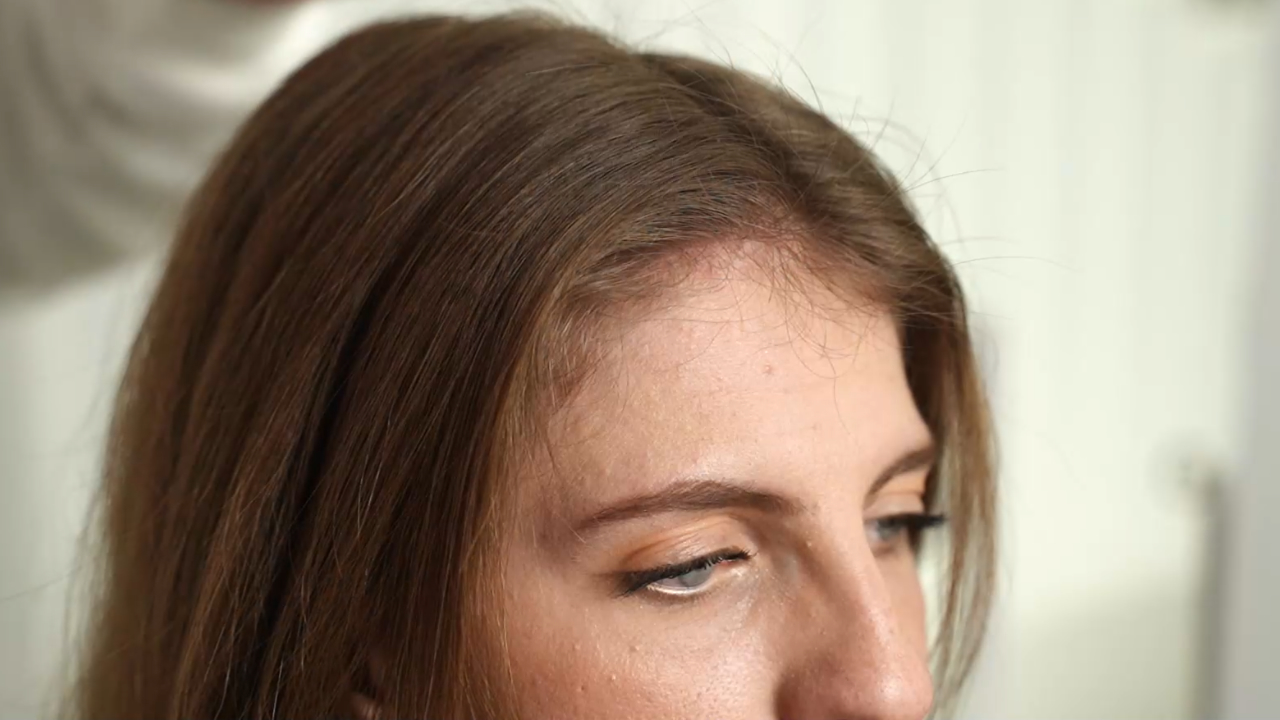
Start with dry, fully brushed hair so the part reads clean and the sections separate without snagging. Set out a braid comb, a rat-tail comb, clips, clear polyband elastics, and a flexible-hold hairspray, then take your time with the center part. Use the tail of the comb and clip one side completely out of the way before you start braiding.
Give the part a minute now. It saves you ten later. If the line drifts at the crown, both braids will feel off no matter how neat your hands are once you start crossing.
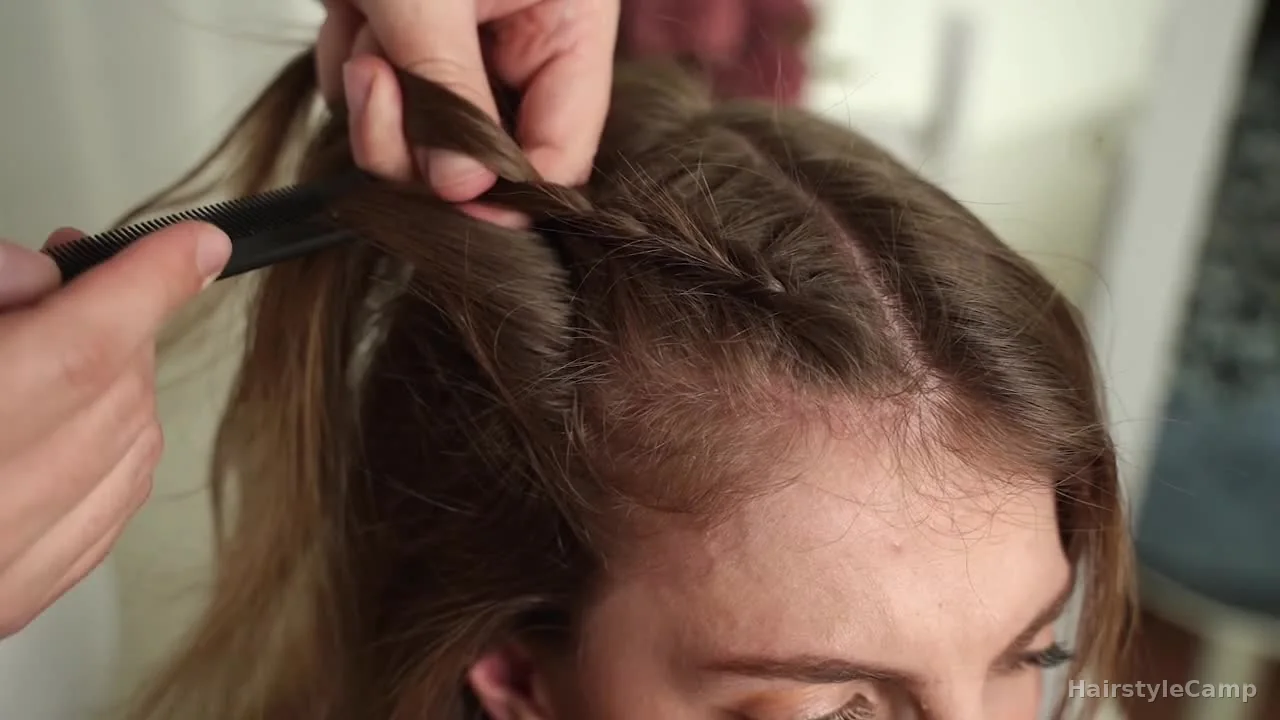
Pick up a small top section and split it into three
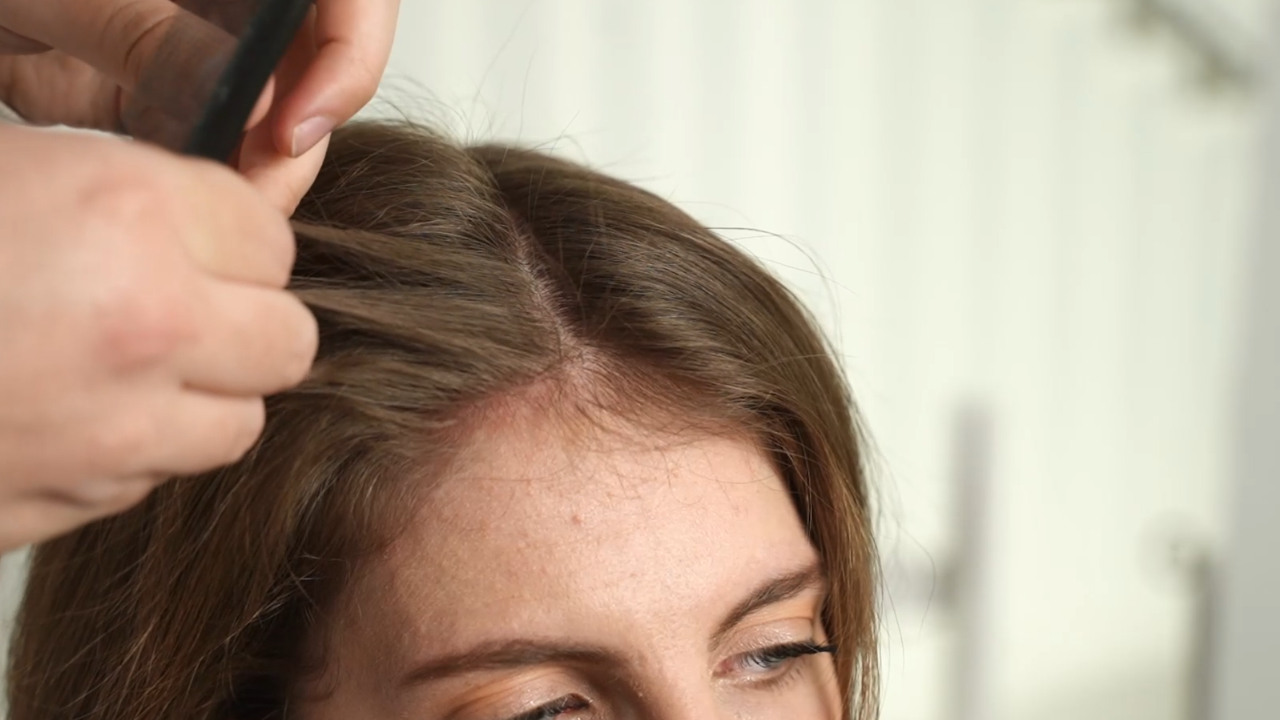
At the top of the open side, right beside the part, pick up a small starting section and split it into three even strands. Keep that first pickup smaller than you think you need. The braid can grow as you feed it in, but if it starts too wide at the front, you lose that clean stitched look straight away.
Before you make the first cross, check the balance in your hands. If one strand feels heavier than the others, adjust it now so the braid does not twist off its line in the first few passes.
Make the first underhand passes and anchor the base
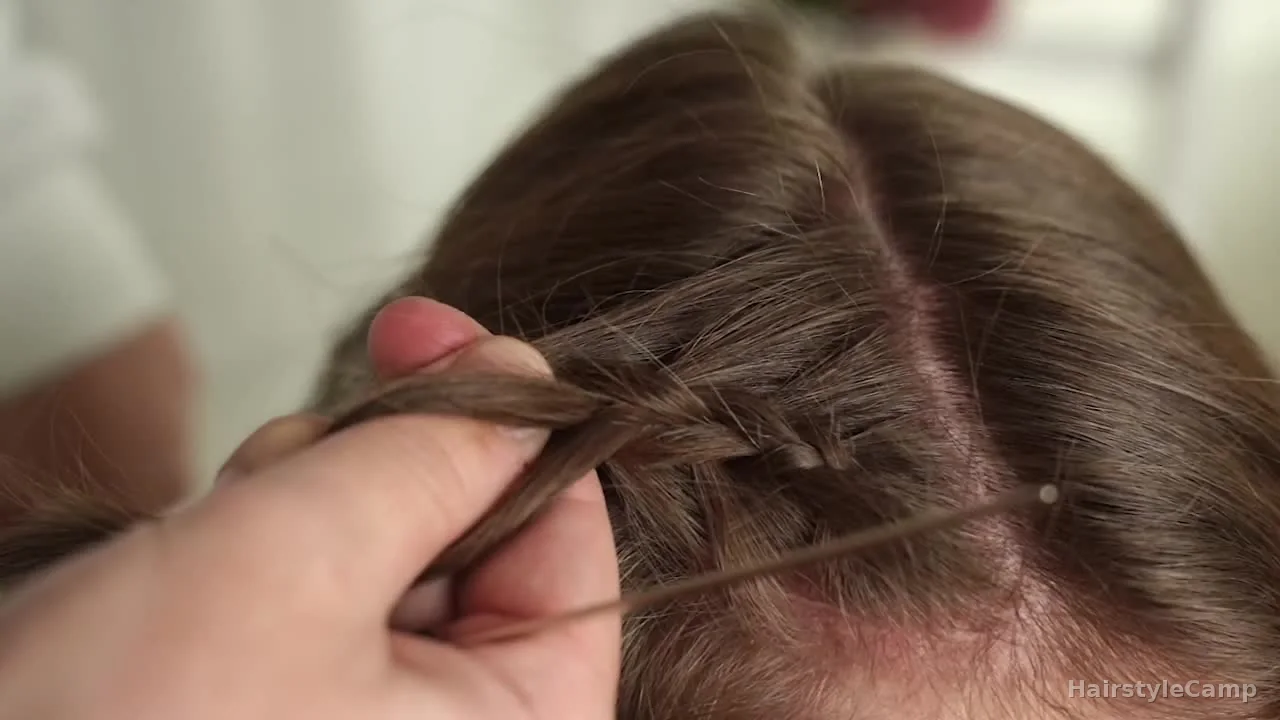
Cross each outside strand under the middle strand. Always under, never over. While one hand makes the pass, keep your thumb planted at the base of the braid so the sections stay tight and close to the scalp. That anchored grip is what gives you the raised ridge that makes this style look so defined.
Keep your hands low and the crossings compact. The minute your grip floats away from the head, the braid starts to soften and flatten.
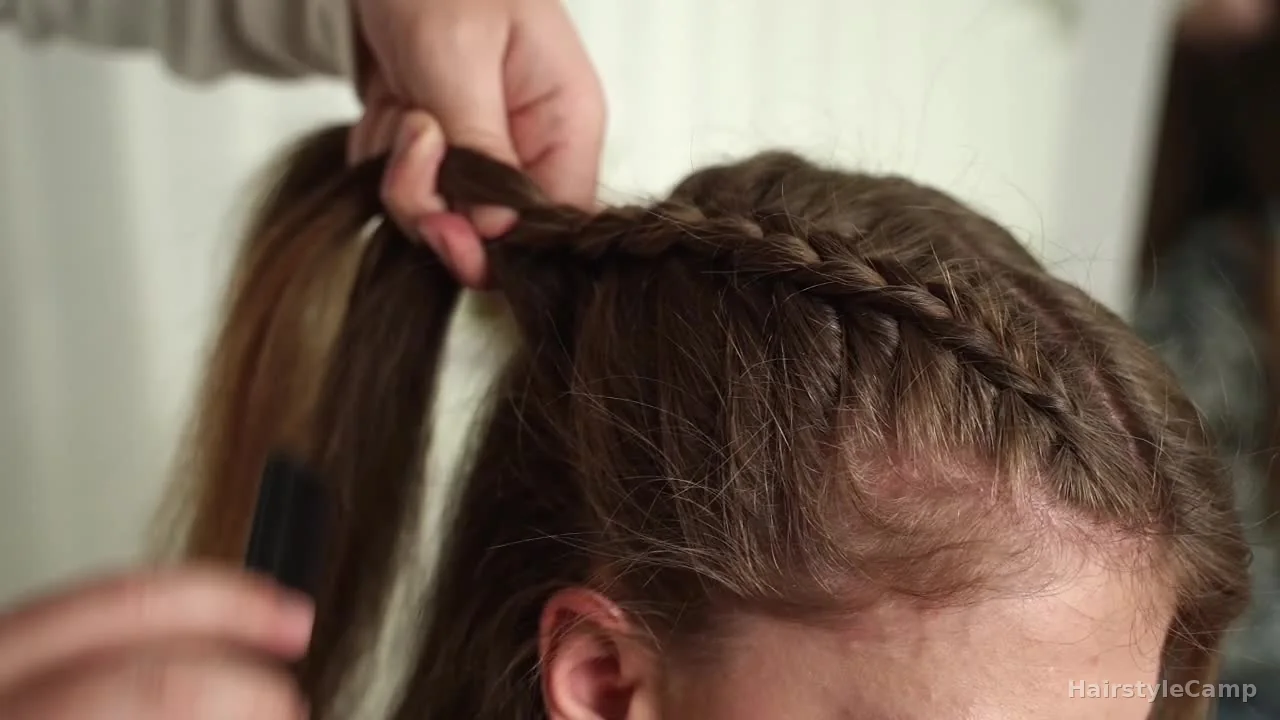
Add hair from the part side and carve a clean stitch line
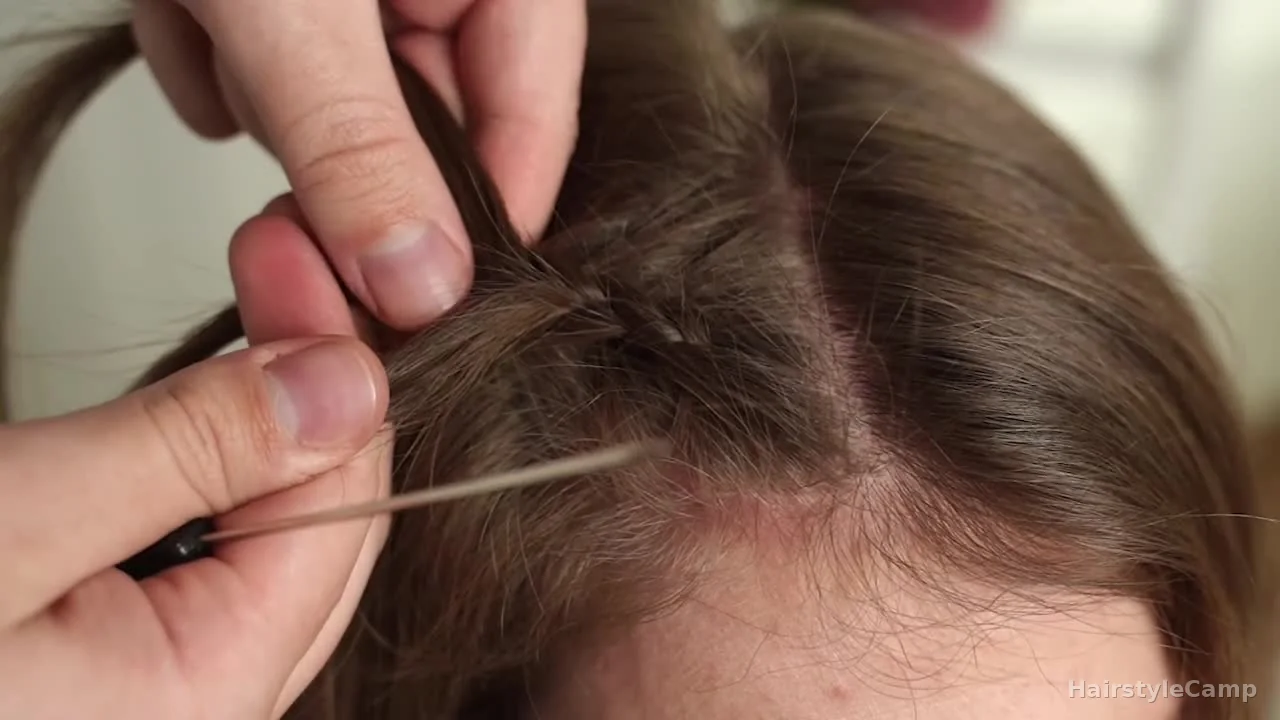
When you reach the strand nearest the part, use the tail of the comb to carve a fine, straight slice before that section crosses under.
Now that your base is securely anchored, it’s time to create the signature “stitches” that give this look its name. When you get to the strand on the part side, add a very thin slice of hair before crossing it under. Use the metal tail of your comb to carve that section tight to the scalp instead of grabbing with your fingers. That straight, narrow slice is what reads as the stitch line once the braid starts building.
Stay disciplined here. A bigger pickup feels faster in the moment, but it makes the braid look thick at the part and blurs the line that gives this style its sharp finish.
Add hair from the outer side and smooth it before it joins
On the next turn, pick up a small section from the outer side and smooth it with the comb before you bring it into the strand. Then cross under again. That one quick smoothing pass keeps the outer edge lying flat against the head instead of puffing out beside the braid.
Stay patient here. The outer edge tells on you fast. If those add-ins get messy, the side view loses its clean line even if the braid itself is technically correct.
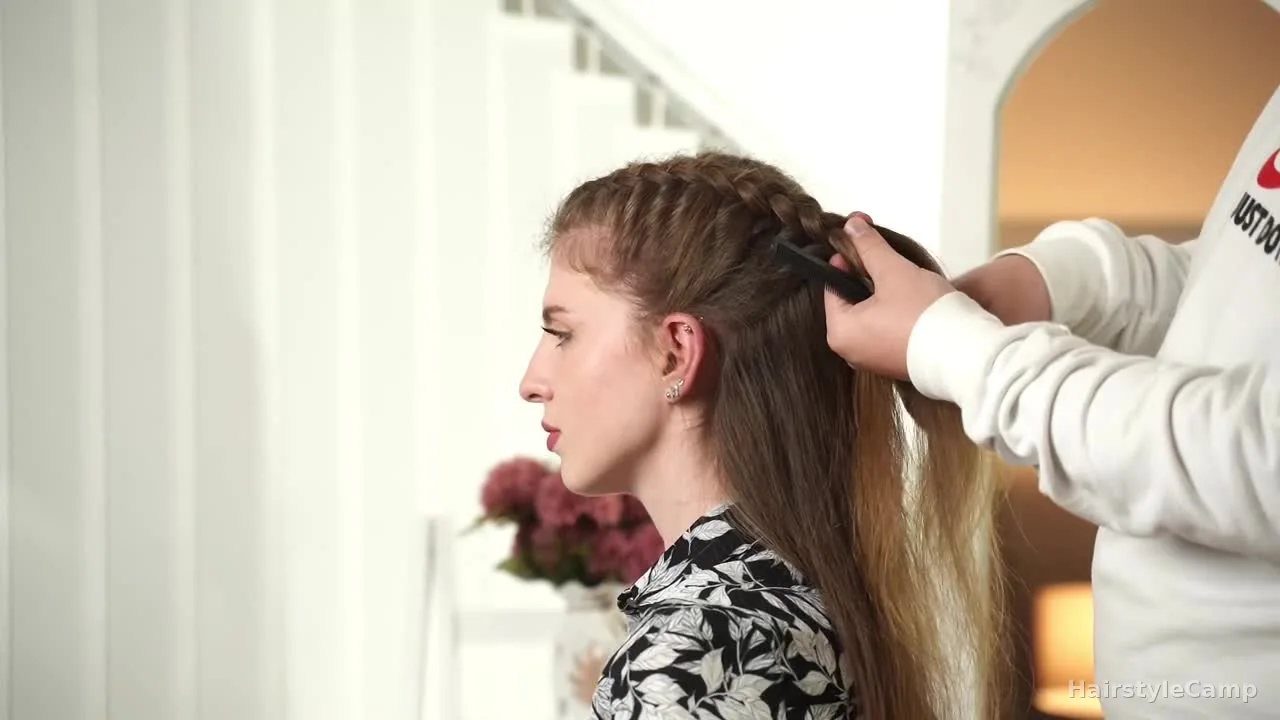
Repeat the same rhythm down the head and guide the braid above the ear
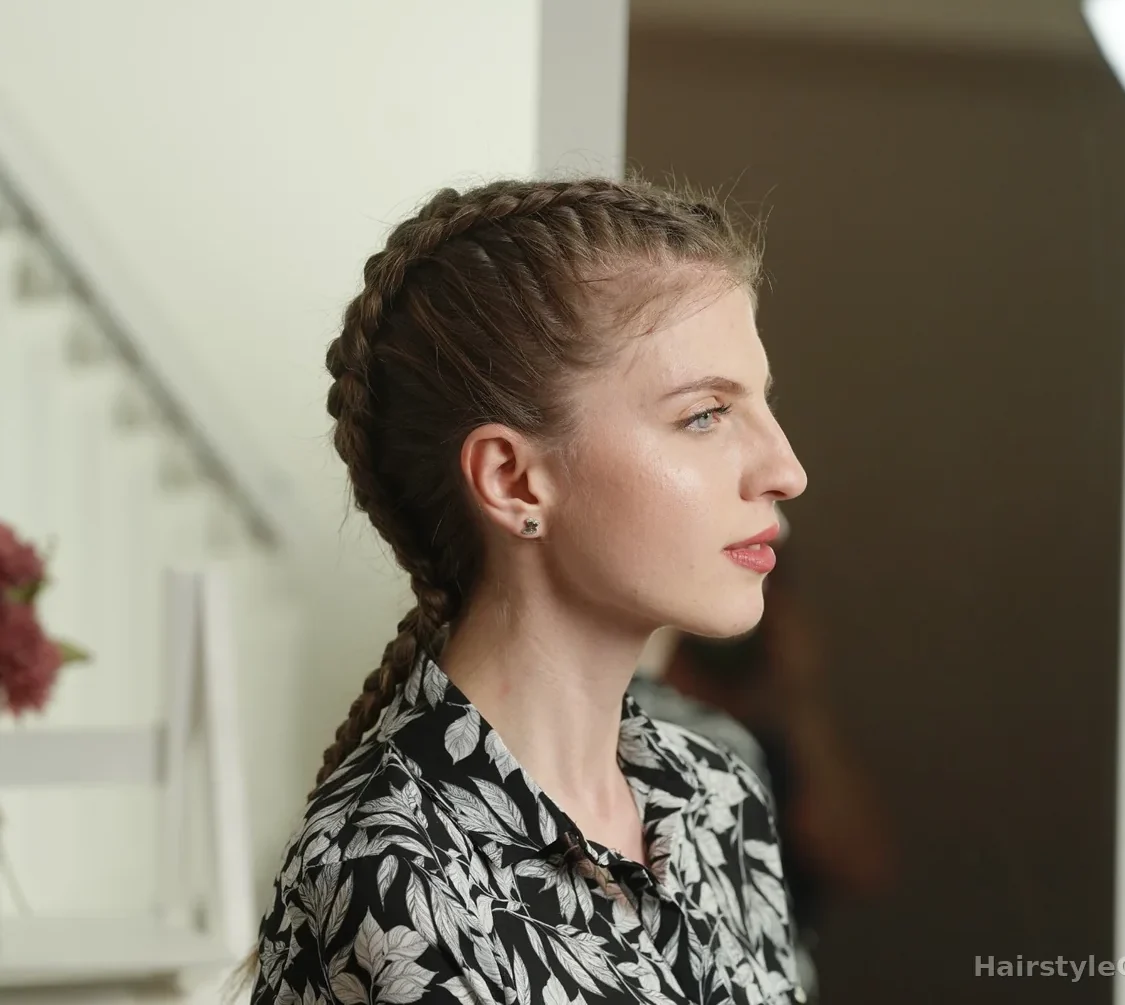
Keep the same pattern going all the way down: add from the part side, cross under, add from the outer side, cross under. As you move past the temple toward the ear, actively guide the braid along the curve of the head. It should sit right above the ear, not drift behind it.
Think about wrapping the braid around the shape of the head rather than dragging every section straight back. That is what keeps the profile sleek.
Stop adding hair at the nape and finish the tail as a regular braid
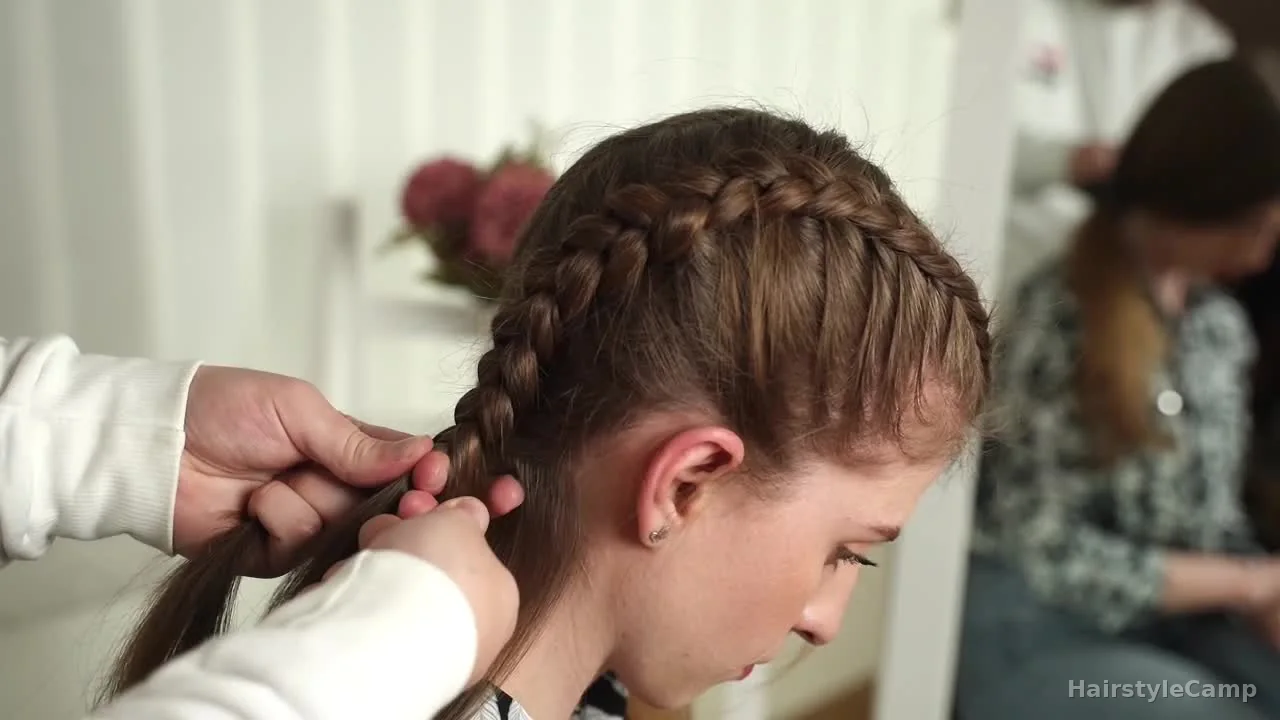
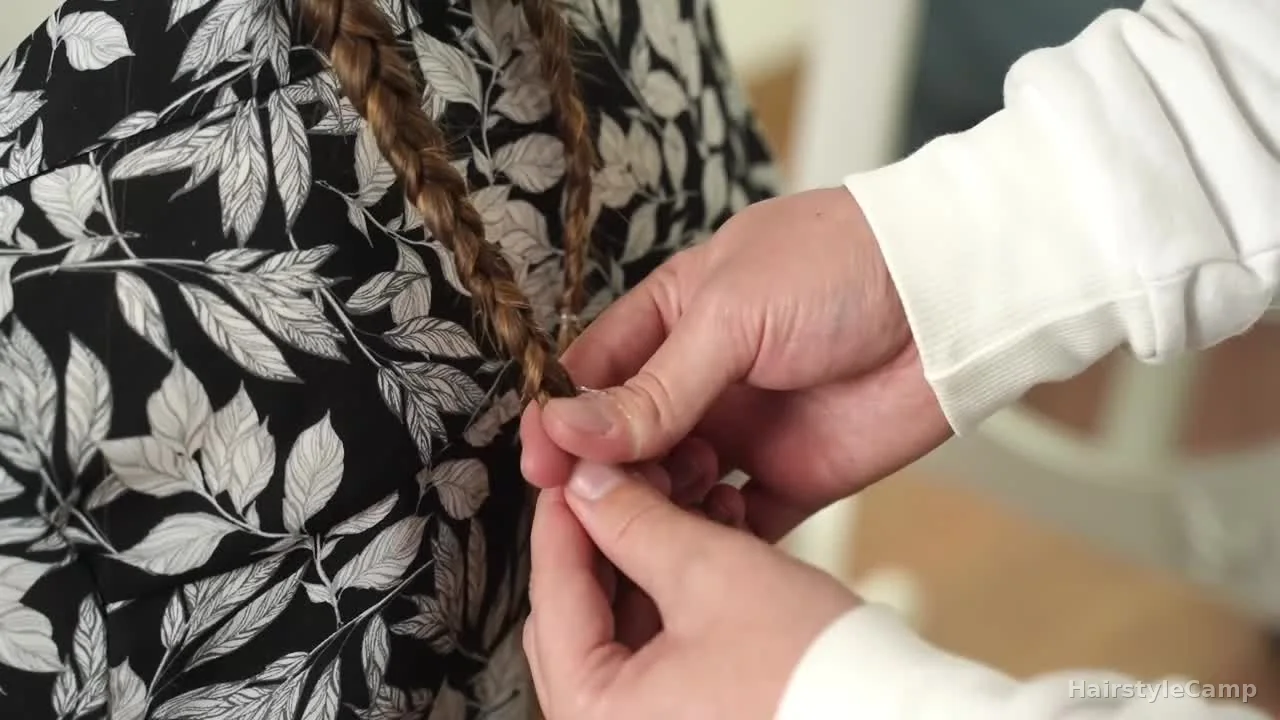
Once you hit the nape and there is no more scalp hair to pick up, switch to a regular three-strand braid for the tail. Keep the tension steady all the way to the ends, then secure it with a small clear polyband elastic.
Do not use actual rubber bands on the ends. They drag, catch, and can snap the hair. Finish the tail with the same control you gave the scalp braid so the whole style stays polished.
Repeat the same braid on the second side and match the path early
Take a breath… half your canvas is complete and the hardest part is over. Unclip the second side and start from the top using the exact same method. Match your starting section size to the first braid, keep the add-ins just as thin, and follow the same path down the head. Use the first finished braid as your guide so the second one lands in the same place from the crown to the nape.
Check the spacing early. If one braid starts farther from the part or sits differently above the ear, you will see it from every angle once the style is done.
Always remember: catching a mistake at the crown is a quick fix, but catching it at the nape means starting completely over.
Mist lightly, then use the can to press the surface smooth
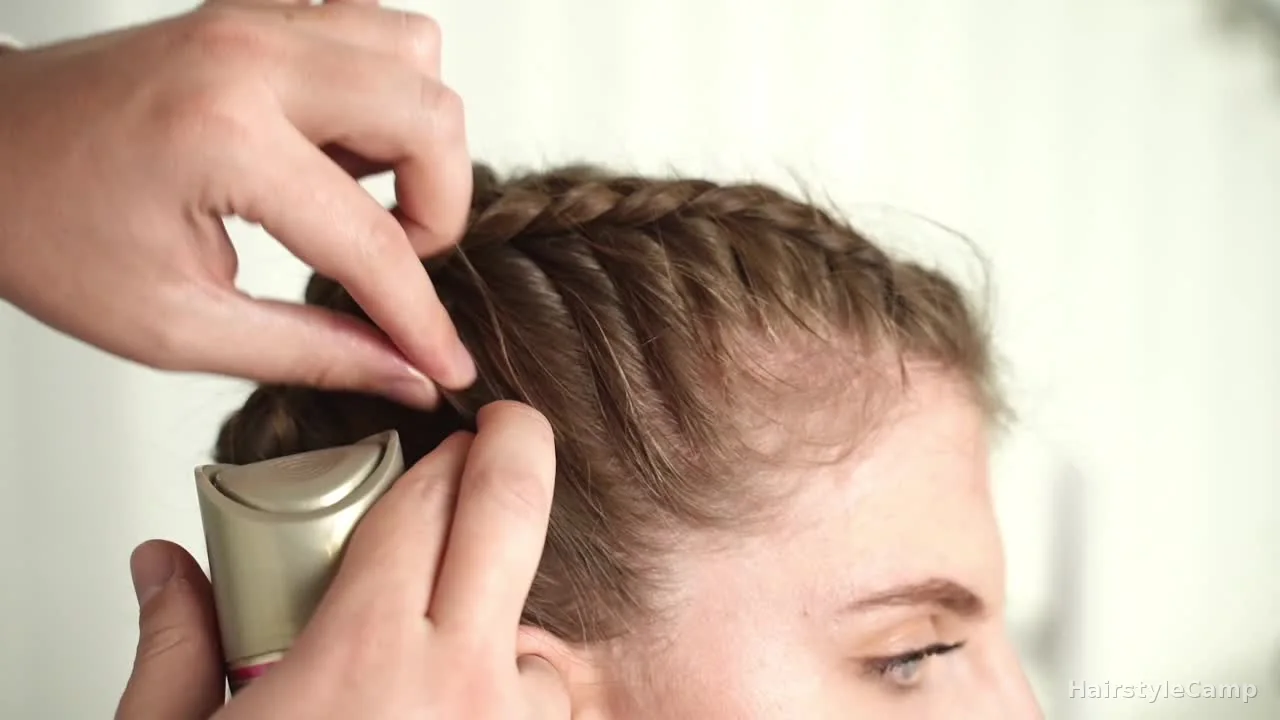
Finish with a light mist of flexible-hold hairspray over the surface. Then, while the hair is still workable, use your fingertips and the smooth curved side of the hairspray can to press and lightly glide over the braid. That extra step flattens the short hairs, keeps the stitch lines cleaner, and gives the finish a smoother surface than fingers alone.
Keep the spray light. You want hold, not buildup. One pass is enough if the braid underneath is already clean.
Give the hairspray a few seconds to set, and your hard work is officially done! Let’s take a closer look at the flawless stitch braids from every angle!
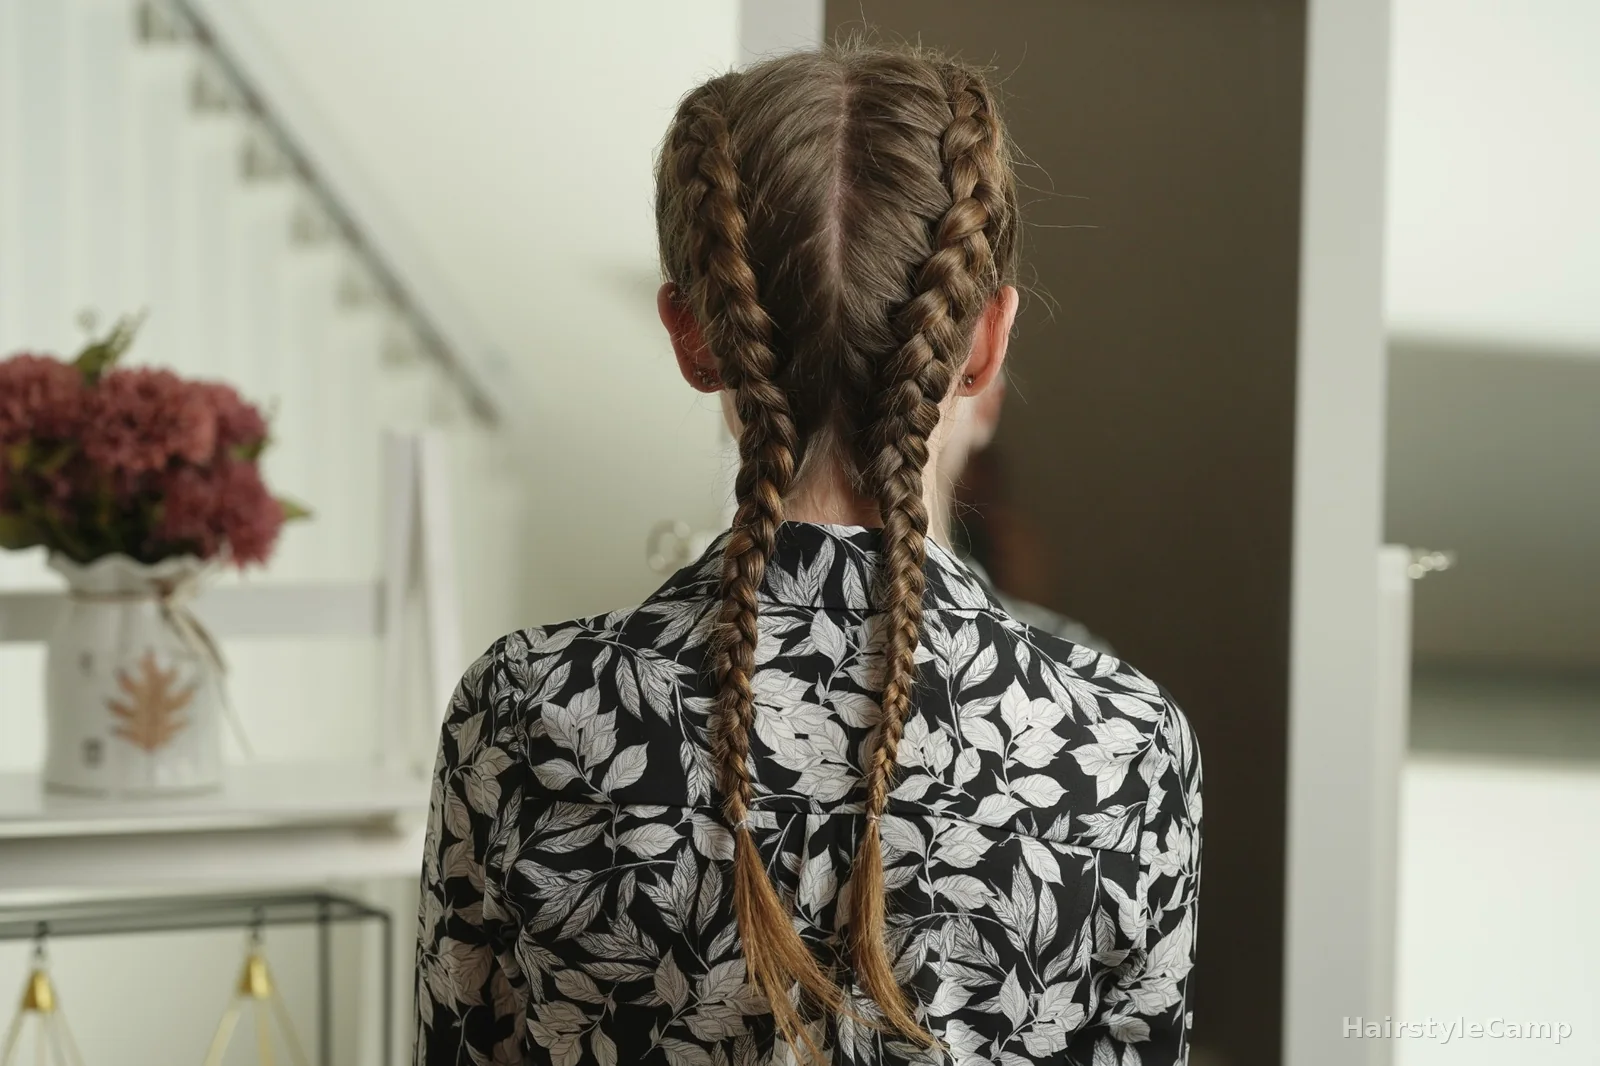
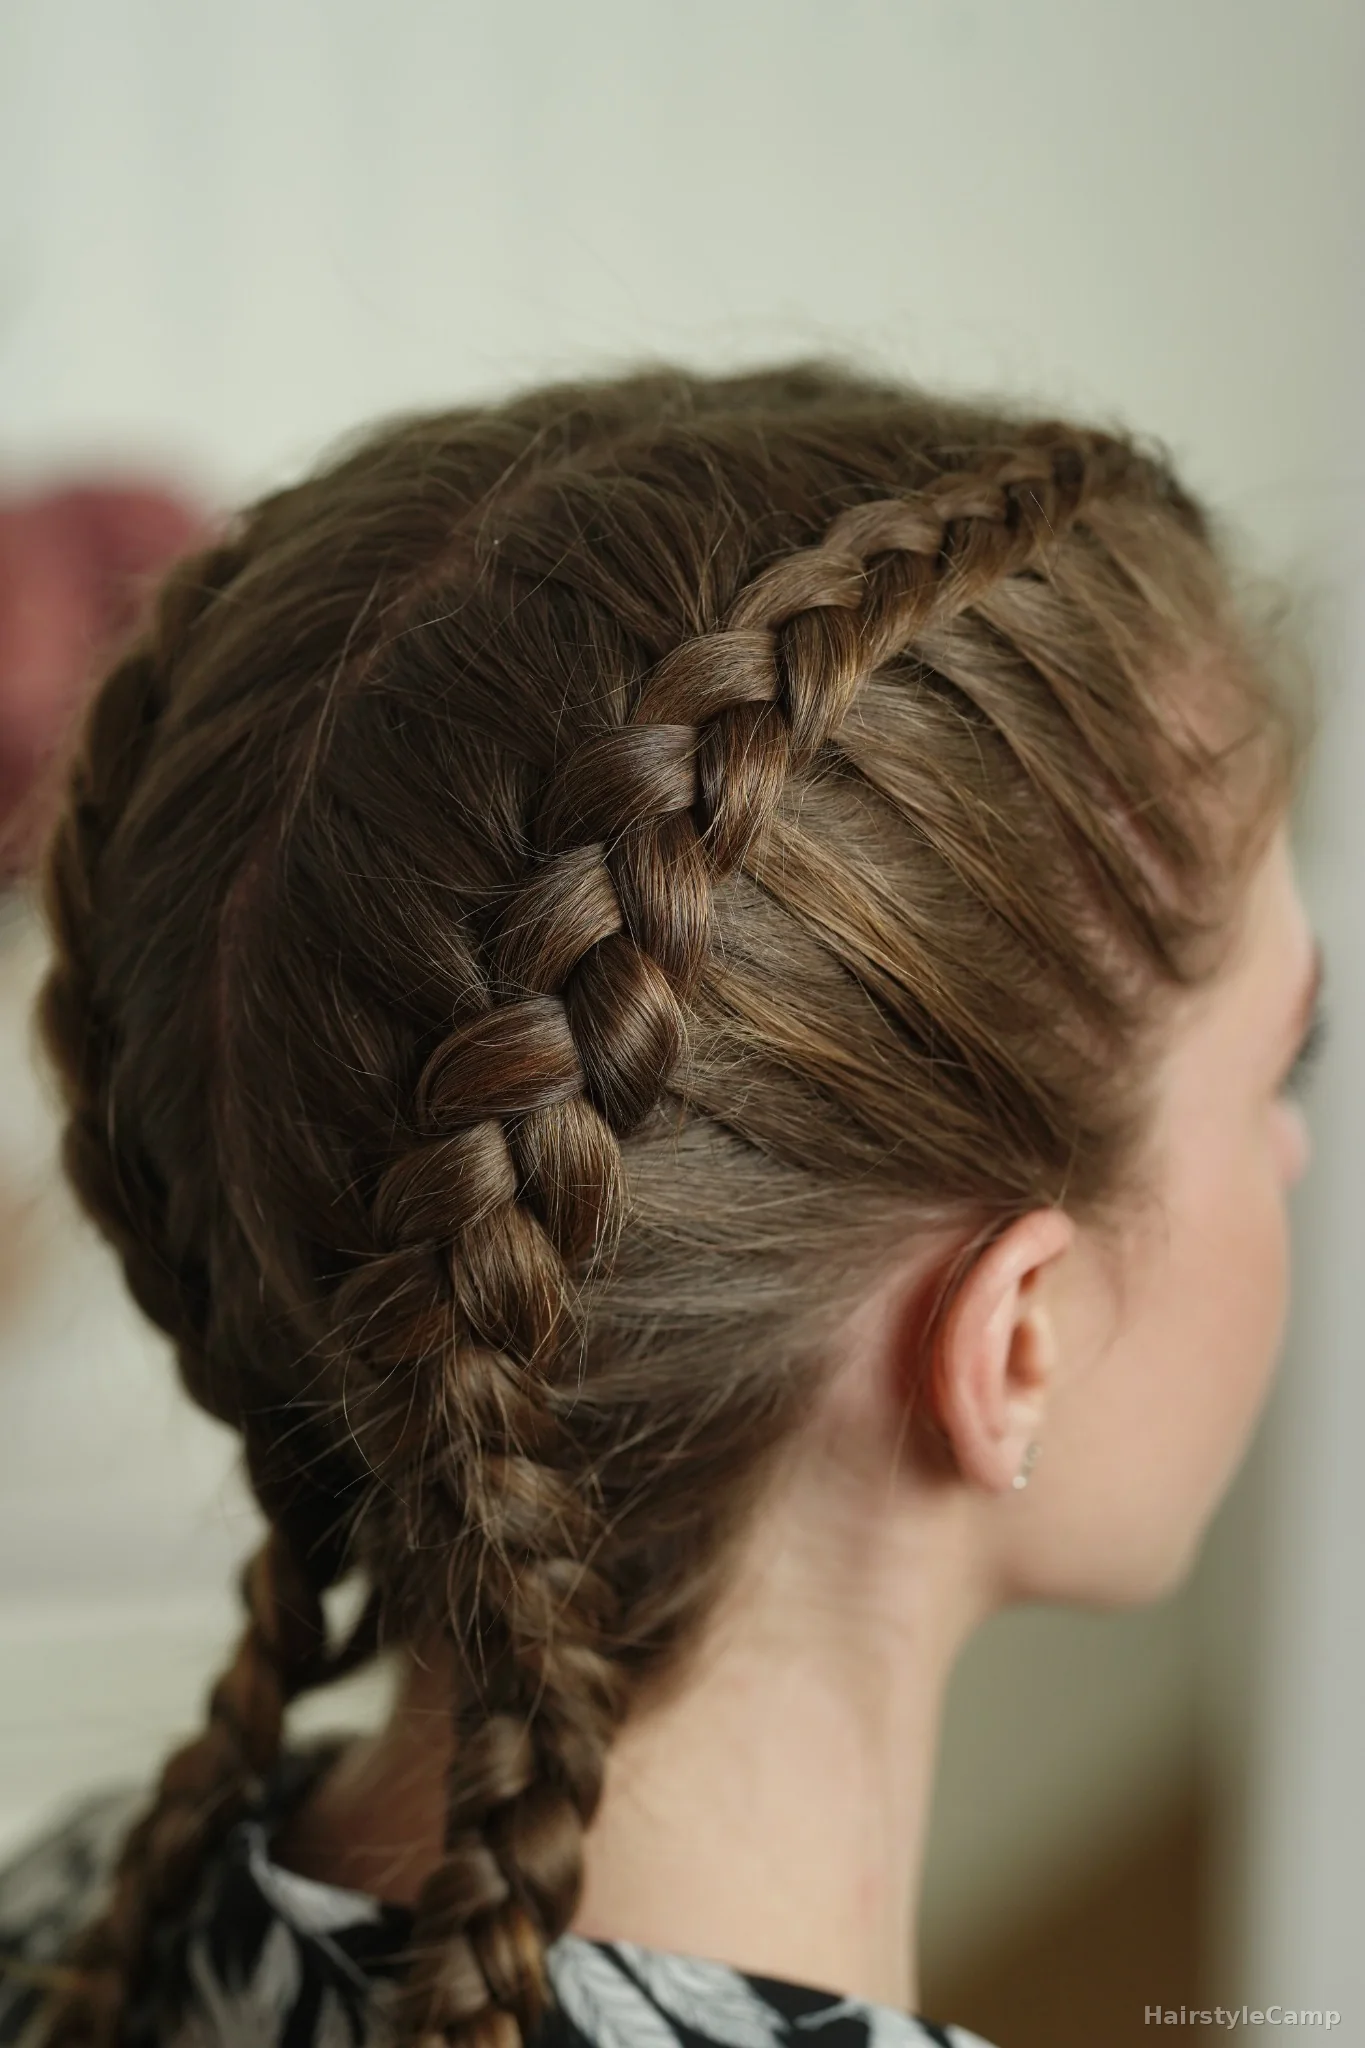
Take your time on the first side… the second one usually goes faster because your hands already know the spacing. If you’re a fan of styling unique and elegant braided hairstyles at home or casual events, this one is perfect for you. Follow HairstyleCamp to get tutorials for trending hairstyles every week.