
I have always loved hair bows because they make a hairstyle feel elegant, detailed, and a little unexpected. Clip-in hair bows can look cute, but creating a bow with your own hair makes the whole style feel more special.
This viral hairstyle from our channel is a perfect example of how a bow made from the hair itself can take a braid to the next level. It starts with an upside-down Dutch braid at the nape, moves up to the crown, and finishes with a big bow made from the hair itself.
I’ve done this on clients who swore they’d never “try something new” and every single one ended up wanting it again at their next appointment.
That’s how you know a style is special!
This style comes together with three main elements: an upside-down Dutch braid that starts at the nape and travels up to the crown, two looped sections that form the bow, and the loose tail of the braid pinned back through the center to finish the look.
The final Dutch braided bow look is super romantic and completely unforgettable.
What You’ll Need
These are the tools I reach for every time I do this hairstyle:
- A brush
- A rat-tail comb
- One sectioning clip
- Three small elastics or rubber bands
- Few bobby pins
- Optional: a curling iron or wand for curling the loose front pieces, a lighthold hairspray
Things You Should Know Before Styling
This hairstyle is meant for long hair. You need enough length for three things: the upside-down braid, the two bow loops, and the soft tails at the end. If the hair is too short, the bow may look small and the braid may not reach the crown properly.
Work on dry, fully detangled hair. This hairstyle is easier to control when the hair has a little grip, so second-day hair works very well. If your hair is too silky or freshly washed, spray on a light mist of flexible-hold hairspray first.
When sectioning the hair, make sure you part it at the crown, not below it. If you section lower, the bow will not sit high enough to be visible from the front. Later, after you release the top section, create a clean center part to help position the braid neatly through the middle of the bow.
If the hair has layers, keep the added sections neat and a little smaller as you Dutch braid upward. This will help the braid stay clean and centered. You may also need a few extra bobby pins when shaping and securing the bow loops.
This hairstyle should feel secure, but never painful. Keep the braid firm enough to hold its shape, but not so tight that it pulls at the scalp. If the nape starts to sting or you feel tension building, loosen it slightly before you continue.
Easy Steps for the Upside-Down Dutch Braid with Hair Bow Hairstyle
This style may look complicated, but once you break it down into six easy-to-follow steps, it becomes much easier. Here is how to create the upside-down Dutch braid with a beautiful hair bow.
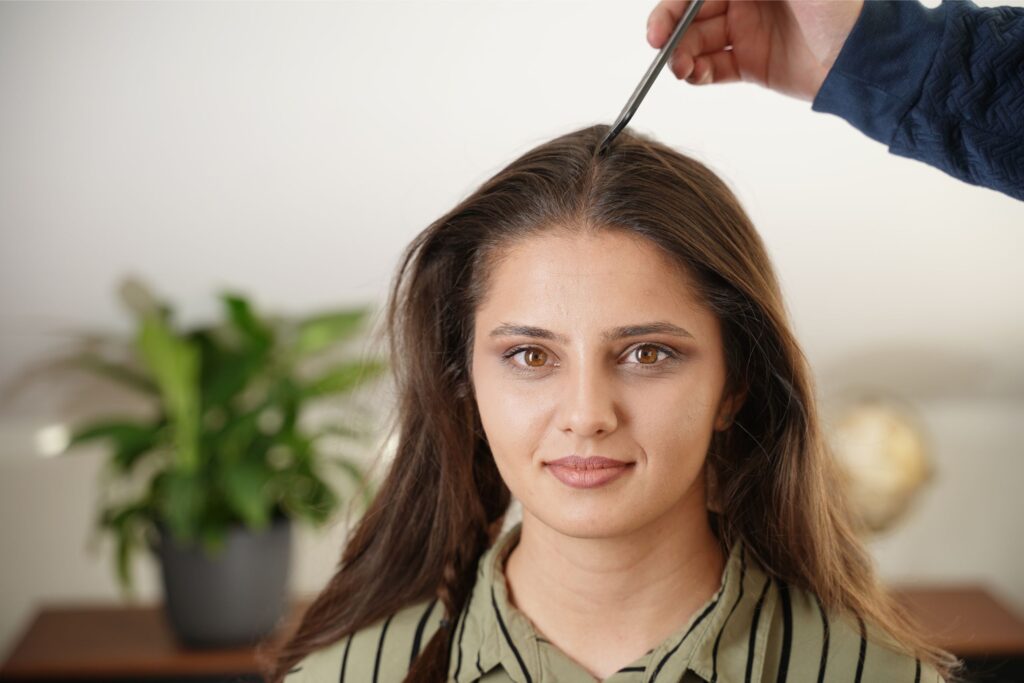
Part the Hair at the Crown
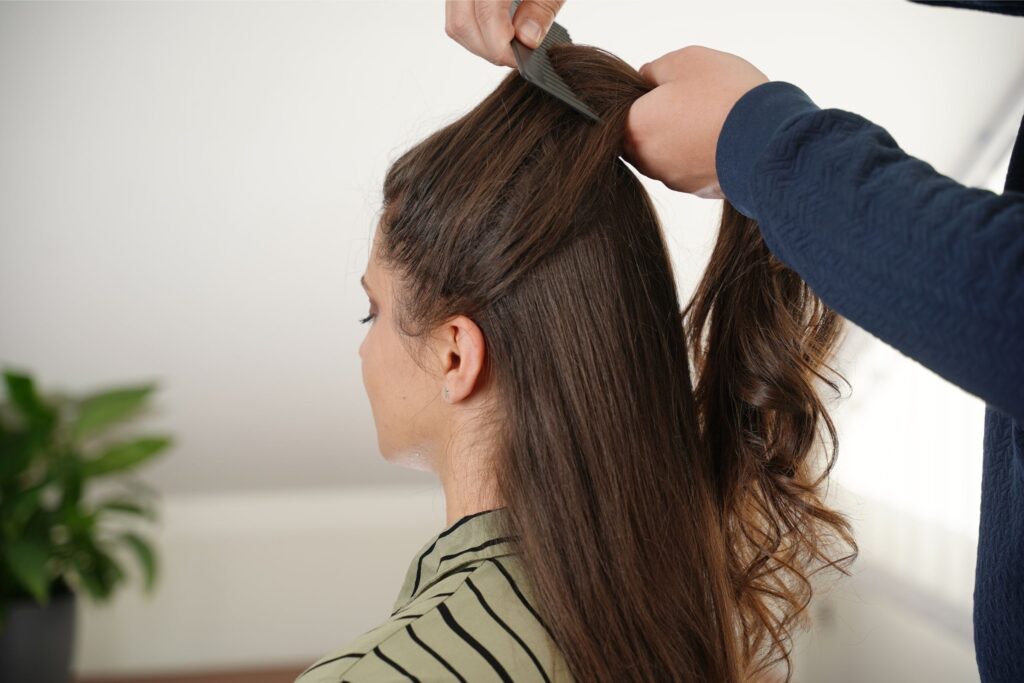
Start by brushing the hair through to smooth it out. Then part it into a top section and a bottom section at the crown.
The bottom section will be used for the braid, and the top section will form the bow. Clip the top section away for now so you can focus on braiding.
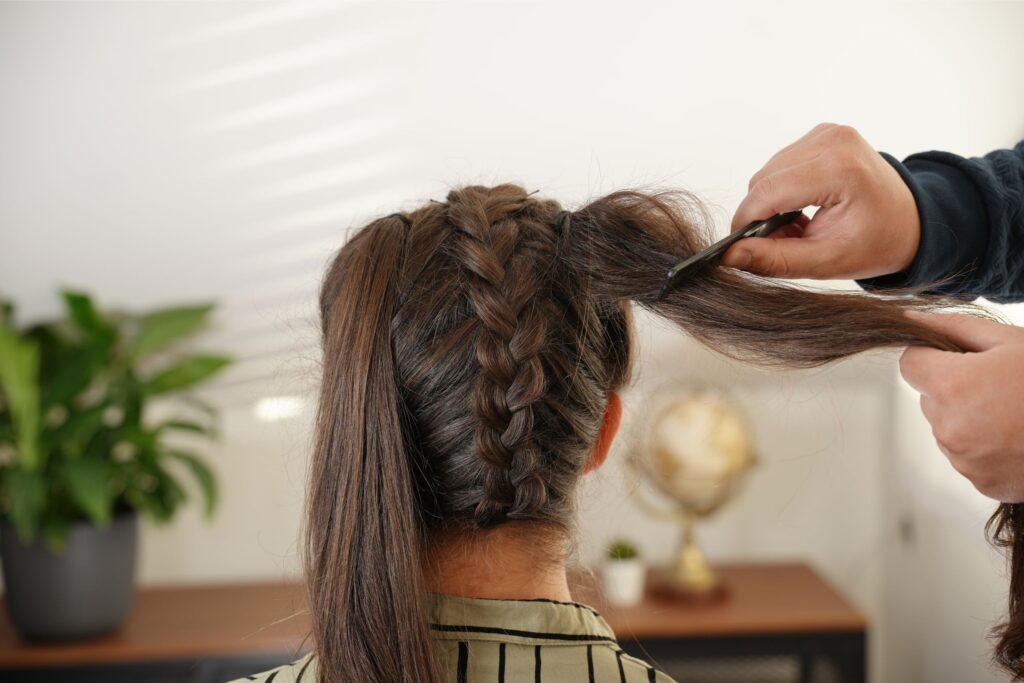
Start Braiding at the Nape and Work Up to the Crown
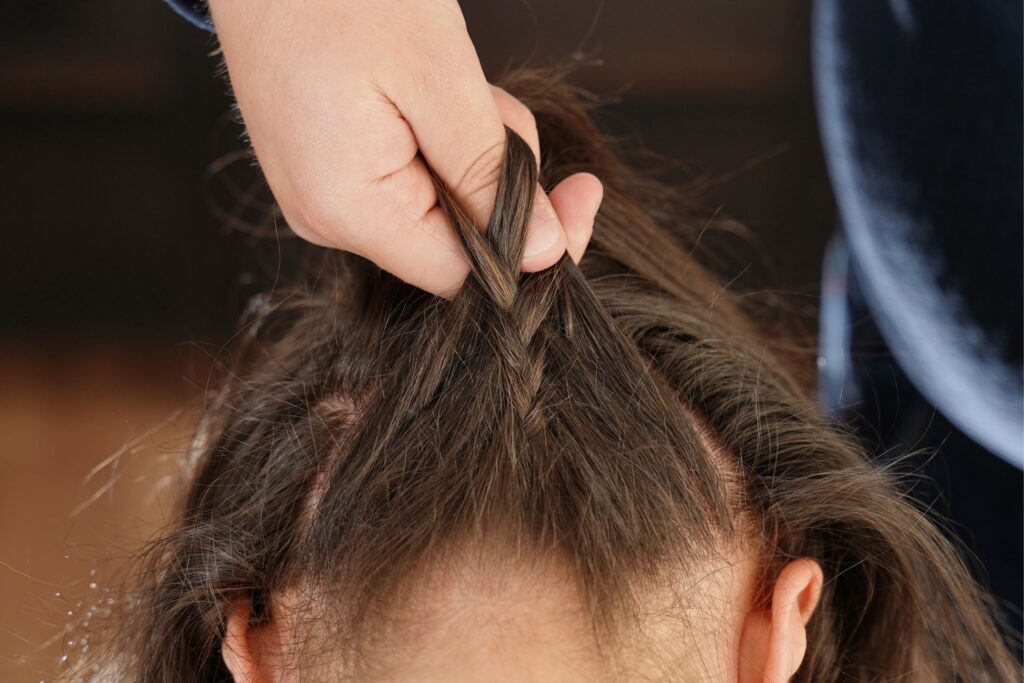
Tilt the head forward and bring the bottom section to the front.
Take a small section at the center of the nape and divide it into three strands. Begin the braid by crossing the left strand under the middle, then the right strand under the middle. Since this is a Dutch braid, the outer strands should always cross under, not over.
After a couple of stitches, begin adding hair from each side into the outer strands before crossing them under the middle.
Continue picking up even sections from both sides as you move upward toward the crown. Keep the braid centered and try to keep the added sections balanced on each side so the line stays clean all the way up.
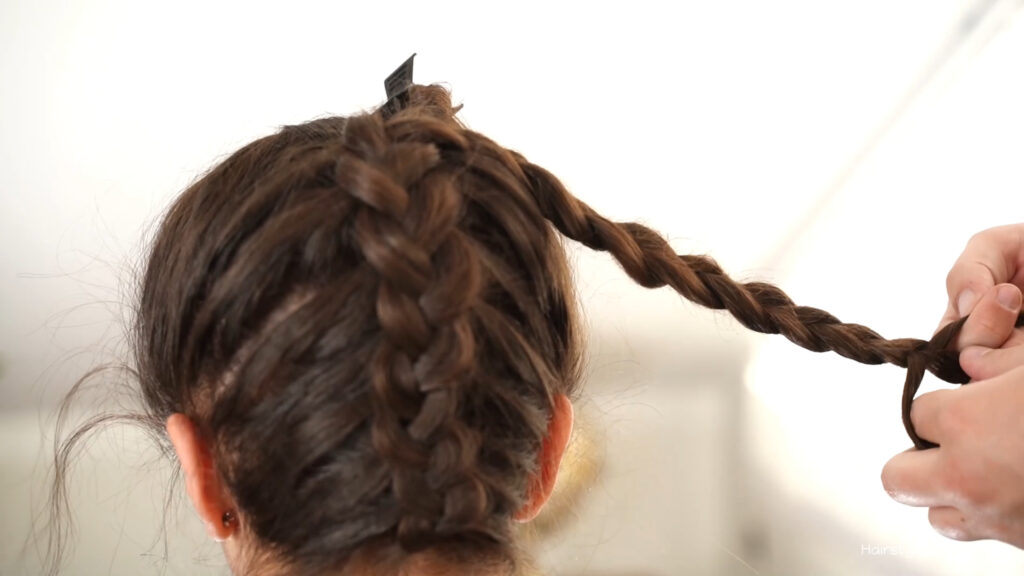
Once you reach the crown, continue braiding the remaining length as a regular three-strand braid without adding any more hair, then secure the end with a small elastic.
Unclip the Top Section and Secure Both Sides
Release the clipped top section and create a clean center part. This will divide the top section into two even sides.
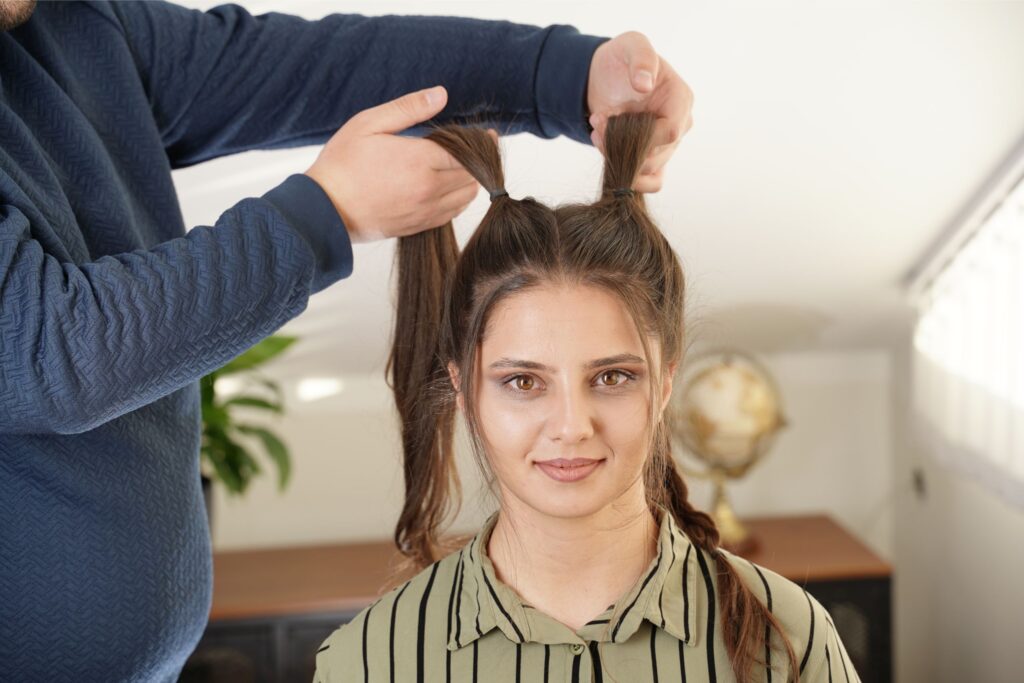
Leave out a small front piece along the hairline on both sides. Then gather the rest of the hair on each side and secure it into high ponytails with small elastics.
Bring the braid forward through the center part and lay it over the front center part, then pin it in at the center of the crown. This braid will sit in the middle and guide the shape of the bow.
Tease and Shape the Bow Loops
Take the right side and gently tease the hair to add volume then roll it inward toward the center and secure it with bobby pins over the braid at the crown.
Repeat the same step on the left side, bringing it inward from the opposite side.
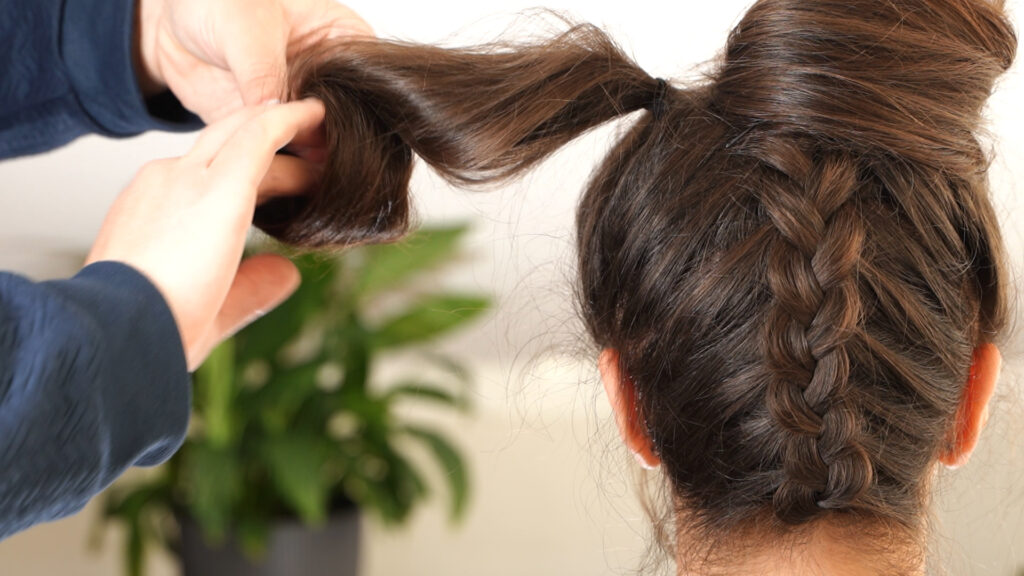
At this point, the two loops should sit neatly on both sides of the center braid, with the braid underneath them, and the bow shape will start to come together.
Bring the Braided Section Back Over the Bow
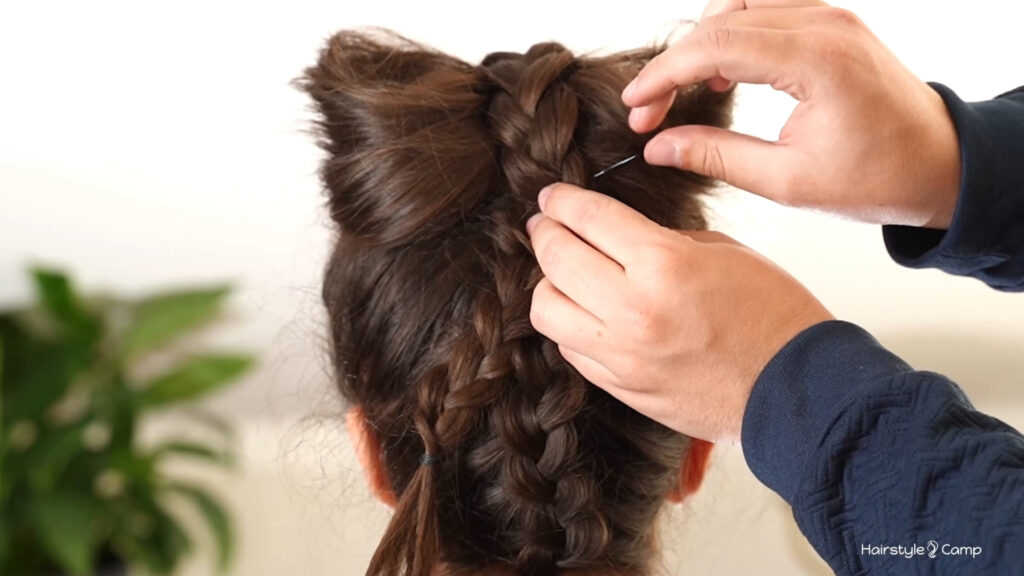
Pick up the braided section from the front and bring it back over the bow loops. Cross it over the loops, then secure it over the braid at the back with bobby pins.
This is the step that ties the whole style together. The braid becomes the center of the bow, and without it, the loops can look more like two separate buns than a finished bow.
Unbraid the Tail, Split It in Two, and Finish the Look
Remove the elastic from the end of the braid and gently unbraid the lower part.
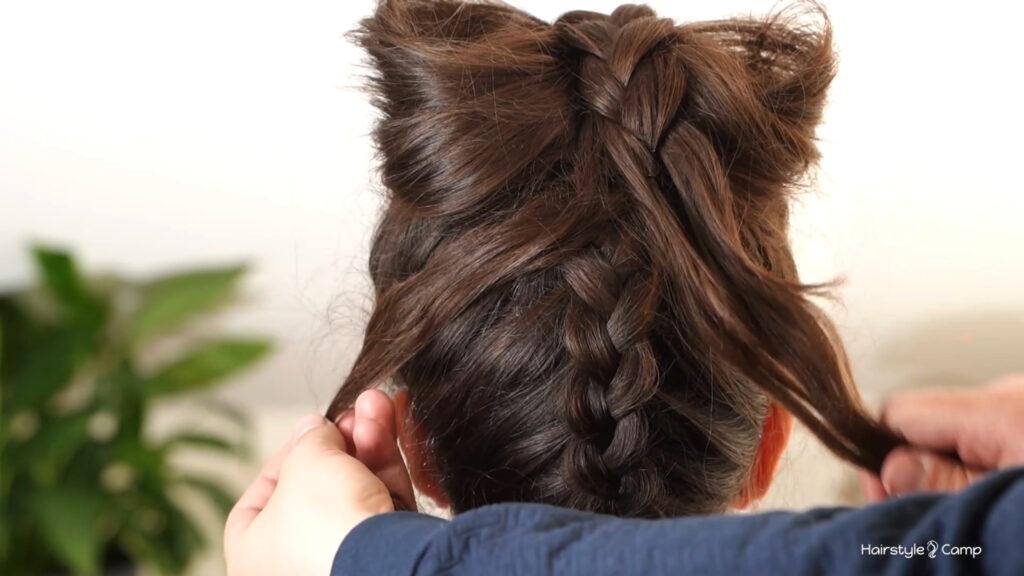
Split the loose hair into two sections and let one piece fall down each side of the center braid. Pin them under the bow loops so they look like bow tails.
Finish with a light mist of hairspray all over, then curl the hanging tails and the face-framing pieces if you want a softer, more romantic finish.
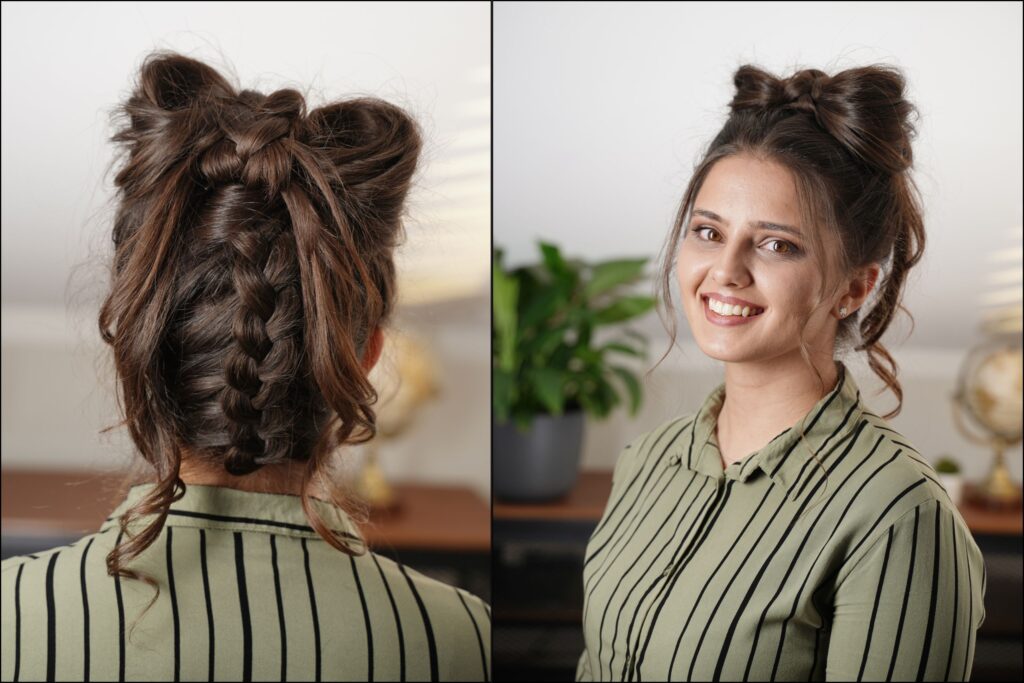
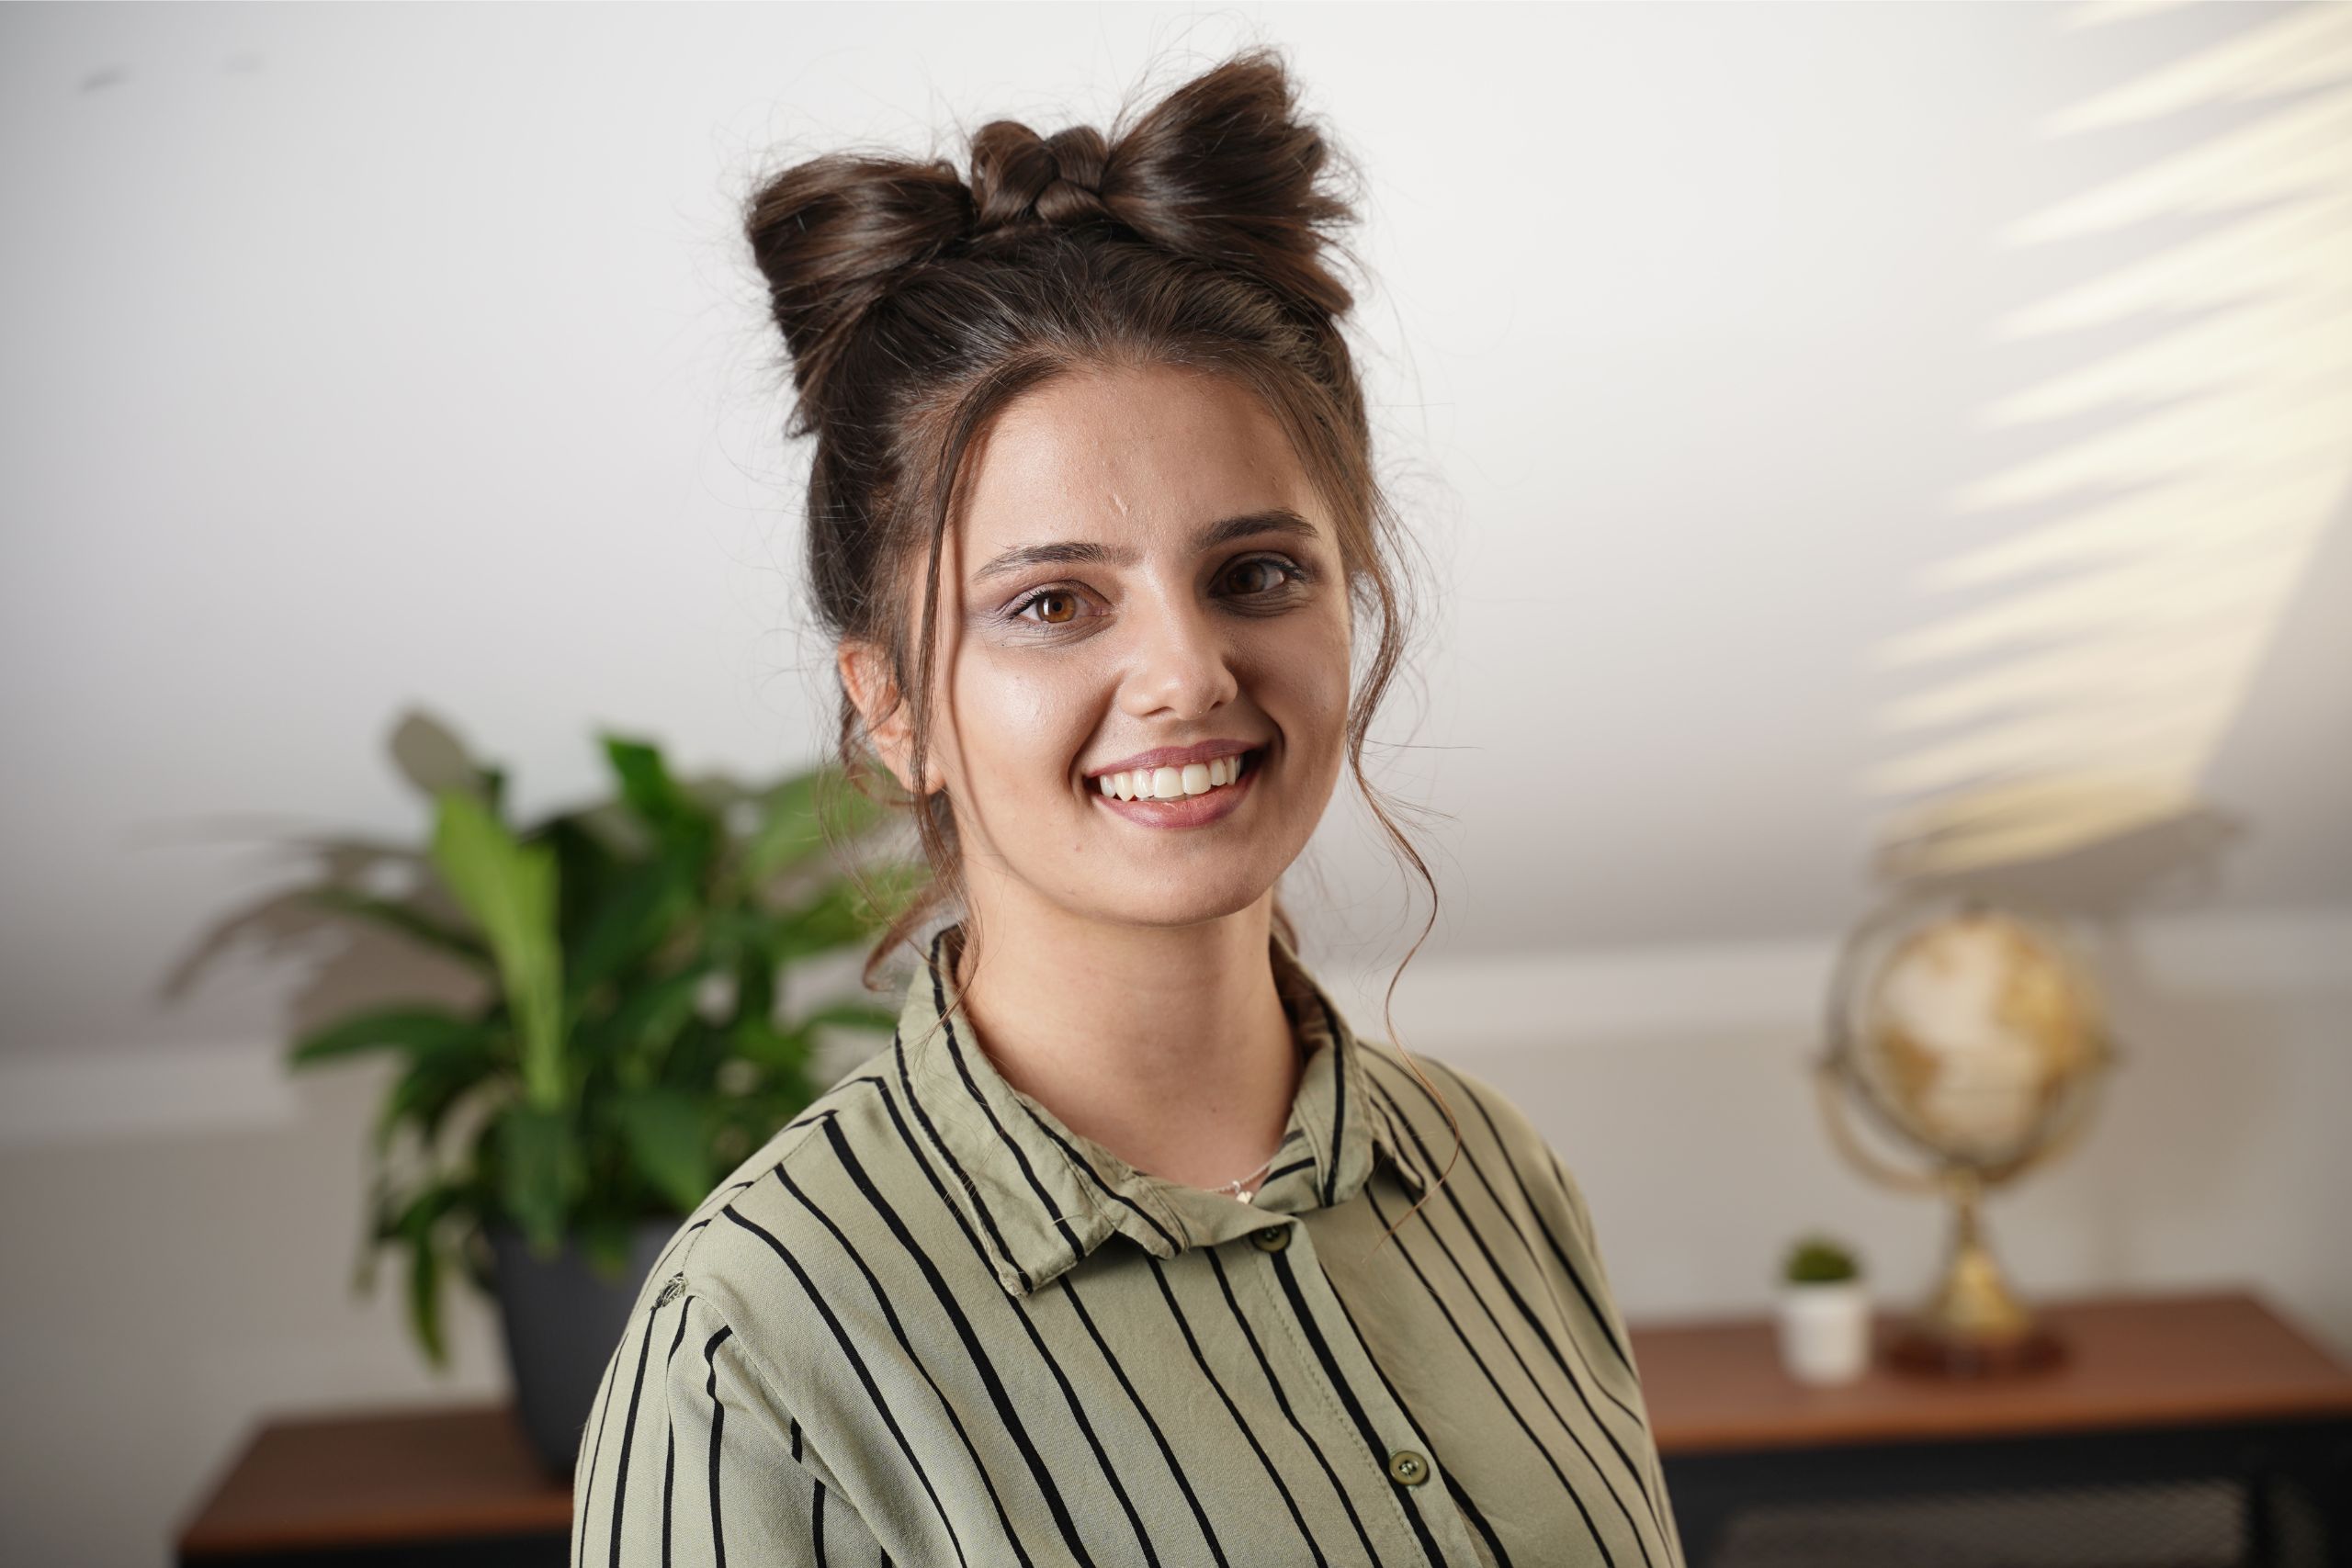
Final Look
What I love most about this hairstyle is the contrast between the neat, raised braid, the soft oversized bow, and the delicate bow tails. From the front it looks elegant and put-together. From the back, it looks soft, pretty, and full of detail.


This is the kind of hairstyle that earns you compliments at parties, gets you saves on Instagram, and makes whoever you do it on feel genuinely special. It may take a little more time the first time, but it becomes much easier once you understand the steps. So, take your time and keep practicing.