
Sometimes you need a hairstyle that feels soft, detailed, and graceful without looking overly done. This reverse fishtail braid and flat twist low bun is exactly that kind of style. It brings together a textured braid, a smooth twist, and a low bun finished with delicate baby’s breath.
As a stylist, I love adding small floral accents to soft updos. Baby’s breath is one of my favorites because it gives the style a romantic finish without taking attention away from the bun and braided details.
While our video tutorial shows the complete look from start to finish, some of the smaller details can be easy to miss, including the tools, products, sectioning, and finishing steps that help the style come together. That’s why I’m breaking it down here in more detail.
You can play the video to watch the full process, or scroll down to follow along with my step-by-step written guide!
Styling Tools and Accessories
For this hairstyle, you will need the following tools and accessories:
- A tail comb for clean parting and precise sectioning
- A brush or wide-tooth comb to smooth the hair before styling
- Sectioning clips to keep each side neat and out of the way while you work
- Mini clear elastics to secure the fishtail braid and flat twist
- Bobby pins to shape and secure the bun
- Baby’s breath pins, fresh baby’s breath, or a small flower garland for a more bridal or formal finish
- Curling iron to add soft waves to the loose hair and face-framing pieces
How to Style the Reverse Fishtail and Flat Twist Low Bun
Follow these steps to create the reverse fishtail braid, flat twist, and low bun from start to finish.
1. Section the Hair

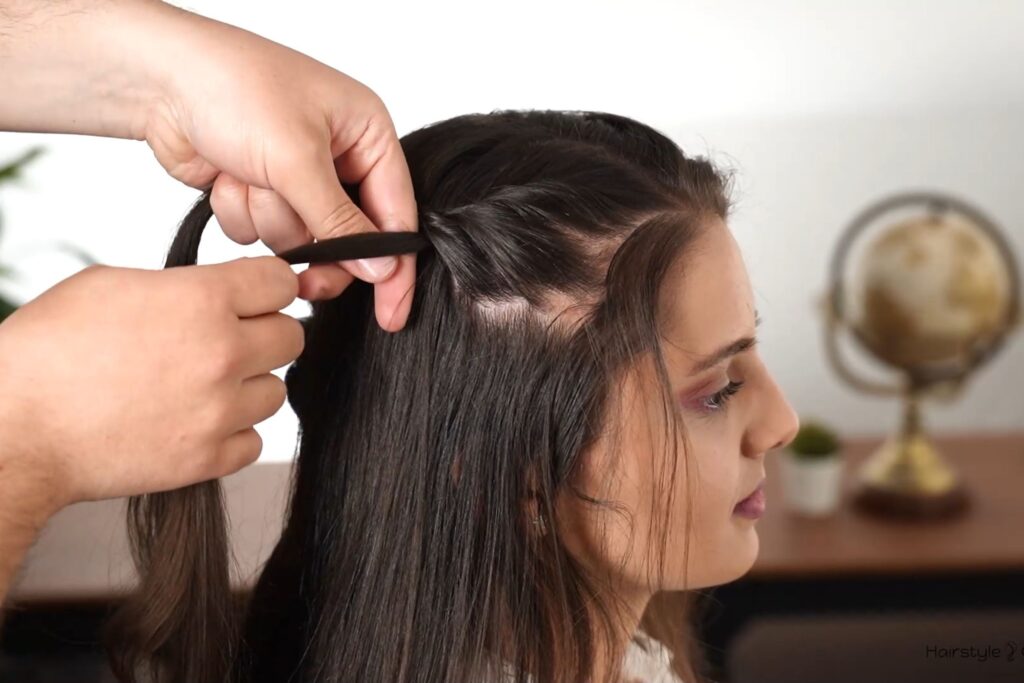
Brush the hair smooth and create a soft deep side part at the front. Let the front stay slightly relaxed instead of making the parting too sharp. Most of the hair should sweep across to one side, which will later create that soft face-framing finish.
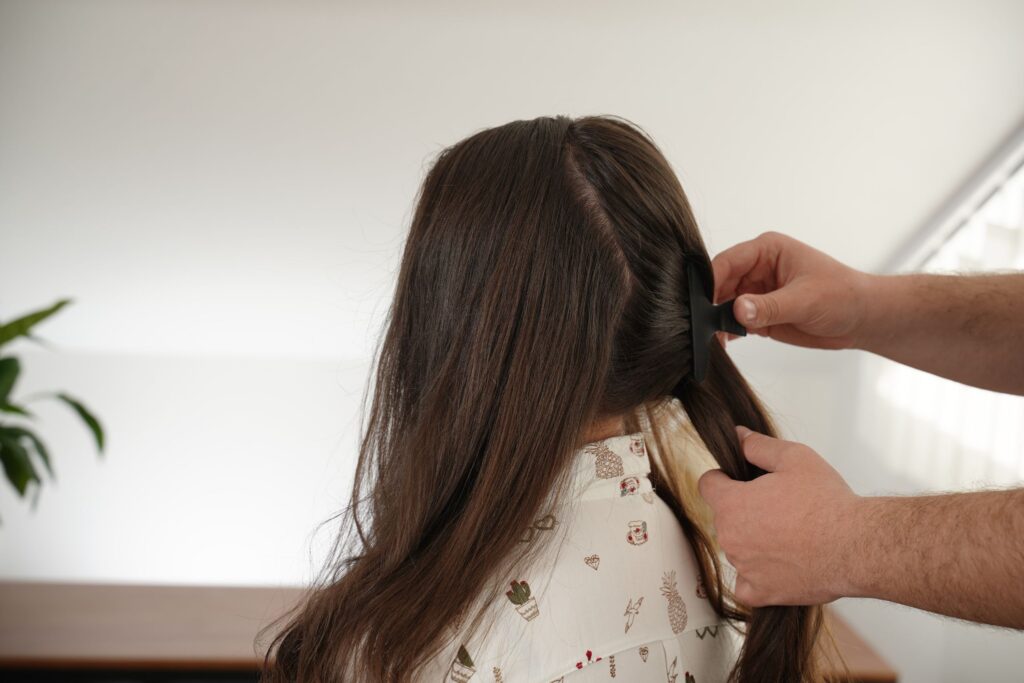
At the back, use a tail comb to create a clean middle part from the crown down to the nape. This divides the hair into two working sections, one side for the reverse fishtail braid and the other side for the flat twist. Clip one side out of the way so you can work neatly.
If the hair is very silky or freshly washed, add a little texture spray or dry shampoo through the roots and mid-lengths. This gives the hair enough grip so the braid, twist, and bun hold better without feeling stiff.
2. Create the Reverse Fishtail
Start working on the left side. Leave out a small piece of hair at the front to frame the face later.
Take a small section of hair near the front and divide it into two working pieces. To begin the reverse fishtail, pick up a small piece of loose hair from one side and add it to the outer edge of the section you are holding. Then pass that piece underneath and bring it into the inside of the opposite section.
Repeat the same movement on the other side. Pick up a small piece of loose hair, add it to the outer edge, pass it underneath, and bring it into the inside of the opposite section.
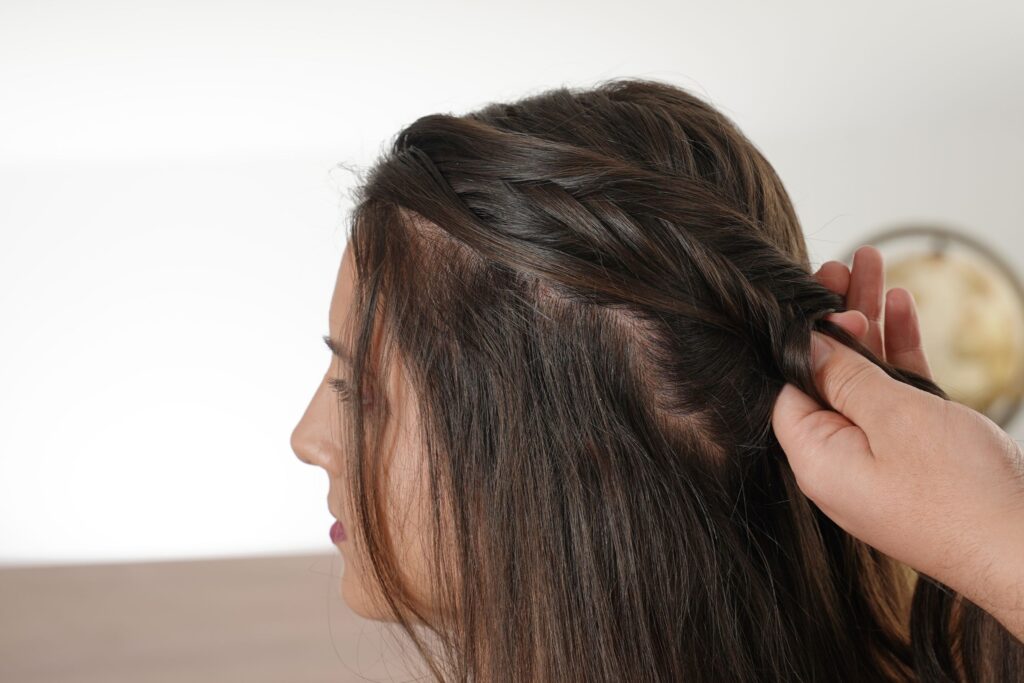
Continue this pattern as you work back along the side of the head. Each time, add a small piece of hair first, then cross it underneath to the opposite side. This keeps the braid close to the head and creates the raised reverse fishtail texture.
Once the braid crosses the side of the head, stop adding new hair and continue with a regular reverse fishtail braid. Take a small piece from the outer edge of one section, cross it underneath, and add it to the opposite section.
When the braid reaches the nape, add a small piece of hair from the right side into the braid and secure it with a small rubber band. This helps keep the braid in place. Then gently pull the edges with your fingertips to make the braid look fuller, softer, and more textured.
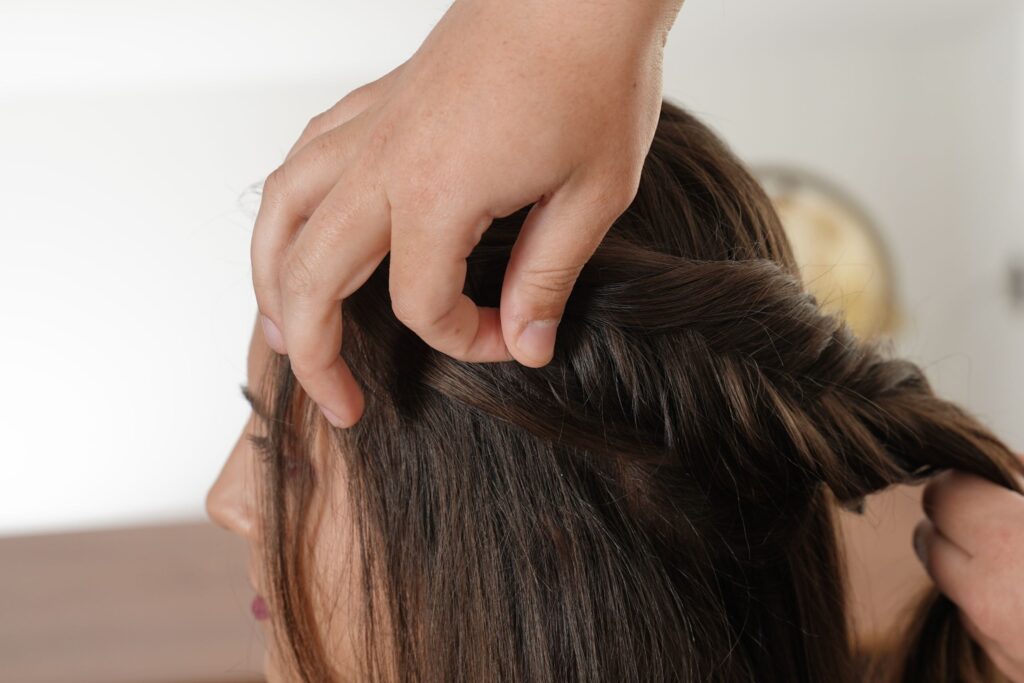
3. Create the Flat Twist on the Other Side
After the fishtail is complete, move to the other side and leave out a small face-framing section. This bit of softness around the face helps the style look more flattering.
Instead of creating another fishtail, make a flat twist on this side. The flat twist gives the hairstyle contrast. It is quicker, cleaner, and smoother, which balances the more detailed texture of the fishtail side.
Take a section of hair near the front and divide it into two strands. Begin twisting the two strands back toward the nape.
As you cross the strands, pick up a small piece of hair from the right side and add it into the right-hand strand before crossing it over the other strand. Repeat this same pattern each time you twist, adding hair from the right side as you work back along the head.
Keep the twist close to the scalp so it sits neatly against the head.
Once the flat twist reaches the back side of the head, stop adding hair from the right side and continue rope twisting the remaining length.
Bring the rope twist across the back and pass it underneath the reverse fishtail braid. Then pick up a small piece of hair from the left side and add it into the twist to keep the twist in place. Secure it with a small rubber band.
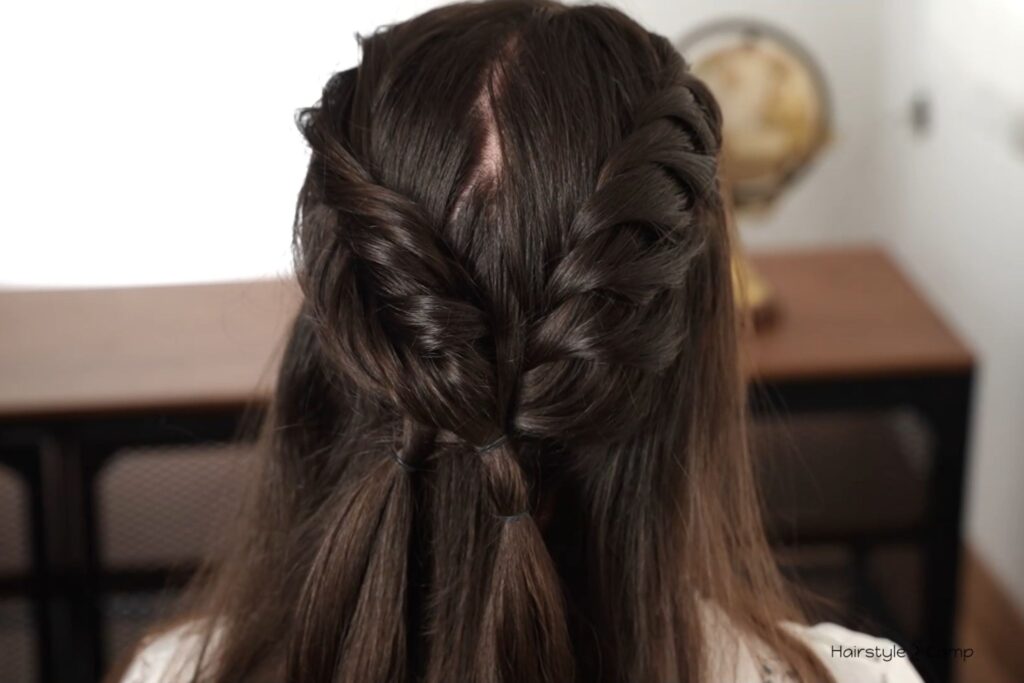
At this stage, one side has the raised reverse fishtail braid, and the other side has a smoother flat twist that crosses under and connects neatly at the back.
4. Curl the Loose Hair
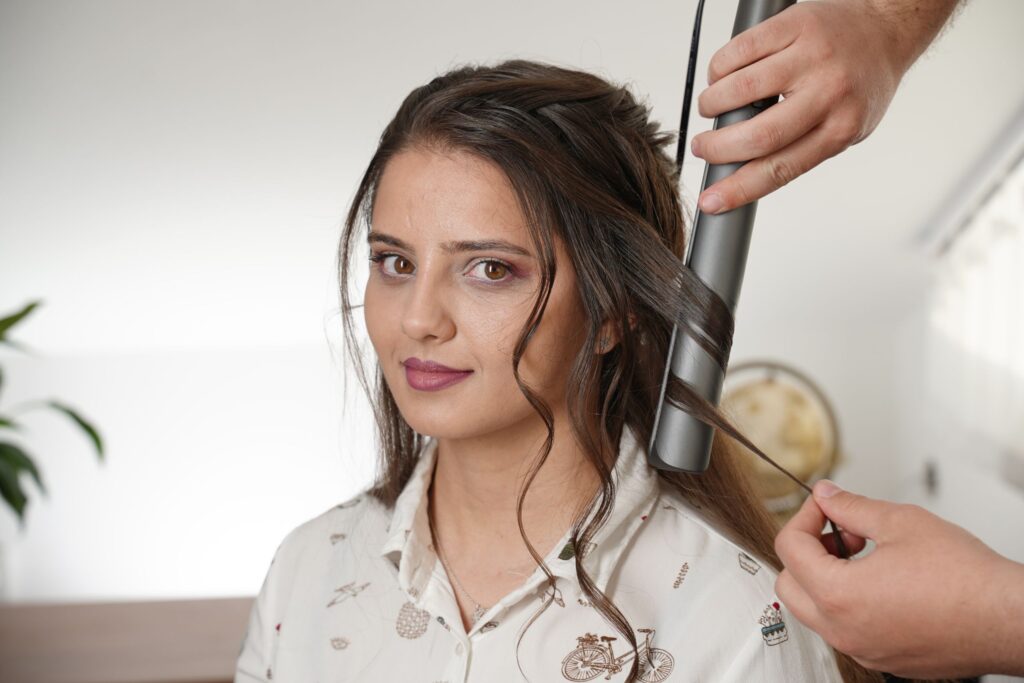
Before forming the bun, curl the remaining loose lengths, including the face-framing pieces. The curls do not need to be tight. Soft waves and gentle movement work best for this look.
This step helps the finished style look airy and romantic rather than flat. Curling the loose hair also makes the bun easier to shape, since hair with a slight bend holds a twist and wrap better than pin-straight hair.
The face-framing pieces are especially important. A soft curl around the front keeps the overall style delicate and flattering, which works beautifully for formal events and bridal-inspired looks.
5. Gather Everything into a Low Ponytail
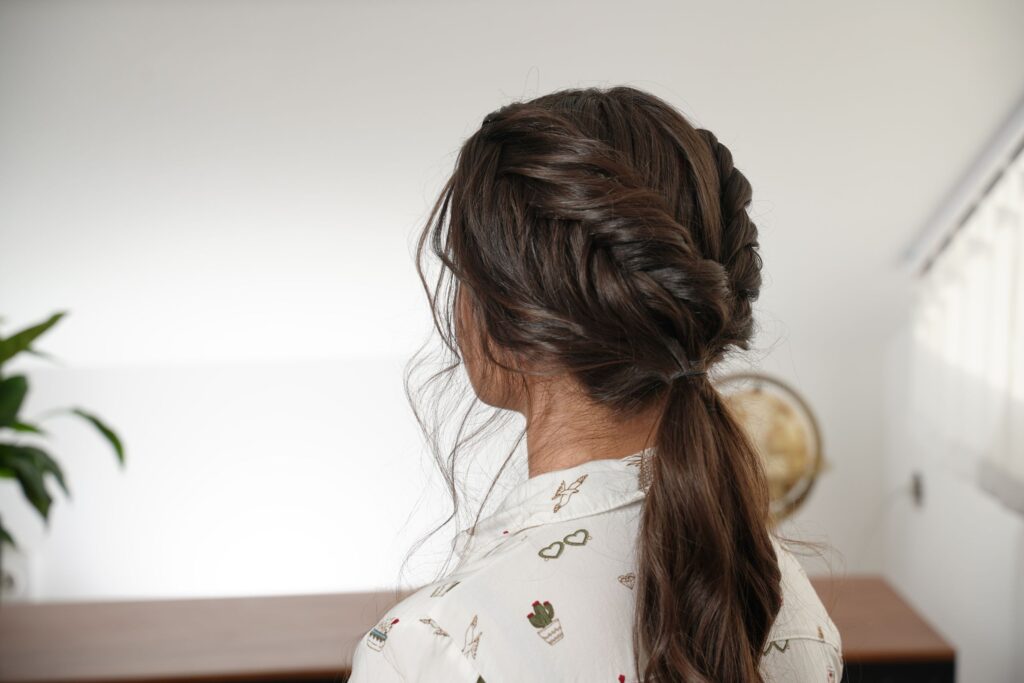
Once the loose hair is curled, pick up the remaining loose hair around the head, leaving a few small pieces out at the front and sides for softness.
Bring the hair to the back and join it with the lower ends of the reverse fishtail braid and flat twist. Gather everything low at the back of the head, then secure it with a regular hair elastic. The braid and flat twist should stay visible above the ponytail.
This low ponytail will become the base for the bun.
6. Twist, Wrap and Secure the Low Bun
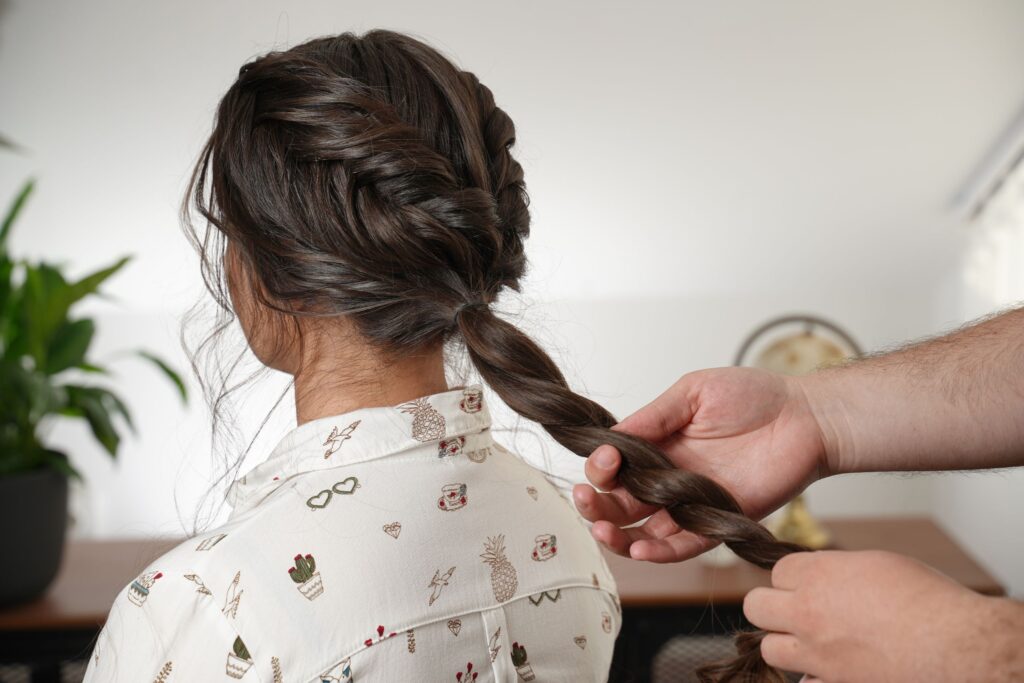
After the low ponytail is secured, hold the ponytail and divide it into two sections. Twist the two sections around each other all the way down the length of the hair. Keep the twist smooth, but not too tight. A softer twist will make the bun look fuller and more natural.
Wrap the twisted hair around the base of the ponytail to form a low bun. The bun should sit low at the back of the head, just under the reverse fishtail braid and flat twist.
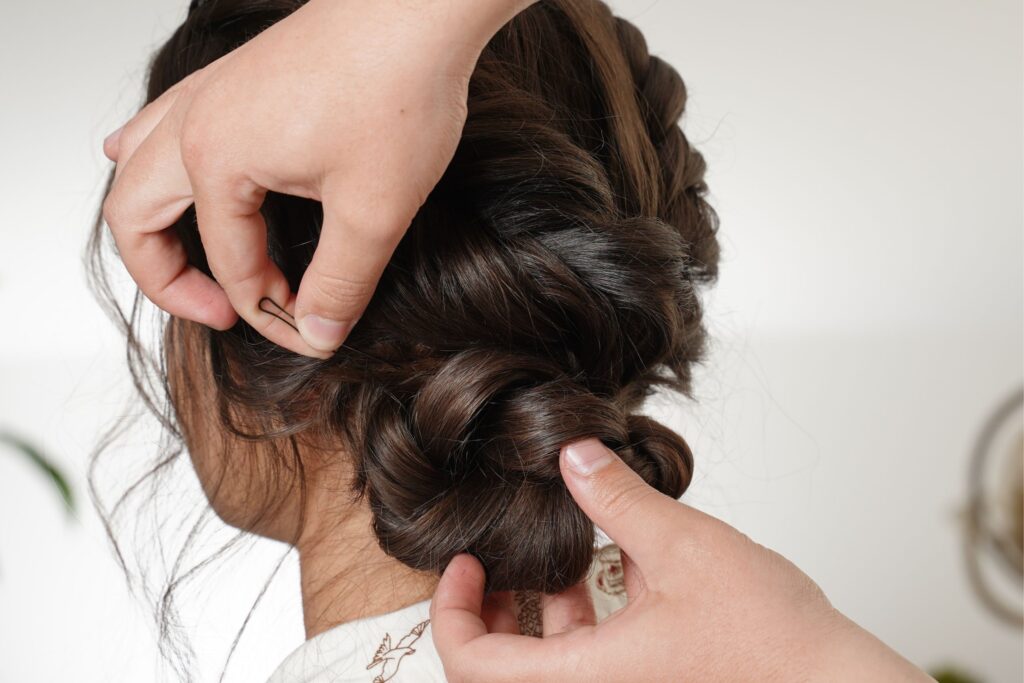
Tuck the ends underneath the bun so they are hidden. Hold the bun in place with one hand, then start securing it with bobby pins. Push each bobby pin through the outer edge of the bun and slide it inward toward the base. This helps anchor the bun to the hair underneath instead of only pinning the surface.
Add pins around the bun, placing them where the bun feels loose. If needed, cross two bobby pins over each other for extra hold.
Once the bun feels secure, gently adjust the shape with your fingers. Loosen small areas for a softer, fuller finish, or smooth the edges for a cleaner look.
7. Add Baby’s Breath to Complete the Look
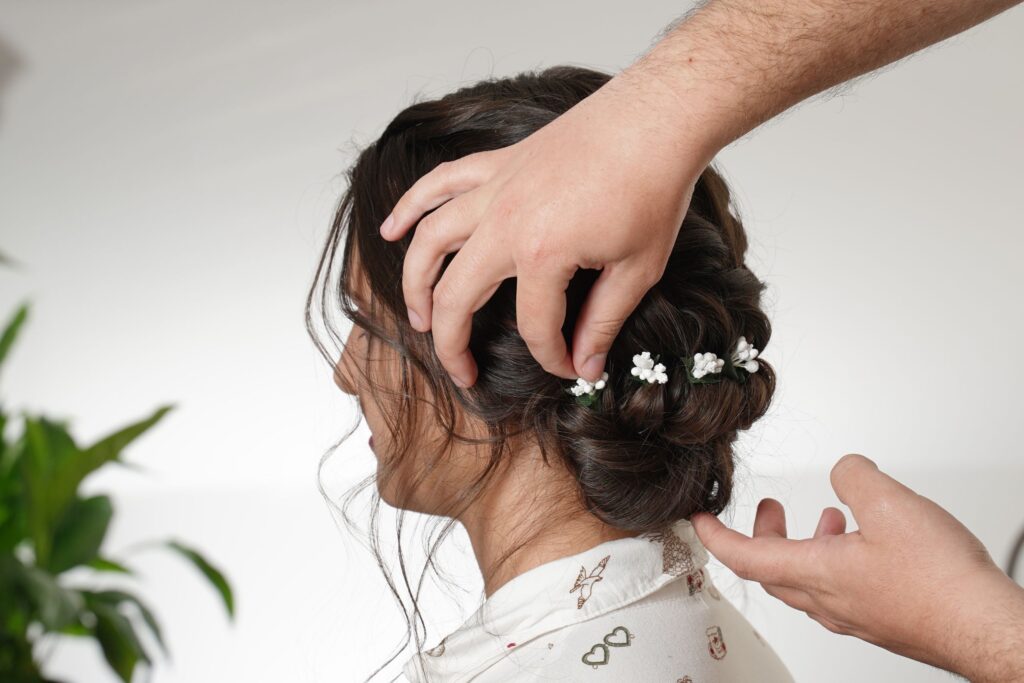
Once the bun is secure, add the baby’s breath or floral accessory into the bun. Place it gently around the bun instead of pushing it too deep, so the flowers stay visible and look soft.
Keep the floral detail light. A few small pieces are enough to make the updo feel romantic without covering the shape of the bun, reverse fishtail braid, or flat twist.
After adding the flowers, check the front and side pieces. Make sure the curls sit naturally around the face. Smooth any flyaways if needed, then finish with a light mist of hairspray to help the style stay in place.
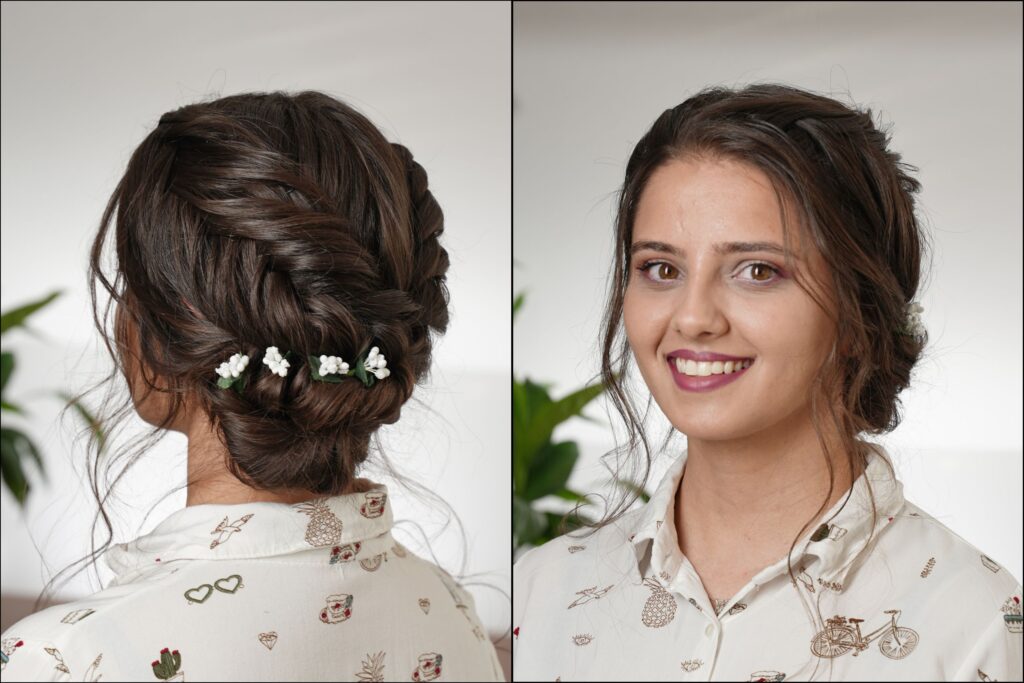
The final look should feel soft, polished, and secure, with the braid and twist leading into the low bun and the baby’s breath adding a delicate finish.
Tip: If you are using fresh baby’s breath, trim the stems short before placing them into the bun. This makes them easier to hide and helps the flowers sit more naturally in the hairstyle. Add the flowers one by one, then check the shape from the back before adding more.
Final Look
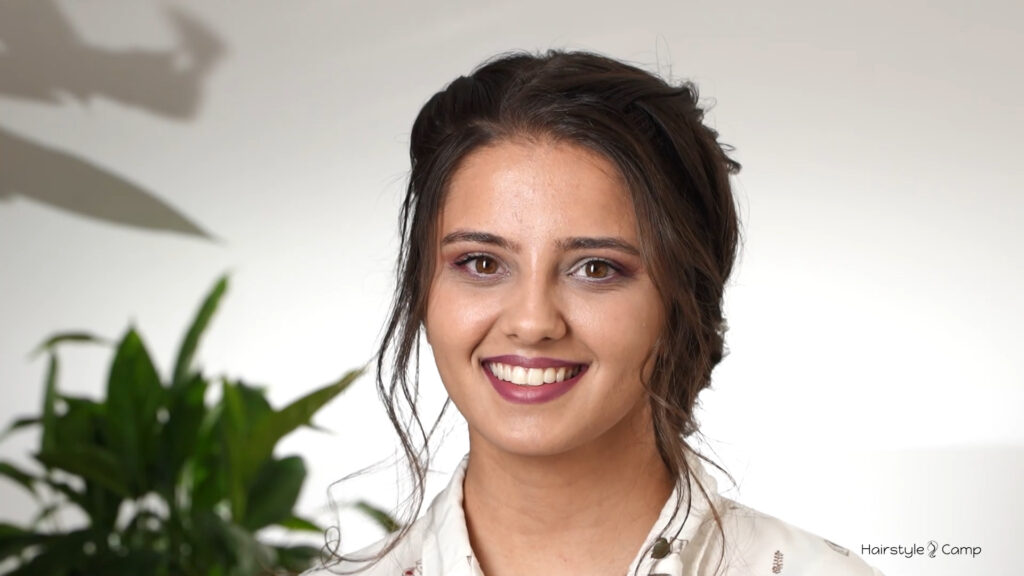
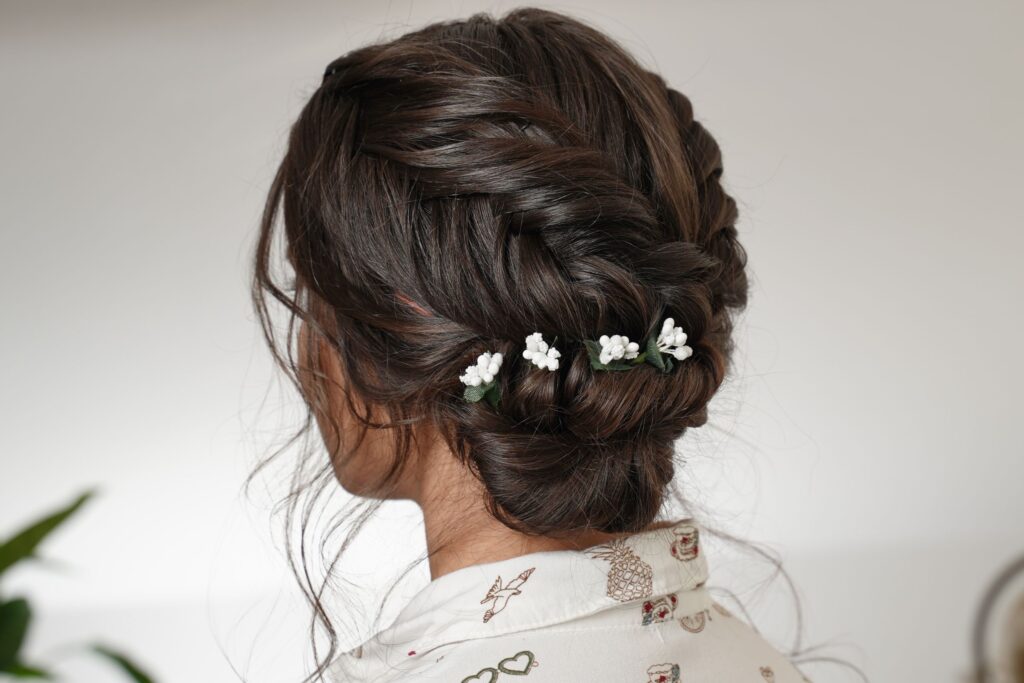
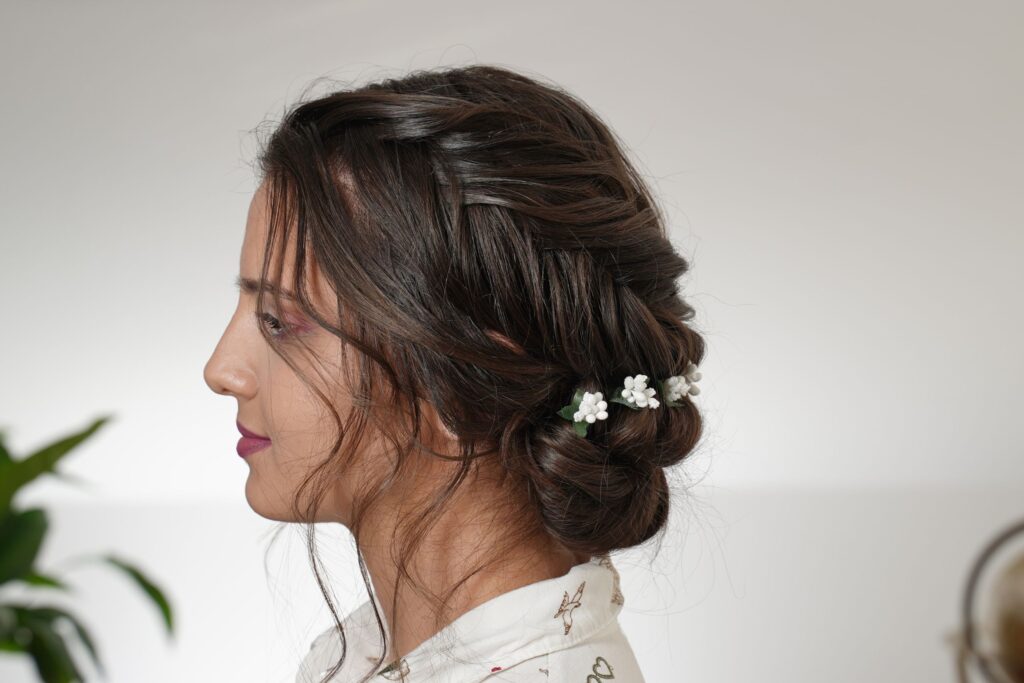
This reverse fishtail braid and flat twist low bun looks intricate, but still feels soft and wearable. It has detail without looking fussy, structure without feeling stiff, and elegance without being overly formal.
The reverse fishtail gives the hairstyle depth, the flat twist adds contrast, and the low bun pulls everything into one romantic finish. For anyone looking for a polished updo with a soft, feminine feel, this is a beautiful style to create.