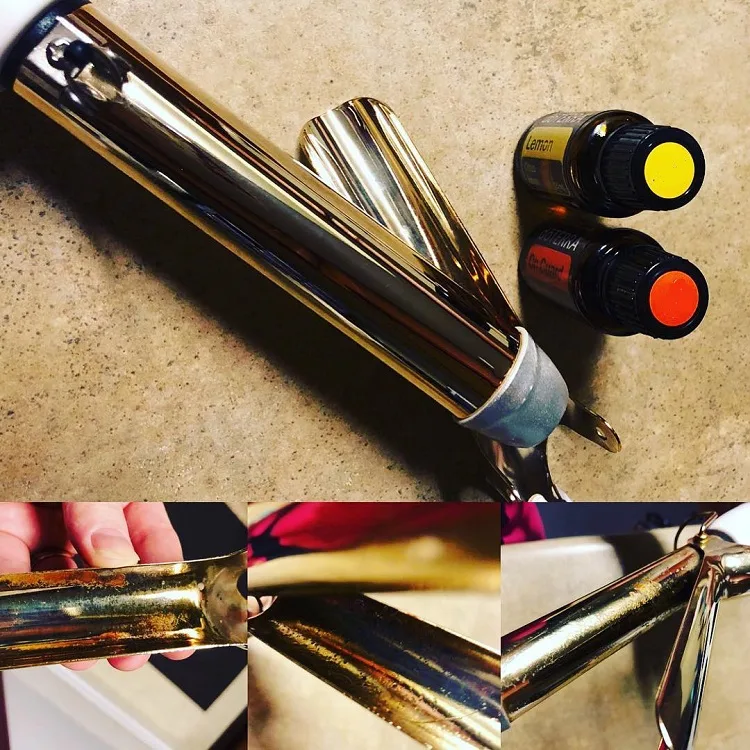
If you use your curling iron often, you’ve probably noticed the barrel isn’t shining quite the same. Or you might notice sticky gunk on the handle and cord.
Regular cleaning of your curling iron is crucial to remove buildup and lingering layers of hairspray, which can affect your hair’s appearance.
This practice is not only important for curling hair with a curling iron but also prolongs the life of your styling tool, ensuring it functions effectively for a longer period
If you’re ready to learn how to clean a curling iron, read on for tips and other things you should know.
How Often Should You Clean A Curling Iron?
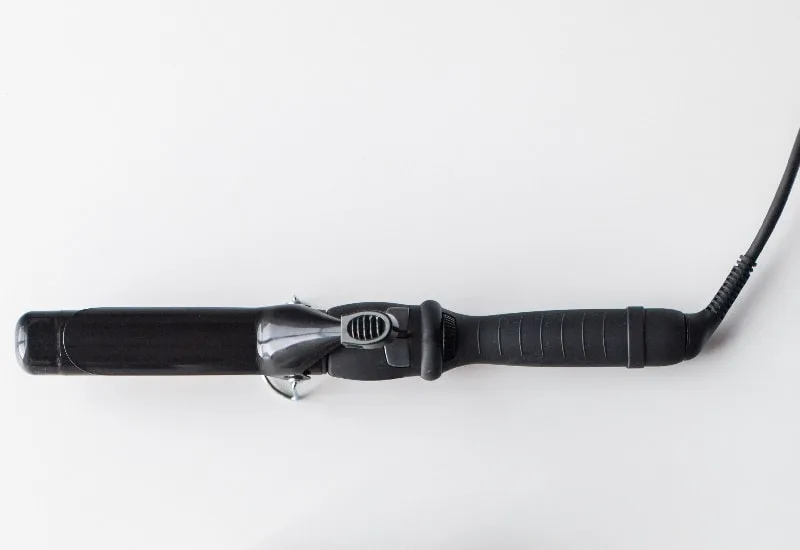
It would be best if you cleaned a curling iron often, depending on when you use it. Consider cleaning your curling iron after a specific amount of use. For example, you might decide to clean it after every ten uses.
Residue coating the barrel affects the performance of your curling iron and impacts heat distribution. The more hair products you use, the more likely they’ll begin coating the barrel.
In addition, the fraying film on your curling iron collects stray hairs, skin cells, and other particles that attach to your hair.
Wipe down the handle and barrel with a damp cloth after each use to remove any product buildup. Then give it a thorough cleaning after 5-10 uses.
Try getting into the habit of cleaning once monthly even if you don’t use it as moisture and dirt from the environment can damage the curling iron.
Keep your iron free of water, hair products, and debris, store it carefully, and avoid wrapping the hot cord around the barrel.
Precautions Before Cleaning Curling Iron
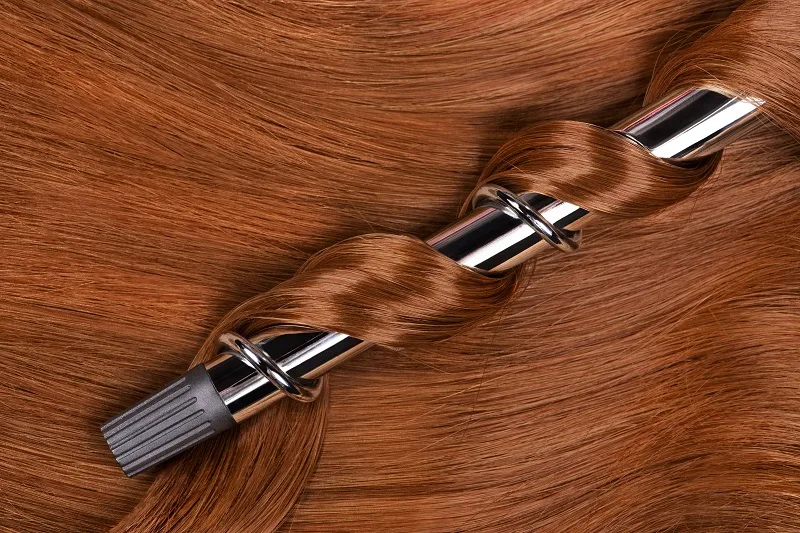
Before cleaning a curling iron, it should be completely cool, switched off, and unplugged.
Cleaning while slightly warmed might make removing residue easier, but it’s a safety hazard. If it’s too hot, you’ll either need to move slowly to avoid singing your fingers or waste time waiting for it to cool.
If you’ve set your curling iron by a wet sink counter, move to a dry surface to clean and wipe down the curling iron once it has cooled.
Gather the necessary solutions and materials before you clean. Also, remember to grab a cloth or towel to dry off the curling iron after you clean. Too much moisture can damage your curling iron.
How to Clean a Curling Iron Barrel?
Cleaning the barrel of the curling iron is important for your hair’s health. If you use a curling iron with products on the barrel it can even make your hair smell burnt.
Here are five ways to clean a curling iron.
1. Rubbing Alcohol
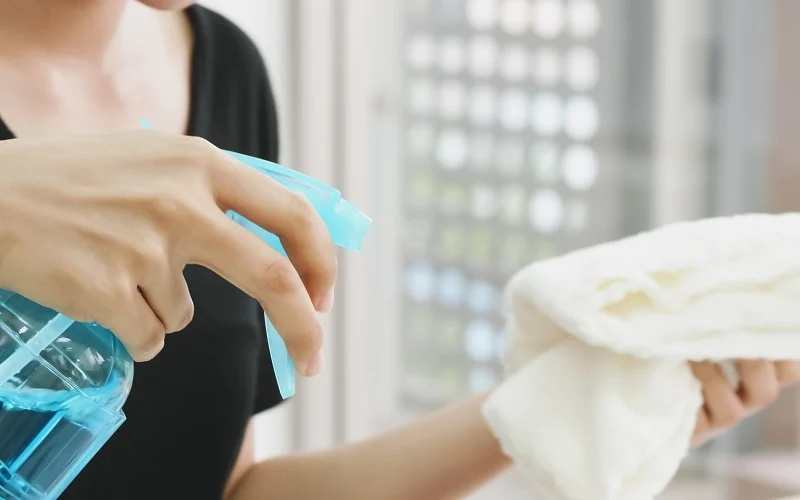
Rubbing alcohol is excellent for removing stains, and it also helps disinfect surfaces. If you’re removing lighter messes and don’t mind the smell, it’s a simple method.
For more effective cleaning, use rubbing alcohol that’s 90% isopropyl.
Pour a few drops of rubbing alcohol on a cloth or cotton pad. Next, wipe the curling iron with damp cloth, rubbing any stubborn spots. Finally, dry the barrel.
2. Acetone
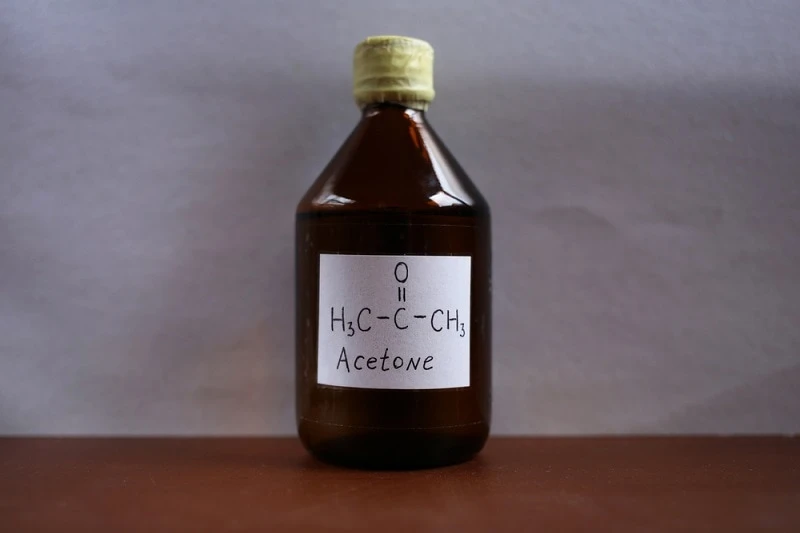
Acetone is probably best known as a common ingredient in nail polish remover. As quickly as it breaks down your nail polish, it can also break down the residue on your curling iron.
If you can’t find acetone individually, using nail polish remover works as well. But, double-check that your nail polish remover isn’t acetone-free.
Saturate a cotton pad or cloth with acetone. Then, rub across the barrel. Watch out for dripping, as the intent is to wash the barrel, not soak the handle.
If possible, point the handle upward so that it doesn’t leak into the electrical components.
Let the acetone sit for 10-30 seconds, and then scrub with a cloth or bristle brush. If you have a clean toothbrush, use that to scrub away stubborn gunk.
3. Baking Powder
Baking powder is a reliable cleaner for difficult stains and stubborn gunk. It removes tarnish from silver and unbinds gunk for easy removal.
For cleaning a curling iron, you won’t need much. Start with a tablespoon and add a small amount of water. The mixture should become a paste. If it’s too watery, add more baking soda.
Using the paste and a cotton pad or paper towel, rub the curling iron barrel. If there’s a significant coating of gunk, you might need to go over it a few times.
Once the barrel is clean, wipe any residue with a water-dampened cloth or a new cotton pad.
4. Ammonia
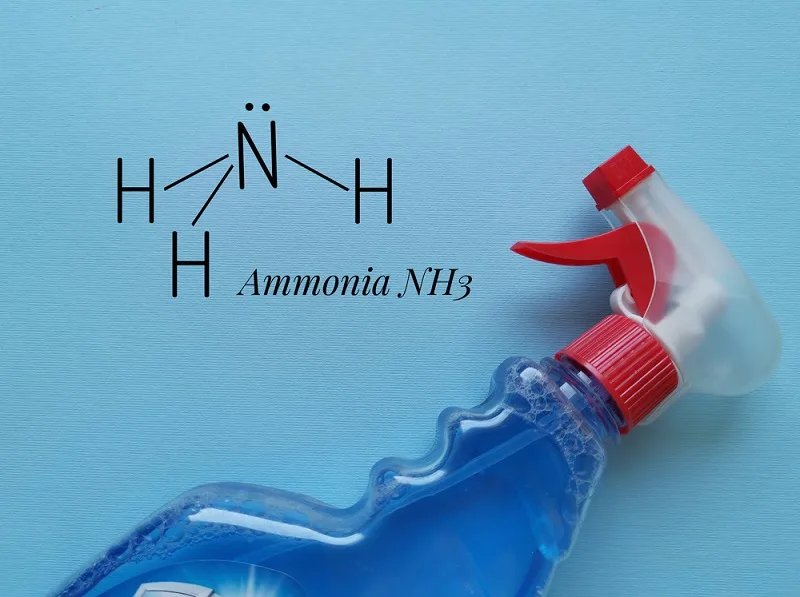
Ammonia is a handy cleaner for curling irons with ceramic materials. It’s harsh on stains and hairspray and will quickly clear up your curling iron. However, be cautious when using it as the fumes can be potent.
Soak a cotton pad or paper towel in ammonia and apply evenly around the barrel. Let it sit for 2 minutes and then wipe it off.
Alternatively, if you have a thicker buildup that won’t wipe off, you can soak the barrel in ammonia.
Fill a plastic bag or bucket with ammonia solution and dip the barrel. Soak for 10 minutes, but be careful that the handle and cord remain dry.
Finally, use a towel to rub off the remaining stains and dry the barrel.
5. General-Purpose Cleaner
If you have a general-purpose cleaner at the ready, you can rely on it to remove most gunk and buildup along the barrel of your curling iron.
Prepare a cloth or towel for the general-purpose cleaner and a second cloth to remove remaining residue and moisture.
Please rely on the cleaner’s instructions for using it, but keep in mind that the handle and cord need to stay dry.
After applying the cleaner to the barrel, either let it sit or scrub the cleaner-damp cloth around the barrel. Then, use the second cloth to dry the barrel.
Cleaning Other Parts of Curling Iron (Sticky Handle and Cord)
We’ve discussed how to clean a curling iron barrel, but what about the other parts?
Cleaning a sticky handle and plug of an appliance like a curling iron involves a few careful steps to ensure both effective cleaning and safety. Here’s how you can do it:
When cleaning the handle and the cord, it’s crucial to avoid soaking. You can use any of the solutions we recommended, as long as you’re careful about the amounts.
Check if your curling iron handle has vents. The vents allow air to circulate and protect the curling iron from overheating.
Be careful of water or liquid entering the vents as moisture can damage the electronic components. When cleaning, ensure the product you use isn’t dripping or too damp.
Cleaning the Handle and Cord
- Always start by ensuring the appliance is unplugged and completely cool.
- Choose a cleaning solution for the process. Acetone and alcohol are safer options for cleaning but for tougher residues baking soda paste is more effective
- For alcohol, dampen a cloth with the solution and gently wipe the handle. For baking soda paste apply the paste on a cotton cloth and then rub the handle. Let it sit for a few minutes, and then gently scrub again.
- Once the handle looks clean and nonsticky, use a damp cloth to remove any residue of the cleaning solution, then dry the handle thoroughly with a dry cloth.
Cleaning the Plug
- Unplug the device at least 40-60 minutes before cleaning and let it cool. Never clean a plug that is wet or has been recently used and is still warm.
- Wipe the plug with a dry cloth to remove any loose dirt.
- If the plug is sticky, you can carefully use a cloth dampened with rubbing alcohol to clean it. Make sure the cloth is not dripping wet. Do not use water to clean the plug.
- Ensure the plug is completely dry before using it again.
Important Safety Tips
- Be very careful to not let any liquid seep into the electrical parts of the curling iron or the plug.
- Use a soft cloth and gentle rubbing to avoid damage to the appliance.
- Do not use the curling iron just after cleaning. Alcohol evaporates quickly. So use alcohol instead of water, especially for cleaning the plug.
- Give it one last wipe down with a dry cloth and inspect it closely for any water residue. Plug it in after an hour to test the heat.
By following these steps, you can safely and effectively clean the sticky handle and plug of your curling iron or similar appliances.
So, you can clean a curling iron and remove stickiness with ease by following these tips. Keep the curling iron clean with a gentle wipe after each styling session (after it’s cool) to prevent future stickies!

