
As a photographer, you may have overlooked the specialty fields that are beyond wedding and portrait photography. For instance, did you know that photographing hair is a real thing? Hair photography has become an independent field in which you need to sharpen your skill these days.
Many hairstylists, salons and hair product companies demand a standard set of photographs to promote their work. If you are considering venturing into this field, then you will likely be met with open arms once you establish your clientele.
Hair Photography Tips
To help you photograph hair like a professional, we have put together the top seven things to put in practice.
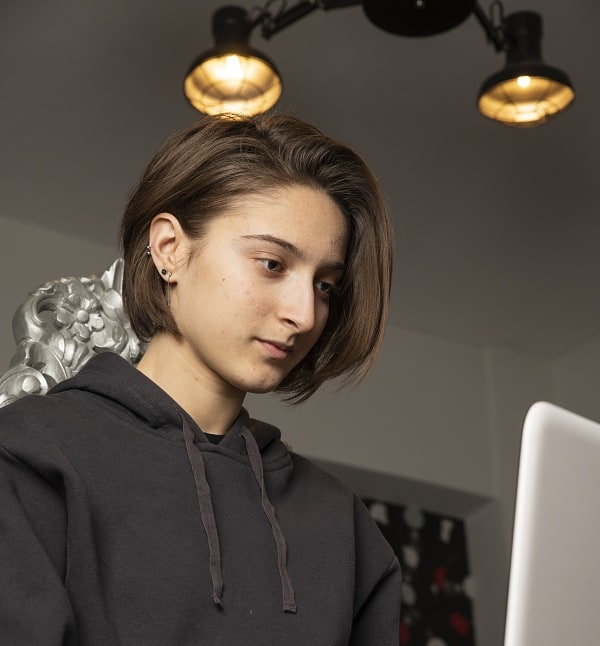
#1. Keep the photo’s background clean and simple.
Sometimes less is more; this is certainly the case when photographing someone’s beautiful locks. It’s crucial to make sure you don’t have a distracting background that will confuse and distract from the head of hair you are photographing. Opt for white or a lighter color and allow additional room for text/copy if it’s for a magazine.
Pro Tip: Shoot some horizontal and vertical orientation as it will provide flexibility to the client’s marketing strategy.
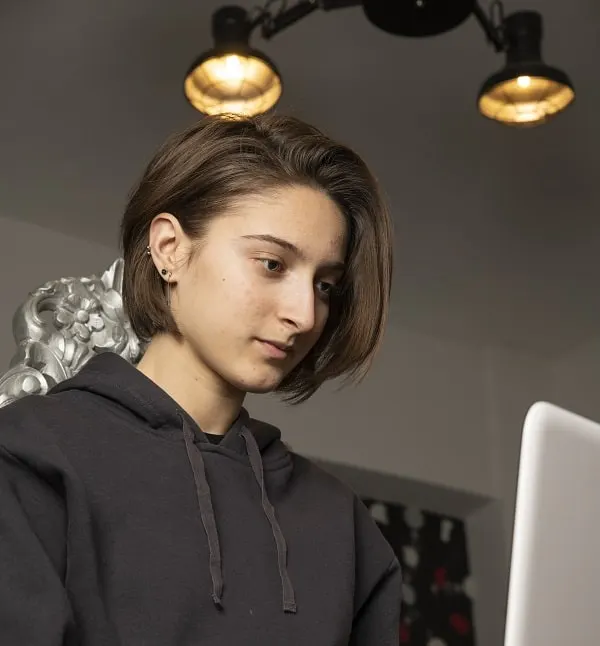
#2. Use your lens at maximum aperture for greater depth of field.
When looking at your lens, turn the aperture to the lowest number. Depending on the lens, the f-stop will appear as f/3.5, f/2.8 or f/1.4. When photographing in Aperture Priority, you maximize your depth of field. The effect focuses on one area while the other areas remain out of focus. Professional photographers strive for this look as it helps make the final image pop while focusing in on the interesting design elements.
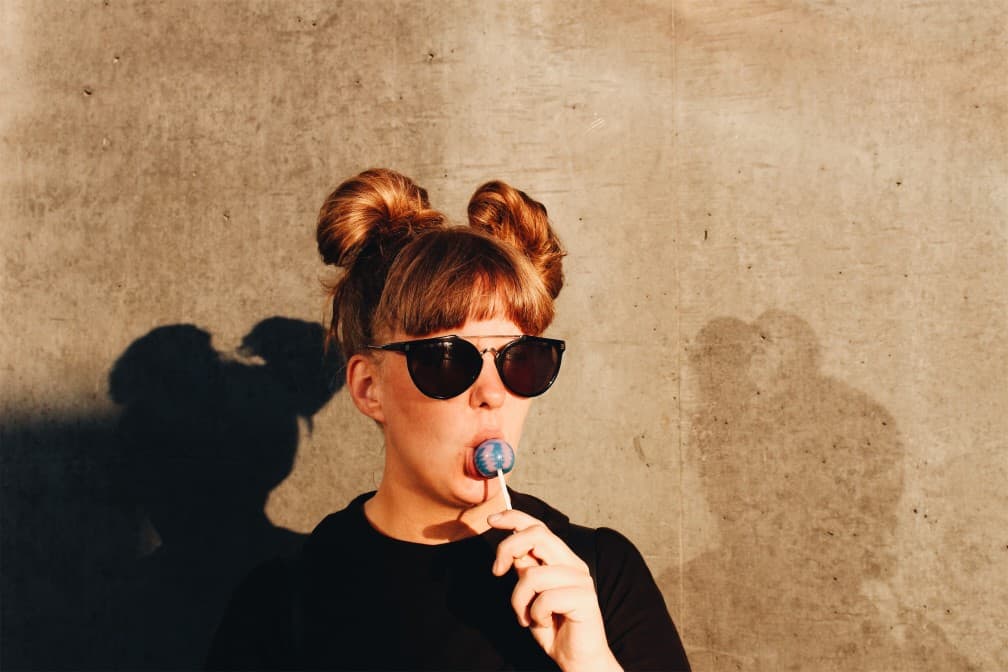
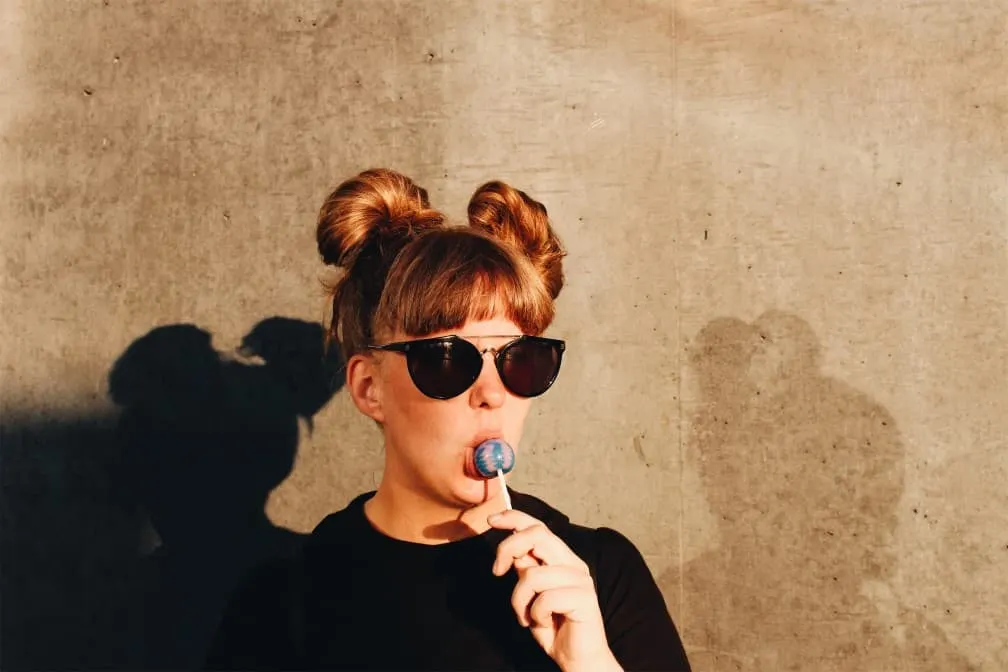
#3. Create a striking look by using a backlight.
One of the simplest ways you can photograph someone’s hair is by taking advantage of a powerful light source. By positioning your model in between the light source and yourself, the light will backlight the hair. So, if you are wanting to create a natural look then using the sun at sunrise or sunset is an ideal time to take advantage of a backlit situation.
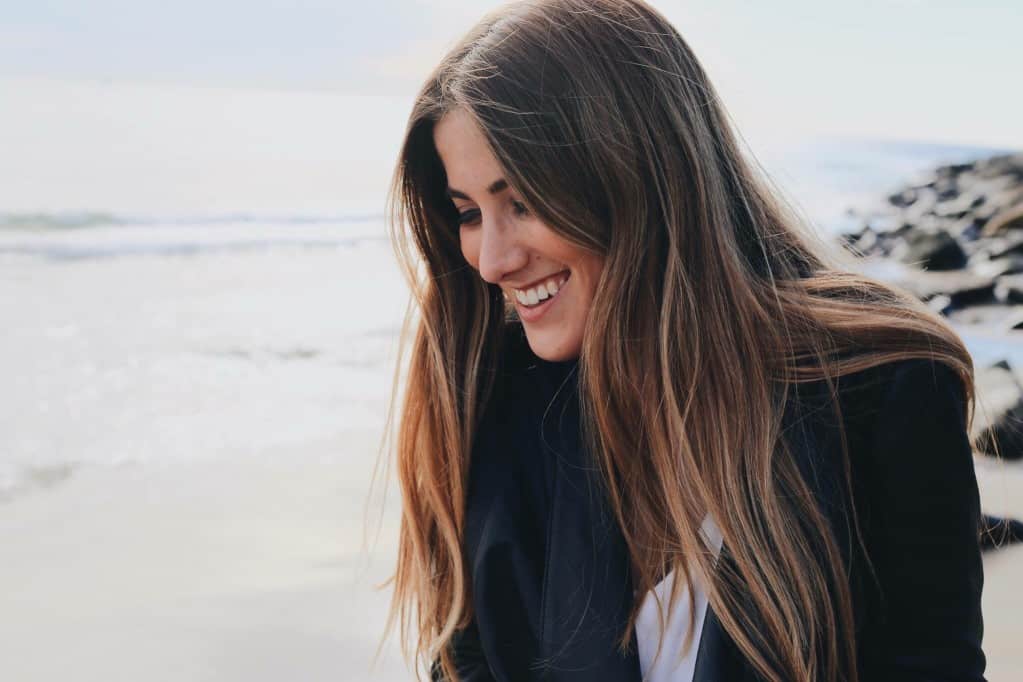
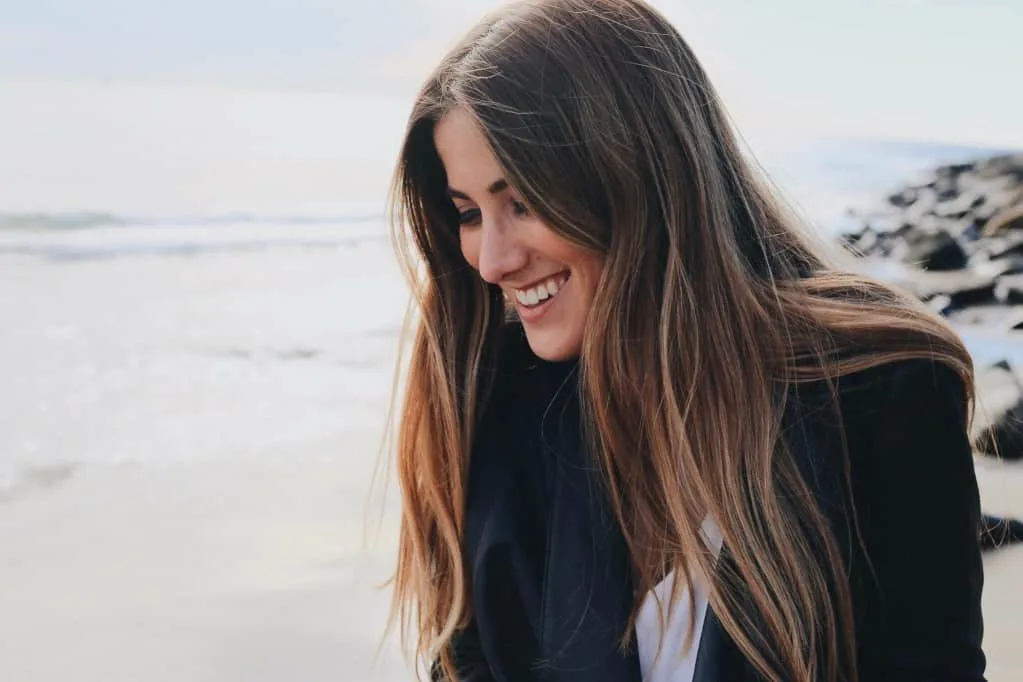
#4. Reflect light to get a natural shine.
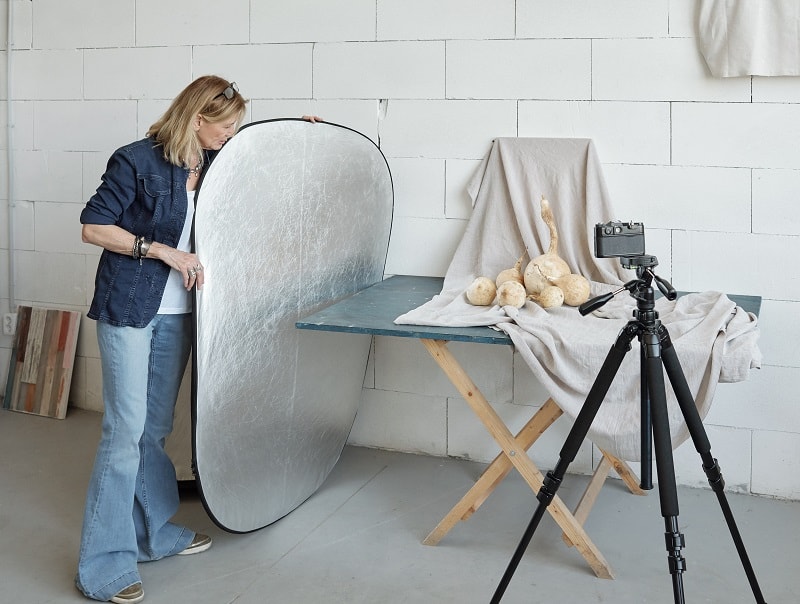
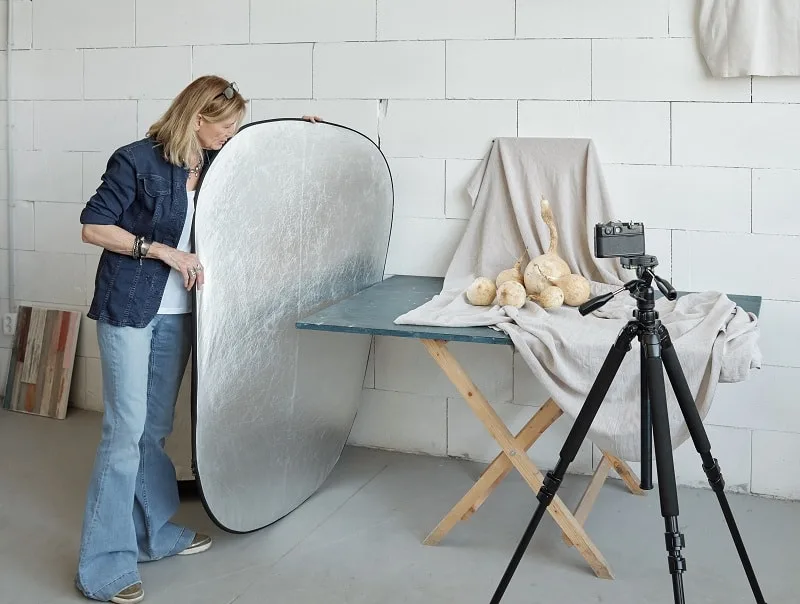
Natural shine is the definition of a healthy head of hair, and when it comes to styling your photo, you can never have too much shine! To enhance the natural oils in someone’s hair, all you need to do is bounce light off your subject. Using multiple continuous LEDs or a series of flash units is the best way to do this. We recommend using a three lighting system to get the best results – a fill light, key light and backlight.
#5. Speak with your stylist and plan your shoot.
If you have an integrated design that you know is going to take hours to form, then plan your shoot. At each stage, consider taking a photo as it shows the process and care taken by your hairstylist. Also, this works the other way. If you know the completed style is just one of the looks, you may like to talk with the stylist to see what other looks can easily be created with a few alterations.
#6. Include props and hands in your photos.
Sometimes it’s not all about the hair. To compliment or show off the hair, even more, you could opt to include hands in the photo to convey the style or props to promote an era. Whatever the case, work with your model or talent, keep them relaxed and show them how best to position their hands to get striking results.
#7. Use your camera’s hidden features to capture contrasty shots.
Did you know your camera most likely has an HDR setting? HDR stands for High Dynamic Range. This special feature expands the camera’s visual gamma to include more shows and highlight areas. So if you are photographing a head of hair that contains light and dark areas, then using HDR mode will help create a more even exposure.
These simple yet important tips will help you get the perfect hair shot you’ll be proud of. Apply these tips and photograph hair like a professional photographer!