Having wet hair after a shower can be annoying. You don’t want to walk around with sopping wet locks, but you also don’t want to damage your hair.
From towel dry to blow dry there are many ways to dry your hair after a shower but each technique has its upsides and challenges. Drying hair wrongly can make your hair frizzy and brittle.
So what’s the solution?
If you want to dry your hair quickly but also without damage you might require to combine multiple techniques.
Follow along to learn how to quickly take your hair from wet to dry after a shower without harming your lovely locks!
Different Hair Drying Techniques After Shower
Let’s take a closer look at different ways to dry your hair after a shower. Some of these techniques are damage-free but take a long time to dry completely and others are quicker but cause damage to your hair.
1. Air Drying Hair
Air drying is one of the oldest methods of drying hair. While it doesn’t require any special tools, it is not as easy as it sounds. The process involves more than just letting nature take its course.
Here is a step-by-step guide on how to air-dry hair without getting tangles and frizzes.
Pat Your Hair
After washing, the hair will be dripping wet. Naturally, the next step is drying. But before you do that, rinse the hair with cold water.
Anything below the room temperature will help the hair lay flat. Now you can pat your hair to drain the excess water.
Detangle
Usually, what’s left after soaking up the excess water is a tangled mess. This is when you break out your wide-toothed comb and detangle those knots. Wet hair is very delicate, so you should be very gentle at this point.
A wide-toothed comb is ideal since it passes through the hair with minimal friction. To limit the damage it is better to start combing from the tips. As the hair smoothens, you can gradually progress to the roots.
Apply Quality Products
Even if you are very careful to this point, fizzes and flyways are still a big problem. They will get worse as the hair dries. Fortunately, you can combat this problem with leave-in products. This treatment forms a protective layer around the hair strands from humidity and heat.
Your hair type should determine the types of products you apply. For those with straight hair, you will get results with light oil products. If you have wavy hair, opt for oil lotion hybrids.
Lastly, people with curly hair are better off with oil-based products.
Brush and Style

Continuous brushing helps make sure the hair dries how you want. Brushing exposes the individual strands to air.
However, it would help if you were careful when brushing curly hair to avoid creating frizzes and split ends. This is also the best time to create some volume.
Adding texture is necessary for people with straight hair. It prevents the hair from falling too flat. Applying volumizing mousse, and braiding the hair creates tension making the hair dry and smooth.
After the hair is set and styled, you can kick back and relax. Try not to touch it for the rest of the time while it dries.
2. Blow Drying Hair
The modern blow dryer didn’t come around until the 1970s. Thanks to the invention, blow-drying is one of the fastest ways to dry your hair after a shower.
However, getting a professional-grade blowout takes some skill. Below is a step-by-step guide on how to blow dry your hair like an expert.
Get the Right Tools
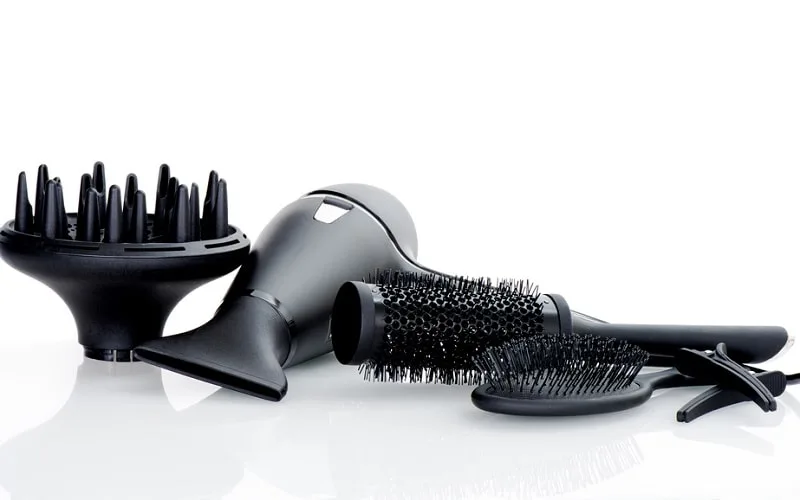
Unlike air-drying, you need to have the right gear to blow-dry the hair. The first thing you need is the right dryer. At the very least, you should have an 1800-watt hair dryer with multiple heat settings.
It would help if you also had a nozzle, diffuser, a round comb, and a hair clip.
Rough Dry the Hair
You will most likely be dripping when you step out of the shower. The first thing you should do is dry off the excess water.
Less water means you can dry the hair with less heat. You can rough dry the hair with a towel or through air drying.
Comb Your Hair
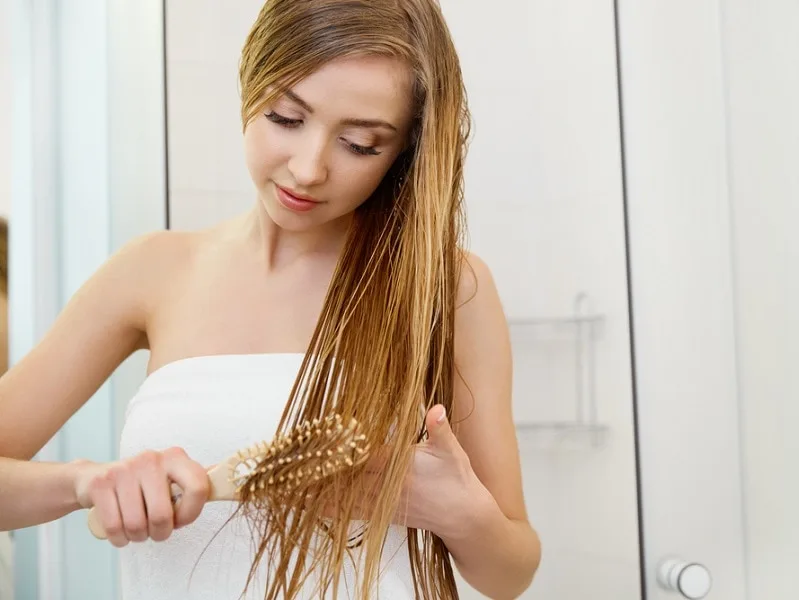
Experts recommend that rough drying should remove up to 80% of the water. Only then can you try to comb through it. If you do it while the hair is too wet, you risk breaking some strands.
Combing the hair before blowing helps remove some of the tangles.
Apply Leave-in Conditioner and Gel
Divide your hair into four manageable sections and start adding some product. The first product you should apply is the conditioner. The leave-in gel should follow it.
When applying hair products, start from the roots and work your way to the tips.
Diffuse the Roots
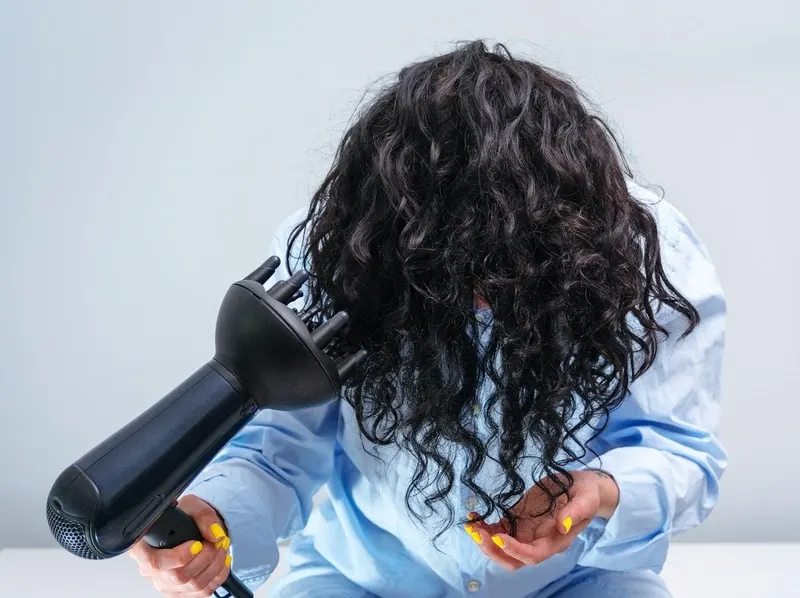
Attach the diffuser to the dryer and set it on medium heat. The blower also needs to be at medium speed. Place the diffuser right at the bottom of the hair if you are blowing curly hair.
Hold the end with a clip away from the diffuser. Keep at it until all the roots are dry.
Dry the Top Layers
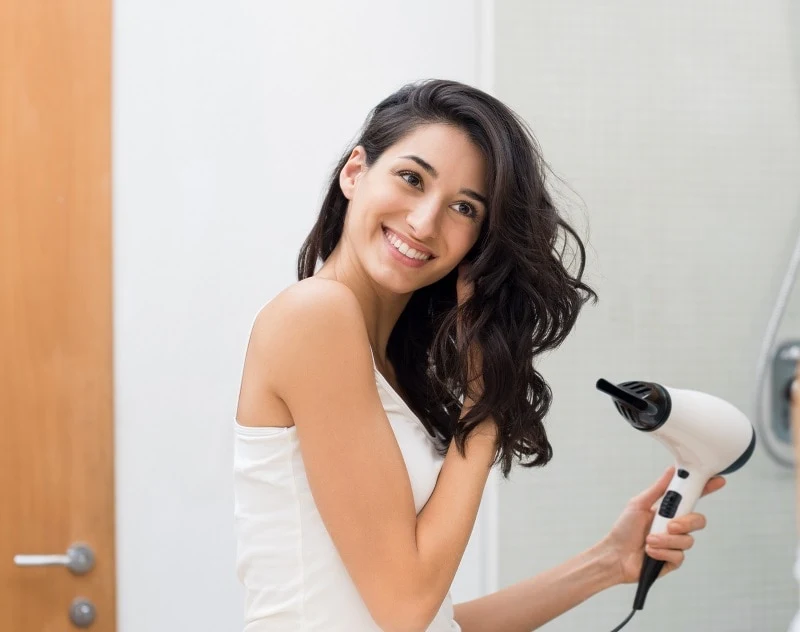
With the bottom layer fully dry, you can turn your attention to the top layers.
For curly hair, it is best to let it dry naturally. Otherwise, you risk making them frizzy. But if the hair is straight, you can use the blower to dry the top layers.
Hold the dry lower layer with a clip and blow the top layers. You will get better results if you aim at the roots and work your way to the tips.
Smooth and Finish
You can now remove the clips and let the hair fall back. If you want to curl the ends, roll them on a round brush and blast them with heat.
But if you prefer straight ends, pull the brush through the hair while drying. Finish up by tamping the hair down with styling cream.
3. Towel Drying Your Hair
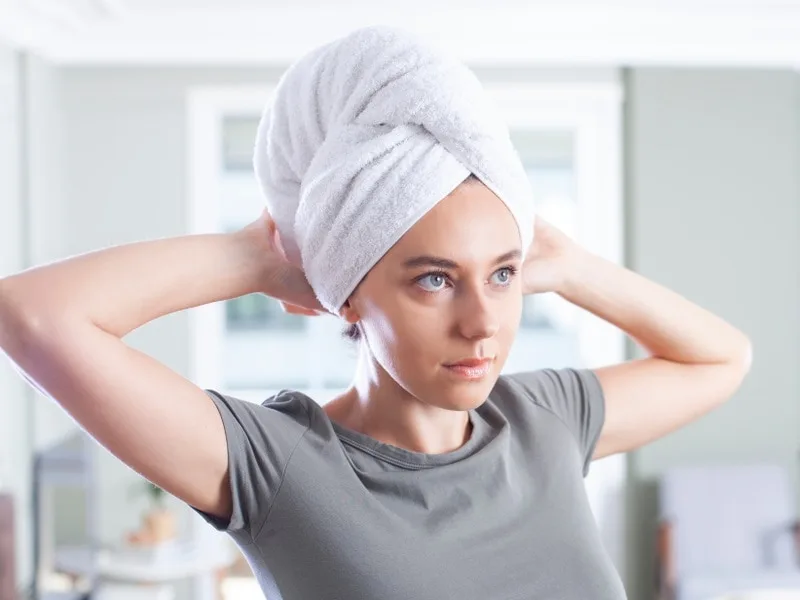
Both blow-drying and air-drying involve the use of a towel to some extent. In both cases, towels are used to dry the excess water partly.
However, towel drying can also be used on its own. But it takes a lot more time. If you have long hair it may even take 30-45 minutes to dry your hair. Here are the steps you should follow.
- Choose the Right Towel: Not all towels are good for drying hair. Choose a microfiber cotton towel to obtain a smooth finish. If you can afford it, opt for something with a high thread count.
- Target The Roots: Hair usually dries from the tip to the roots. So to speed the process, target the roots when drying with a towel. Bend over and flip the hair, so it hangs forward. Starting from the roots, press the hair against the towel from each side. Gently work your way down the tips.
- Wrap the Towel: The blot and squeeze method is not for everyone. Fortunately, a nice towel wrap can get the job done. The key is positioning the towel correctly. You can buy a turbine band or a turbine twist for those who struggle with securing the towel wrap.
Best Way to Dry Your Wet Hair After Shower
We techniques we have described above to make your hair dry after a shower either take time or damaging for the hair.
If you want to balance between time and damage, here is a step-by-step process that includes all three methods that’ll make your wet hair dry quickly after showering without causing much damage.
- Right after showering, gently blot your hair with a microfiber towel or a soft cotton T-shirt. These materials are less abrasive than regular towels and reduce frizz and breakage.
- Let your hair air dry for a while before blow drying. Hair is most vulnerable when it’s very wet, so allowing it to partially air dry reduces the time it’s exposed to the heat of a blow dryer. Aim for your hair to be about 60-70% dry.
- Use a wide-tooth comb or a detangling brush to carefully untangle your hair, starting from the ends and moving upwards to the roots.
- Before using a blow dryer, always apply a heat protectant to damp hair. This step is crucial to shield your hair from heat damage.
- Begin blow drying. Use a low to medium heat setting and keep the dryer moving to avoid concentrating heat on one spot. Keep the dryer at least six inches away from your hair. Dry your hair in sections for more control and even drying.
- Finish your blow-drying session with a blast of cool air. This helps to close the hair cuticles, adding shine and setting the style.
- Once your hair is dry, apply a small amount of hair oil or serum to the ends to add moisture and shine.
Tips for Best Results:
- Avoid Excessive Heat: High heat can cause significant damage. Use the lowest effective temperature setting on your blow dryer.
- Timing: Avoid blow drying immediately after washing. Letting hair partially air dry reduces heat exposure.
- Nozzle Attachment: Use a nozzle attachment for more precise and efficient drying.
- Hair Type Considerations: Fine or damaged hair requires a gentler approach, while thicker hair might need a bit more heat and time.
By following these steps, you can dry your hair effectively while minimizing the risk of heat damage, preserving the health and integrity of your hair.
