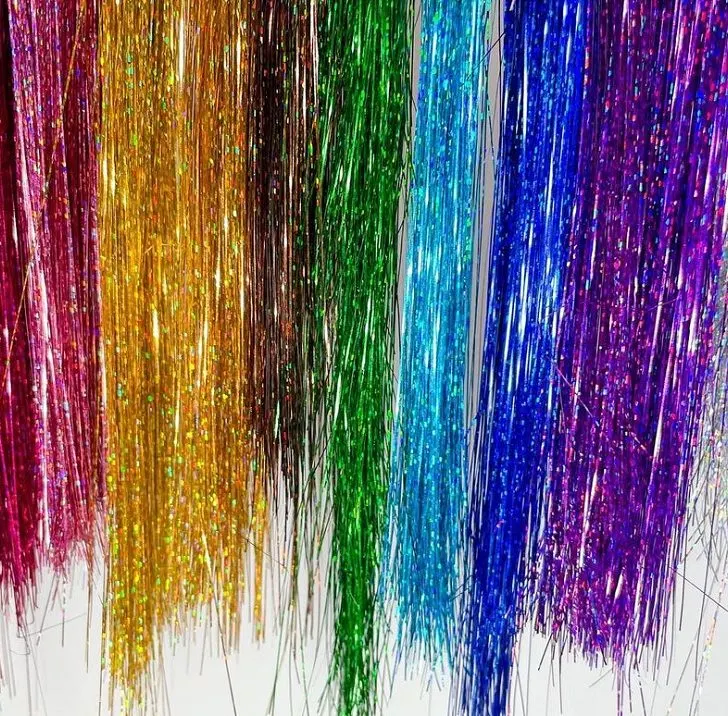
Like many trends of the 1990s and 2000s, the hair tinsel style is now back, thanks to TikTok. And the best thing about this trend is that you can wear tinsel hair extensions to any event.
Tinsel hair is a temporary and subtle way to add color to your hair without committing to a dye job or highlights. We’ll share everything you need to know about hair tinsel, including how to apply and remove it.
What Is Hair Tinsel?

Hair tinsel, also called glitter hair or fairy hair, refers to sparkly, iridescent strands installed throughout your head to give your hair a shimmery appearance. They come in different colors, including rainbow colors.
The low price and color variety of tinsel are a few reasons this trend has become popular. It is also low maintenance and temporary compared to dyeing or getting highlights.
How Long Do Hair Tinsels Generally Last?
Depending on your hair texture, tinsel lasts about two to eight weeks. Microbead hair tinsel lasts up to 12 months, but you can take it out sooner.
Hair tinsel makes for a perfect hair accessory for festivities, holiday parties, and an everyday glow. And, unlike coloring, tinsel does not damage your hair.
How to Install Hair Tinsel: 5 Steps
You can apply tinsel at home or work with a hair specialist. Here are the steps to follow.
Step 1: Prepare Your Hair
Prepare your hair by washing, drying, and detangling it. Cleaning prevents the tinsels from slipping during the application, while detangling simplifies the installation process.
Once your hair is clean, dry, and tangle-free, decide where and how much tinsel you want to apply. Identify the hair strands you’ll attach tinsel to and secure the rest with hair clips.
Step 2: Slip Knot Method
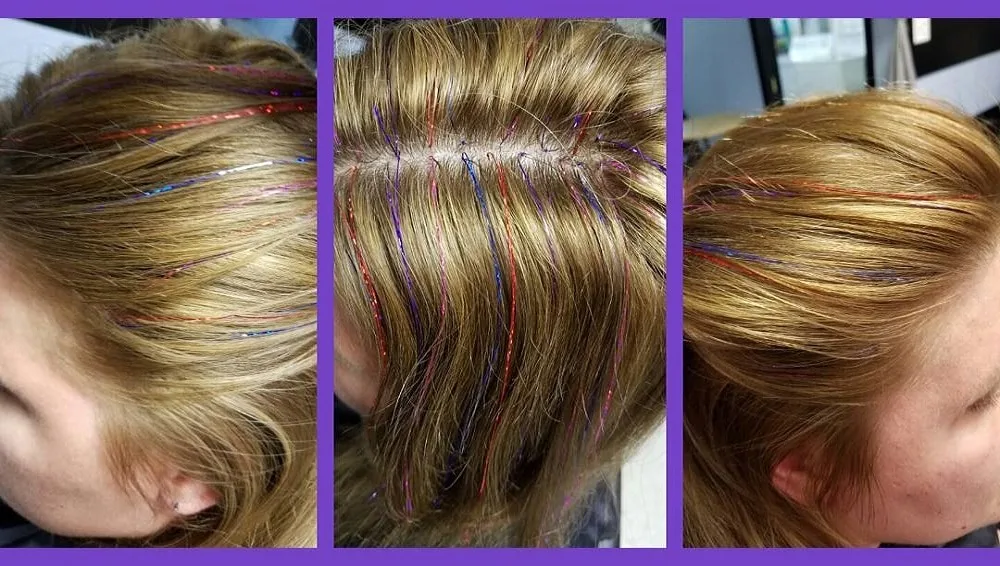
The Slip Knot method is one of the two methods of installing tinsel hair extensions. This method is commonly used when installing tinsel to medium to coarse-textured hair. While you can do the Slip Knot method at home, working with a hairstylist is the better option.
Most people choose the slip knot method as it provides the most seamless fairy hair look. For this method, you’ll need a latch hook. Most hair tinsel packs come with one, or you can purchase a separate hair tinsel kit.
Take a single strand of tinsel and fold it in half to find the midpoint. Form a slip knot with the folded hair.
Once you have the slip knot, take a single strand of your hair and pull the strands through the slip knot. Take up to five strands of your hair if you have thinner hair.
Tighten the hair tinsel, bringing it close to your scalp. Secure the knot to keep the tinsel from slipping off. Repeat until you’ve applied as desired. Trim off excess hair tinsel to the level of your hair.
Style your hair as desired. Don’t shy away from using a curling iron. Tinsels such as the Goddess glitter hair strands can withstand temperatures up to 400°F.
Tip: Apply a little eyelash glue to the knot to keep the tinsel in for longer.
Step 3: Beaded Approach
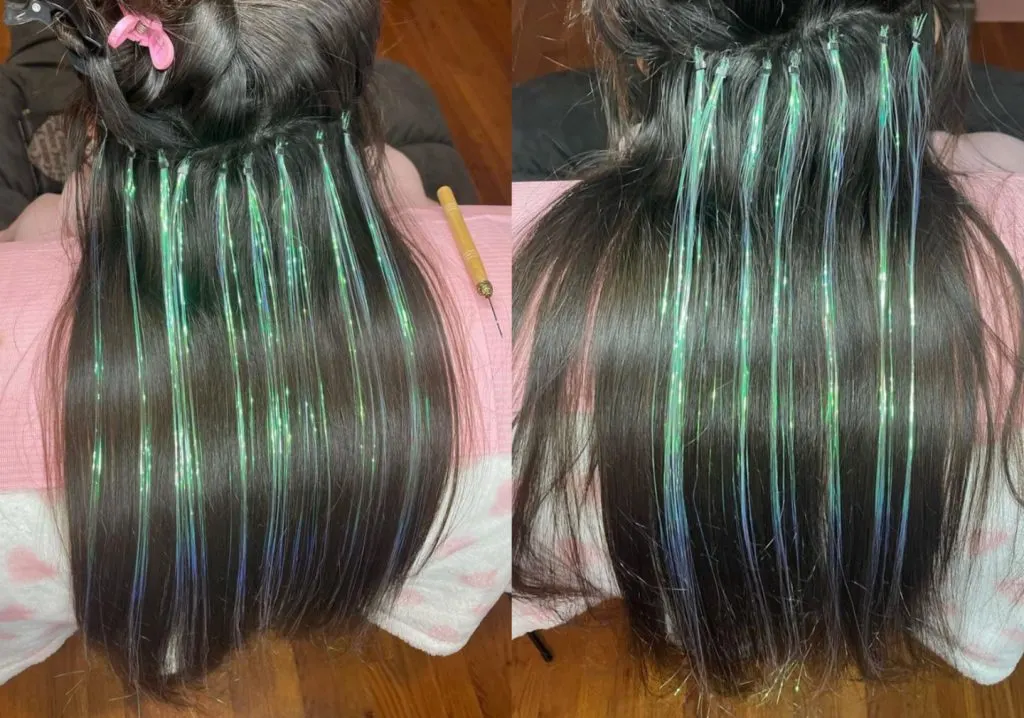
The beaded approach is the second method of applying tinsel. Hair professionals use the beaded system when installing tinsel extensions on fine hair, as the beads have an extra grip.
Microbead hair tinsel extensions last anywhere from six to twelve months.
You will need microbeads, needle nose pliers, and a threading tool for this method. Start by loading a microbead to a threading tool. Take a few strands of tinsel and loop them through the microbead, ensuring that the bead lies at the midpoint of the tinsel hair extensions.
Secure the hair tinsel to the bead using two knots. Take a few strands of hair and use the threading tool to thread it through the bead. Push the bead as close as possible to the scalp.
Tightly clamp down the microbead using the pliers to keep it from slipping. Repeat the process until you’ve installed the desired tinsel extensions. Trim the excess hair tinsel to match your hair length.
Part your hair a little offset than you usually do to allow for a seamless look. Once you install the tinsel extensions, you can part your hair normally to cover the beads.
Step 4: Tape-ins
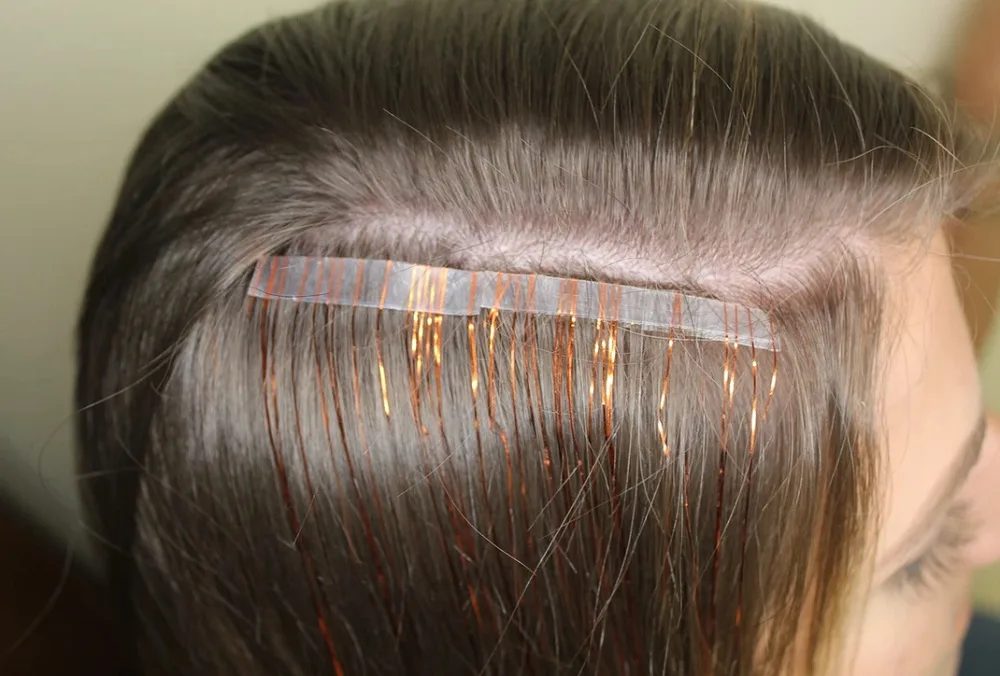
Tape-in tinsel extensions are the easiest to install. They come as weft extensions attached to the transparent, removable, and reusable tape. The tape-in tinsel installation technique is the best if you are looking for a low-price DIY solution.
At a price of about $14 for tinsel hair kits, tape-in hair tinsels can save you money when you install them at home.
To tape in the hair tinsel, you’ll need scissors, a hair tinsel kit, and a comb. Wash and dry your hair. Do not use an oil-based product when preparing your hair for the tape-in.
Part your hair based on where you want to place the hair tinsel. If you are covering your entire head, start about an inch away from the hairline (and part lines) so that the tape is concealed once you finish installing.
Clean your parts, so your hair doesn’t tangle on the tape. You can use holding spray if you have a few loose strands. Once you have a clean part, remove the protective covering from the tape extension and place it along the part line but not directly on the scalp.
Turn the taped part and line another tape-in extension from the opposite direction so that your hair is sandwiched between two tape-in extensions. Apply pressure on the tape, so it sticks together. Repeat the process throughout your head.
Trim the tinsel strands to the level of your natural hair and style them with a curling iron.
Step 5: Nano Ring
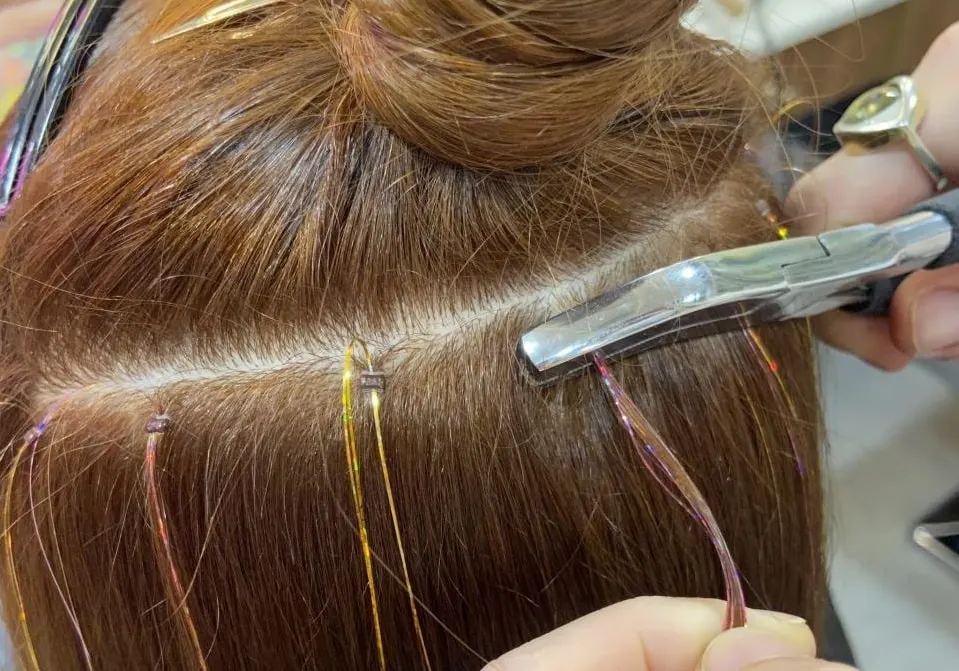
Nano rings are similar to microbeads but smaller. Their small size makes them perfect for thin or fine hair, as they are less visible than tape-in glitter extensions. They last about three or four months with regular maintenance.
To install hair tinsel using the nano ring method, start by parting your hair as desired. Section out some hair directly under the parting.
Loop several strands of hair tinsel depending on the desired look. Clip your loop to the hair. Thread a nano ring into a pulling needle alongside some of your natural hair. Pull the hair and tinsel through the needle loop.
Push the nano ring towards the scalp and clamp it to fasten. Repeat the process until you’ve installed the desired tinsels. Trim the bottom of the tinsel to match the length of your natural hair.
How To Remove Hair Tinsel
The tinsel removal process depends on the installation method used. For tinsel hair installed using the slip knot method, removal involves loosening the knot and sliding off the tinsel. However, you can still leave the tinsels on until they fall off as your hair sheds.
Removing beaded tinsel extensions requires needle nose pliers. Locate the bead and pinch it on the sides until the bead opens. Slide it off your hair. Repeat until you remove all the tinsel hair.
You can remove tape-in hair tinsel using a tape-in bond remover or oil. When using the bond remover, apply it directly to the tape to loosen the adhesive and detach it from your hair. Lift the tape from your hair.
If you installed tinsel using nano rings, use pliers to open them and gently pull out the hair tinsel.
-
Different Buzz Cut Lengths – Number 1, 2, 3 and 4 Buzz Cut Styles
The buzz cut is trendy right now and you have decided to go for it. Congratulations, but are you confused about the different buzz cut lengths? Are you familiar with number 1, number 2, number 3 and number 4 buzz cut lengths? If not, you should as length matters the most in buzz cut hairstyle!…
Fun, colorful, and sparkly, hair tinsel is the perfect way to add color and spark to your hair without damaging it or committing to color. It’s temporary, versatile, and comes at a pocket-friendly price. And whether you choose the DIY or professional stylist route, this is a super cute hairstyle.
Frequently Asked Questions
Depending on the color of the hair tinsel you choose, it can have the shimmery, magical look of fairy hair. And if you go for rainbow tinsel, your mane will resemble that of a unicorn.
Hair tinsel became trendy in the 1990s, and Beyoncé revived the trend in 2010. In 2024, its popularity has exploded thanks to celebrities and social media influencers embracing the trend.
Yes. Tinsel is a versatile hair accessory. You can wear it to festivals, parties, and even to work, depending on your workplace.
You can choose colors as close to your natural hair as possible to give you a shimmery and professional look. Alternatively, distribute single strands of glitter hair throughout.
Hair tinsel does not damage your hair if you follow the proper installation, maintenance, and removal procedures.
If you’re worried about damaging your hair, work with a professional hair stylist who can identify healthy strands to apply tinsel on. Tinsel is also heat safe and won’t damage your hair when styling.

