

Disclaimer: This content is for informational purposes only and does not constitute medical advice, diagnosis, or professional treatment. Always consult a healthcare provider for scalp/hair conditions and perform a patch test before using any chemical products.
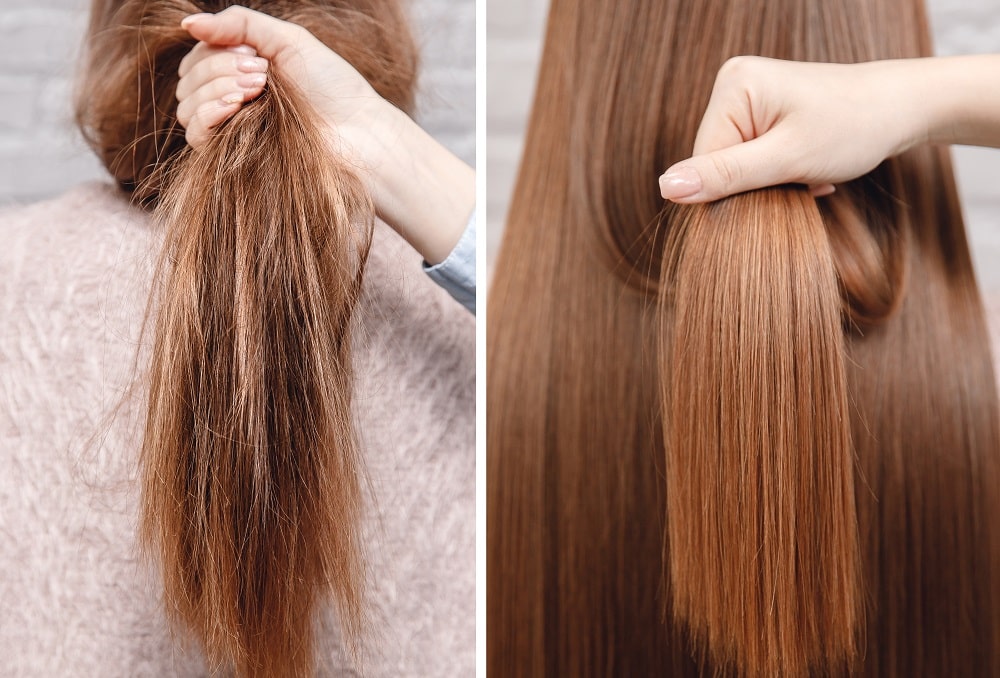
Asking for treatments to fix dry and damaged hair is one of the most common requests stylists hear at hair salons.
Luckily, there are some solid options to improve dry and damaged hair in one go at the salon. This article will share 12 popular salon treatments to help you get healthier-looking, shinier hair.
Benefits of Salon Treatment for Dry & Damaged Hair
Before getting into the specific treatments that can rejuvenate dry and damaged hair, it’s helpful to know the benefits of salon treatments and why you should consider them.
Add Moisture
If your hair lacks moisture, a salon treatment can help to add hydration back into your strands. A moisturizing treatment for dry hair is especially beneficial in the winter when the air is drier and can strip your hair of its natural moisture.
Repair Damage
In addition to adding moisture, salon treatments can also help improve the look and feel of hair that’s been stressed by chemicals, coloring, heat, environmental factors, or even over-styling.
Improve Appearance
You can tell when your hair is dry and damaged, not just by the way it feels, but by the way it looks. Hair can seem duller, frizzier, and less lustrous. A salon treatment can help it look smoother and shinier.
Improve Hair’s Overall Health
Treatments that add moisture and support damaged hair can also improve your hair’s overall health. Proper hair health is not just about how your hair looks, but also about:
- Resistance to breakage and split ends
- Capacity to grow in both diameter and length
- Scalp health
- Elasticity (bounce)
- Softness and shine
The best aspect of selecting a salon treatment for your hair, instead of trying an at-home treatment, is that the hairstylist can tailor the treatment to meet your hair’s specific needs.
When Should You Go to the Salon for Hair Treatment?
Ideally, you should go to the salon for a treatment every four to six weeks. If you have very dry or damaged hair, you might need to go more often at first and then taper off every six weeks as your hair improves.
If you wait too long for treatment, more aggressive services may be required to get it back to a healthier state, especially if you continue the behaviors that led to the damage in the first place.
Best Salon Treatments for Dry, Damaged Hair
You can find these top 12 salon treatments for dry and/or damaged hair at most salons.
1. Keratin Treatment
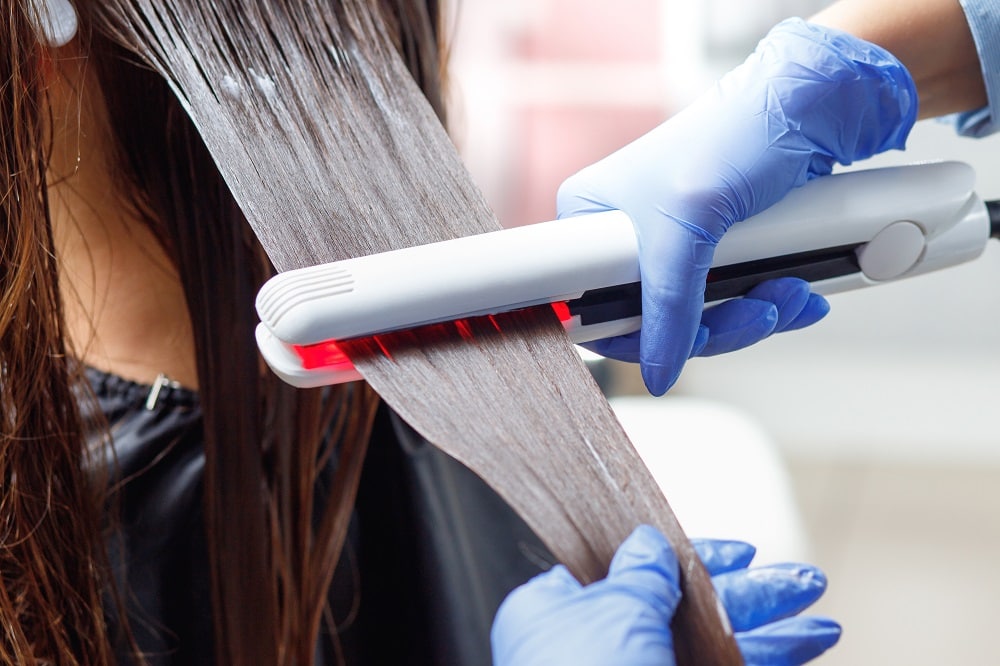
It may seem counterintuitive to use chemicals, especially if your dryness or damage results from other chemical treatments. However, a keratin treatment can help smooth rough cuticles, reduce frizz, and make hair feel more manageable.
It works by coating and bonding along the hair surface, which can make strands look smoother and feel less prone to snapping from day-to-day friction. The chemical process smooths the cuticle and can relax the hair pattern a bit, so if you have curly hair and want to keep those curls intact, this might not be the best option for you.
Note: Some keratin treatments can permanently loosen your natural curl pattern. Ask your stylist for a “curl-safe” formula if you want to keep your texture.
Formaldehyde Warning
Many smoothing treatments release formaldehyde gas (or formaldehyde-releasing ingredients) when heat is applied. If you have sensitivities or are pregnant, ask your stylist for a “formaldehyde-free” option and make sure the room is well ventilated.
Those with straight and wavy hair, or those who don’t mind relaxing their curls a bit, will love having less frizz and fewer flyaways after a proper keratin treatment.
These treatments typically range from $250 to $500.
Pros
- Reduces frizz and improves manageability
- Makes hair look smoother and shinier
- Treatment can last up to 6 months
Cons
- Needs specific aftercare products to help results last
- May change the natural curl pattern
- Frequent treatments can stress already fragile hair
2. Detoxing Treatment
Hair detoxing means getting rid of excess oils, dirt, and product build-up stuck in your hair. Usually, this requires a specialized detoxifying shampoo and conditioner, but there are plenty of treatments you can make at home.
A hair detox gives you a deeper, more intense clean that can remove stubborn product build-up as well as scalp residues. It can work for many hair types and can leave you with healthier-looking, shinier hair. It’s like a factory reset for weighed-down strands.
Note: These treatments are clarifying and can strip artificial hair color or toner. Consult your stylist if you have recently colored your hair.
Given that it’s a more intense treatment, it’s essential to follow it up with a conditioner or mask that will soften and help protect the hair from feeling stripped.
Pros
- Removes excess oils, dirt, and product build-up
- Improves scalp feel and freshness
- Works for many hair types
Cons
- Can strip hair of natural oils if overdone
- May need regular sessions for sustained results
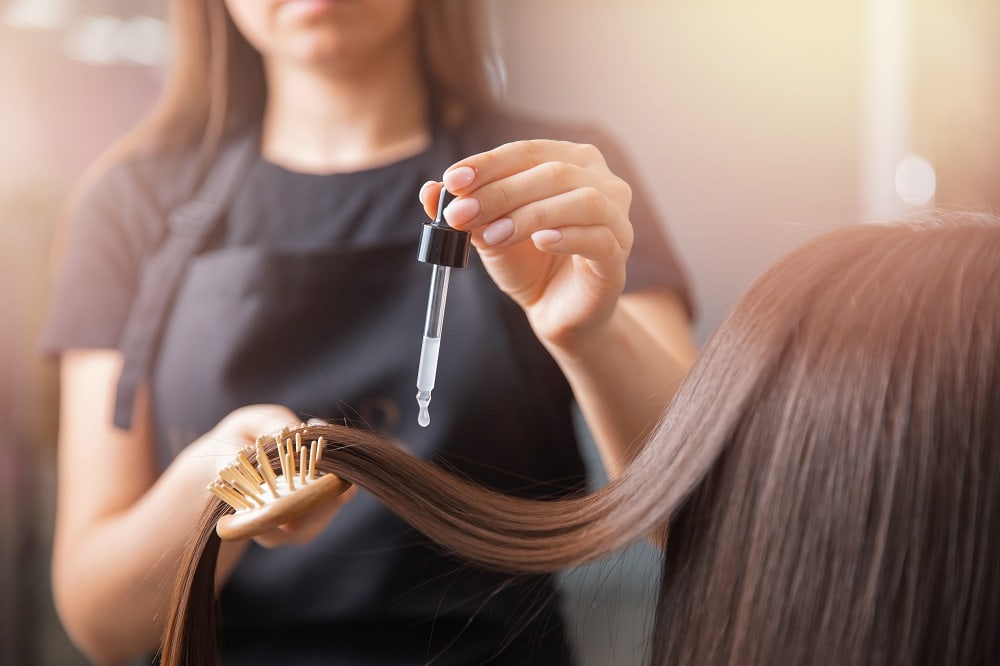
3. Kérastase Fusio-Dose
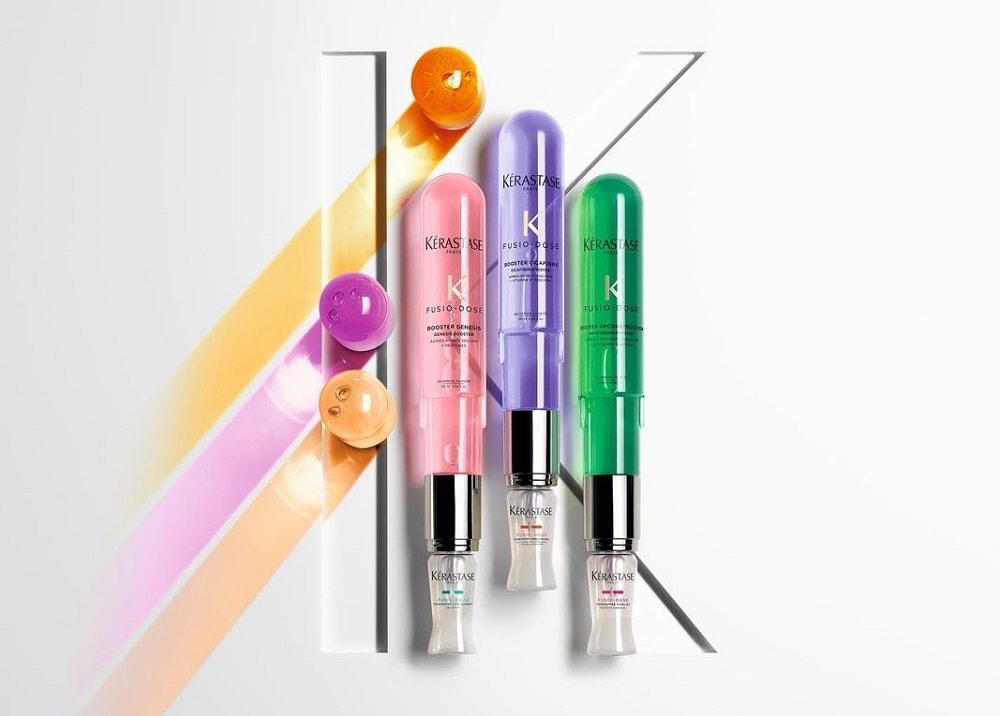
Kérastase Fusio-Dose is another salon treatment that works great for all hair types. Like many in-salon systems, it can help improve softness, shine, and frizz.
A hairstylist may use this treatment instead of a standard conditioner on your hair. But the process isn’t as simple as squirting some liquid on your hands and rubbing it in.
With Kérastase Fusio-Dose, a hairstylist will take up-close photos of your strands to get the best look at what to support, be it dryness, color stress, heat stress, or more. It costs around $30.
Pros
- Customized according to specific hair needs
- Effective for improving dry and damaged hair
- Transforms your hair in less than 5 minutes
Cons
- Requires frequent salon visits for upkeep
- A few customers reported greasy scalps after treatment
4. Brazilian Blowout
A Brazilian Blowout is a go-to for blasting away frizz and making your hair smooth and sleek. It is a form of smoothing treatment that uses chemicals, so it can be risky for those with sensitive skin or scalp conditions.
The treatment smooths the hair by coating it with a protein layer. This layer can help protect the hair from humidity, heat styling, and future styling stress.
Formaldehyde Warning
Many smoothing services release formaldehyde gas (or formaldehyde-releasing ingredients) when heat is applied. Ask your stylist for a “formaldehyde-free” version if you have sensitivities or are pregnant, and make sure the salon uses good ventilation.
A Brazilian Blowout can last approximately 12 weeks and costs around $350.
Pros
- Significantly reduces frizz and smooths hair texture
- Leaves hair looking glossier
- Doesn’t permanently change the hair’s structure in the way some relaxers do
Cons
- May involve formaldehyde or formaldehyde-releasing ingredients
- Lasts only about 10-12 weeks
- Not ideal for extremely fragile, over-processed hair
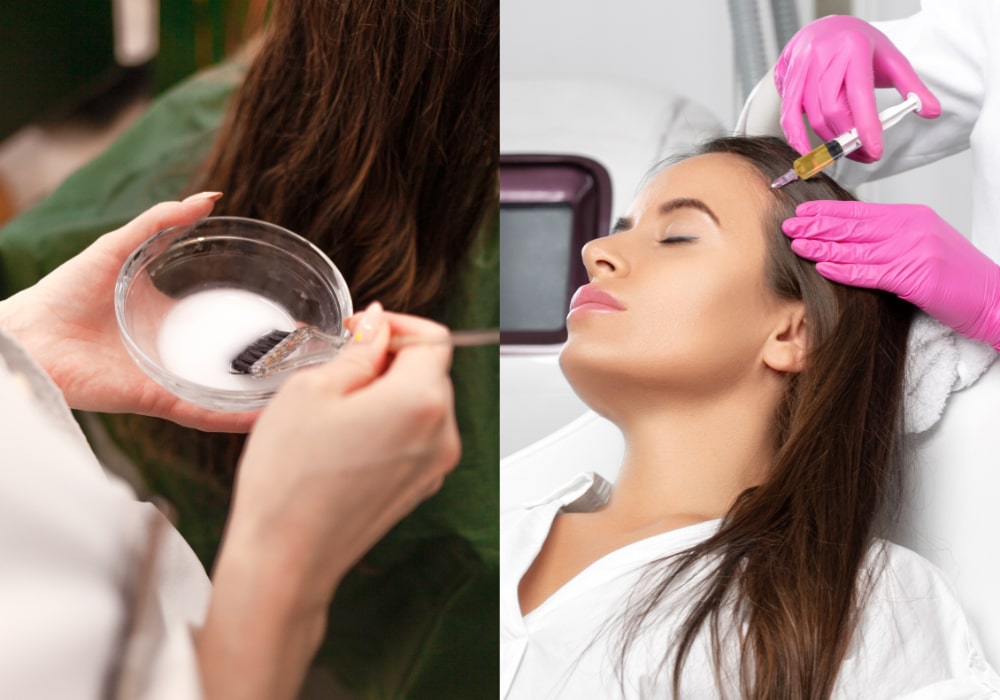
5. Bond Building Treatments (Olaplex & K18)
Bond builders are the biggest modern upgrade in salon repair, especially if your hair is damaged from bleach, highlights, or frequent heat. Unlike many conditioners that mainly coat and soften, bond builders are designed to support the internal bonds that get stressed during chemical services.
Olaplex is the most well-known. In salons, it’s often added to lightening or coloring services, or used as a standalone treatment to improve strength and reduce breakage. K18 is another popular option that focuses on molecular-level repair and can be used in-salon after chemical services.
Pricing varies by salon and whether it’s an add-on or a full service, but it’s commonly offered anywhere you color or lighten your hair.
Pros
- Best option for bleach or chemical damage
- Helps reduce breakage and improves hair strength
- Works well alongside moisture masks and trims
Cons
- Results depend on the level of damage and consistent aftercare
- Can feel less “slippery” than heavy conditioners, especially right after treatment
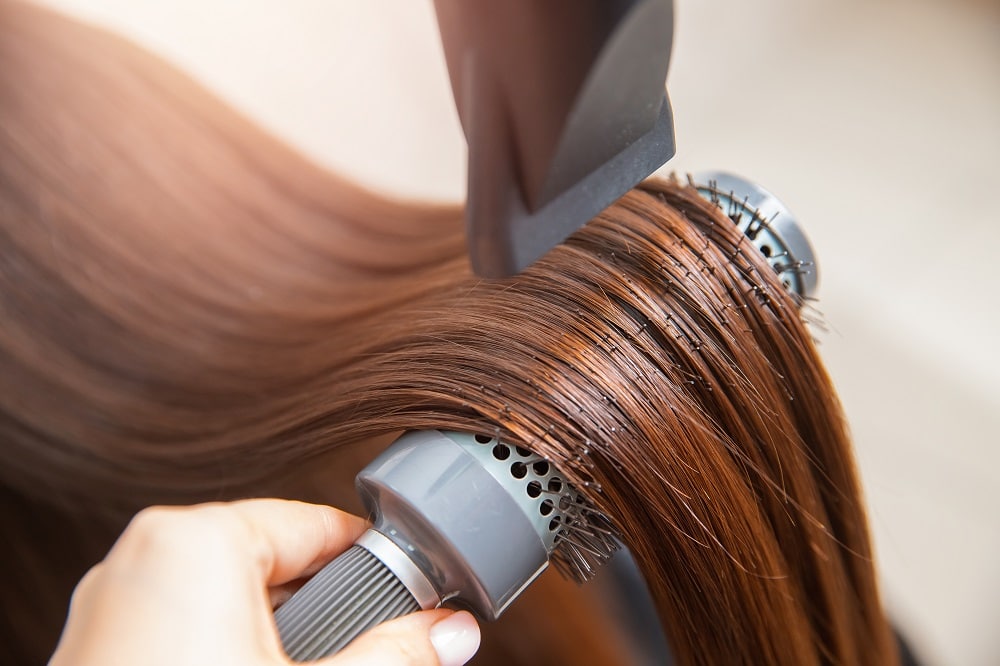
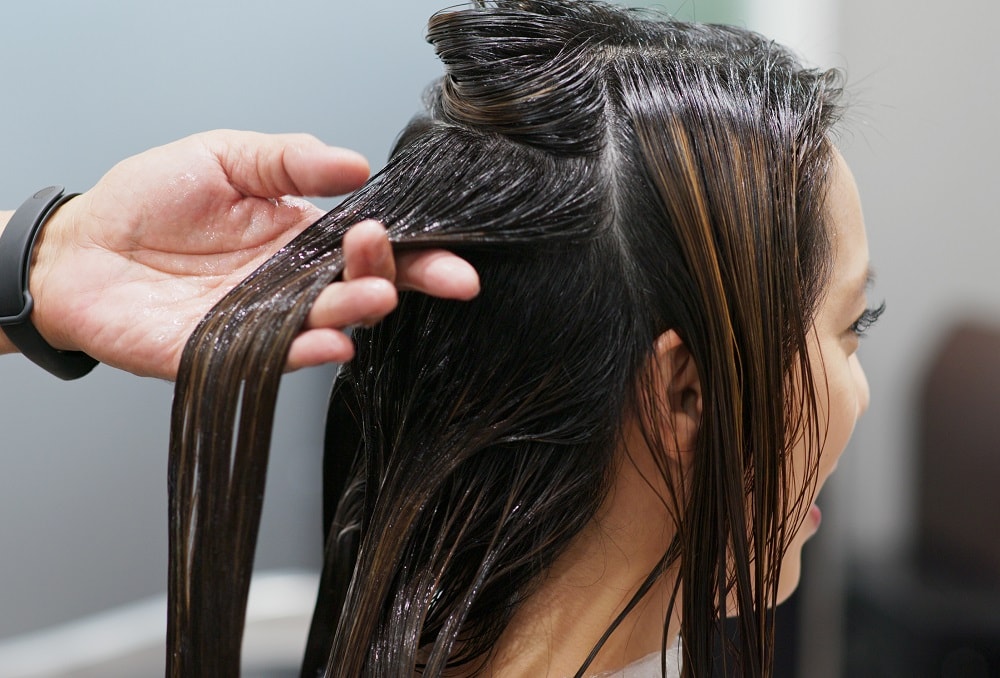
6. Multi-Step Repair Systems (e.g., Japanese Treatments)
Multi-step repair systems are salon services that layer hydration and conditioning in steps, often focusing on softness, smoothness, and shine. Brands like Milbon (Inphenom) offer intensive multi-step treatments.
This five-step hair treatment is an excellent option if your hair requires significant hydration. These treatments can help improve softness and smoothness by supporting the cortex and closing the cuticle and locking in moisture, which can help reduce future damage.
The results include hair that feels strong and soft, which can last for several weeks after the treatment. The average price is around $75, and many believe it is well worth it.
Pros
- Makes stiff, dry, or damaged hair feel silky soft and look shinier
- Locks moisture in the hair to help prevent further damage
Cons
- Not available in all professional salons
- May not offer enough repair for heavily bleached hair
7. Hair Glossing Treatment
It’s no secret that excessive hair dyeing can damage and dry out your locks. A hair gloss is a gentle, demi-permanent form of coloring that offers a lower-maintenance alternative to permanent dye.
Hair glosses are formulated with amodimethicone and behentrimonium chloride, which are helpful for smoothing dull hair and boosting shine.
You can choose between clear gloss, which will give your hair shine, or colored gloss, which will add shine as well as color.
The whole process can last up to 40 minutes, and a good 20 minutes of that is leave-in time.
You can get this treatment at a salon or do it at home. Results usually last around 4 weeks.
Pros
- Adds a luminous shine to the hair, making it look healthier
- Enhances and revives the color of dyed hair
- Helps smooth hair cuticles, reducing frizz
Cons
- The effects are relatively short-lived, requiring regular treatments
- May lead to product buildup on the scalp if overused
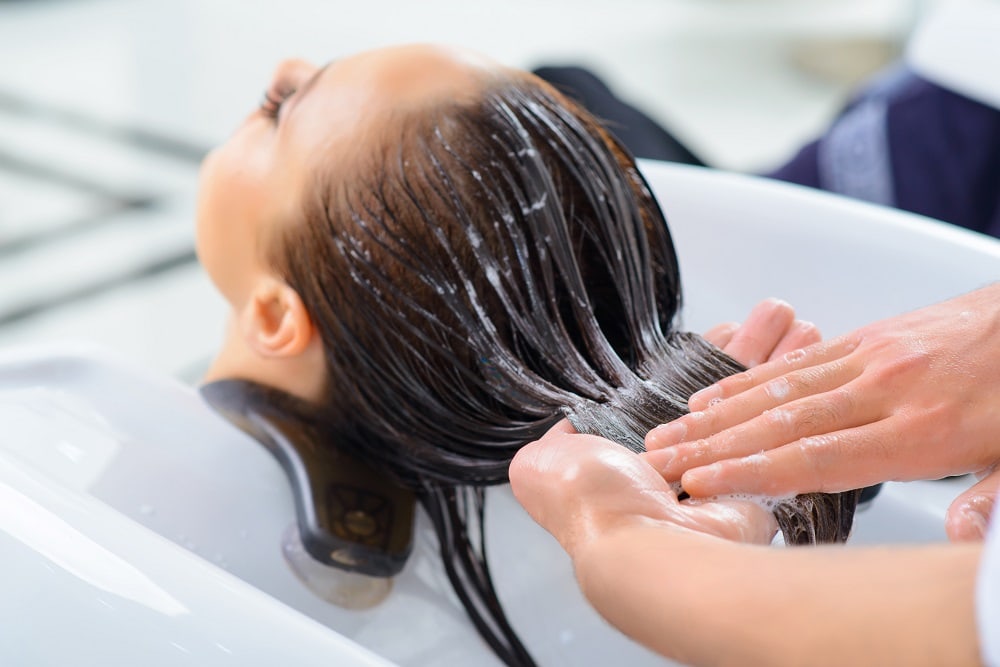
8. Professional Deep Conditioning Masks
Professional deep conditioning masks are one of the best salon treatments for dry and damaged hair that needs serious hydration after heat, stress, and over-processing.
Some masks contain a blend of jojoba oil and vitamins, which can help condition your strands and nourish your scalp. Together, they support softness, add shine, and improve manageability.
The mask is around $8, but a salon may charge about $20 – $30 for a deep repair treatment like this.
Pros
- Provides deep conditioning for dry, damaged hair
- Helps improve softness and manageability
- Leaves hair feeling smoother
Cons
- Requires time to sit in the hair for effective results
- Might be too heavy for those with fine or oily hair types
9. Protein Treatments
Protein treatments are excellent for damaged hair because they help reinforce the hair, reduce brittleness, and improve strength.
Note: To see if you need protein, try the elasticity test: pull a single damp strand. If it stretches and returns, you are balanced. If it stretches and snaps (or feels mushy), you need protein. If it doesn’t stretch at all and snaps immediately, avoid protein and reach for moisture.
In salons, you’ll often see options like Redken CAT (a quick protein boost). For very damaged hair, some people use stronger at-home options like Aphogee Two-Step, but it’s best to get guidance from a stylist if your hair is fragile.
Most protein treatments provide a temporary strengthening effect, and the results usually last for about one month. If your hair starts to feel stiff, rough, or snappy, you may be overdoing protein and need more moisture instead.
Pros
- Helps reinforce hair structure, reducing breakage
- Particularly beneficial for hair weakened by coloring or heat styling
- Improves elasticity when used correctly
Cons
- Excessive use can make hair hard and brittle
- Focused more on strength, less on hydration
10. Hot Oil Treatment
While protein treatments target weakened strands, hot oil treatments at the salon specifically target dry hair.
A stylist will massage warmed oil into the scalp and hair. This can help soften the hair and improve slip, which makes detangling easier.
This treatment is excellent for dry scalps, as the oil can help moisturize the skin. Prices typically range from $10 to $30 as an add-on service, while standalone treatments will cost more.
Pros
- Great for deep moisture on scalp and hair
- Warm oil can feel relaxing and soothing
- Can use a variety of oils based on hair type and need
Cons
- Application and cleanup can be messy and take time
- Those with scalp issues might find hot oil treatments uncomfortable
11. Deep Conditioning Treatment
Deep Conditioning offers the best of both worlds for dry, damaged hair: intense moisture and better manageability. This salon treatment is great for people with frizzy, flyaway hair.
Deep conditioning infuses the hair with moisture and softening ingredients, which helps reduce frizz and improve shine. You may require it more often if you use heat or color on your hair regularly.
The average price of a deep conditioning treatment is $30.
Pros
- Delivers deep hydration to dry, damaged hair
- Makes hair softer and reduces frizz
- Can be customized with various ingredients based on hair needs
Cons
- Effects are temporary, so you may need regular treatments
- Can be too heavy for those with very fine hair
12. Scalp Treatment

Scalp treatments come in various options, including low-level light therapy, scalp scrubs, or intense scalp massages. The aim is to promote blood circulation in the scalp, creating a healthier environment for your hair follicles.
Simple scalp treatments can be done daily with scalp massages. On a weekly basis, dry and damaged hair can be supported using nourishing products massaged into the scalp.
Note: Scalp treatments should be avoided by anyone with psoriasis, eczema, or any open sores.
Pros
- Can treat dandruff, itchiness, and dryness of the scalp
- May help improve scalp comfort and circulation
- Variety of options, from scrubs to massages
- Can support dry, damaged hair with nourishing products
Cons
- Not suitable for certain scalp conditions (psoriasis, eczema)
- Intense treatments require professional supervision
So, if you have dry, damaged hair, consider trying one of the above most popular salon treatments. The right option can help soften strands, boost shine, and reduce breakage, especially when paired with good at-home care.
Frequently Asked Questions
Here are some common questions about salon treatments for damaged, dry hair.
It depends on the type of damage. For chemical/bleach damage, bond builders like Olaplex or K18 are best. For mechanical damage (split ends/frizz), a Keratin treatment or deep conditioning steam treatment is more effective.
A keratin treatment can be good for dry, damaged hair if your goal is smoother, less frizzy hair. Keep in mind it is a smoothing service, not a bond repair treatment, so very fragile bleached hair may do better with a bond builder first.
Yes, deep conditioning treatments help fortify the hair and scalp with oils and conditioning ingredients that help moisturize dry hair. They are a great choice when your hair feels rough, frizzy, or tight.
Kérastase Fusio-Dose is one of the best salon treatments for frizzy hair because it helps smooth the cuticle and tame flyaways. Keratin and Brazilian Blowout style smoothing treatments can also reduce frizz, but they come with stronger chemical exposure.
The average cost of a salon treatment is between $30-$100, but smoothing treatments like keratin or Brazilian Blowout services are usually higher. Bond builders are often priced as an add-on or a standalone service, depending on the salon.
You May Also Like