We love low-maintenance hairstyles that grow out seamlessly. And we love the dimension in our hair color. I mean, who doesn’t?
You may be wondering how you can have your blonde, bronde, or caramel highlights without having your natural root bugging you in just a couple of weeks.
The short answer to this question is to opt for a root shadow or a root melt during your highlight appointments!
But we’re not here to give you the short answer, we want to fill you in on the difference between a root shadow and a root melt and when you would use each one.
There are some slight differences between the two techniques that could make or break you loving your hair.
We want you to be informed before your next highlighting service so you can get a beautiful growth out between appointments and live your best low-maintenance hair life.
Differences Between Root Shadow and Root Melt
The below root shadow vs root melt comparison table should help clarify all the differences between root shadow and root melt.
| Root Shadow | Root Melt | |
|---|---|---|
| Definition | A technique used to blur out the line at the root where your highlights were done, giving depth at the top and allowing highlights to grow out more seamlessly. | A technique that allows you to embrace your natural color at the root while having bright highlights in the mid and ends of the hair. It blurs or “melts” your natural color with your new highlights to avoid a harsh line of demarcation. |
| Purpose | Makes highlights look more modern and fresh. It does not cover up fresh highlights but adds depth. | Gives a more rooted look and ensures a seamless blend between your natural hair and the highlights. |
| Process | Applied with a demi-permanent toner, which is a shade or two darker than the highlights. It is applied in horizontal sections right at the root and feathered down about an inch. It processes for about 5-15 minutes. | Applied with a demi-permanent toner that matches your natural hair color or is slightly darker. It is applied about 3 or 4 inches from the root and feathered down slightly. It processes for about 15-20 minutes or until it matches your natural color. |
| When to Get It | Best after a traditional highlighting service i.e. foils that go all the way to the root. It extends the time between appointments. | Ideal after techniques like teasy lights or other highlights that don’t start right at the root (like balayage or ombre). It also extends the time between appointments. |
| Outcome | Helps the highlights grow out gracefully and seamlessly. | Provides a more rooted lived-in look that embraces your natural hair color. |
| Where to Apply | The shadow root formula is applied in horizontal sections to about 1-inch from the roots, leaving out the hairline foils for a brighter pop in the front. | The root melt formula is applied about 1 inch past where the teasylights begin, which is about 2- to 3-inches down from the root. |
| Why It’s Done | To blur or “shadow” the area at the roots where the highlight and natural color meet without completely covering up the highlights. | To completely erase any demarcation lines so no one can tell where the natural base color ends and the highlights begin. |
| Color Selection | The root area is aimed to be one to two levels darker than the highlights. Favorite root shadow formulas are combinations of Redken Shades EQ 9N, 8N, 7N, 7P, 9P and 7T. | Either aims for the same level as the client’s natural color or a level darker depending on the desired look. Favorite root melt formulas are combinations of Wella Professionals Color Touch 7/89, 5/1, 6/0 and 5/0 or Redken Shades EQ 4N, 5N, 6N, 6T and 7T. |
Root Shadow

What Is A Root Shadow?
A root shadow is used to create a shadow or to blur out the line at the root where your highlights were just done. It isn’t meant to cover up the fresh highlights, you’ll still be able to see them after a shadow root but it will give some depth at the top allowing for the highlights to grow out more seamlessly.
It also makes your highlights look more modern and fresh. Gone are the days of having the super bright and obvious highlights right at the root.
How To Do It?

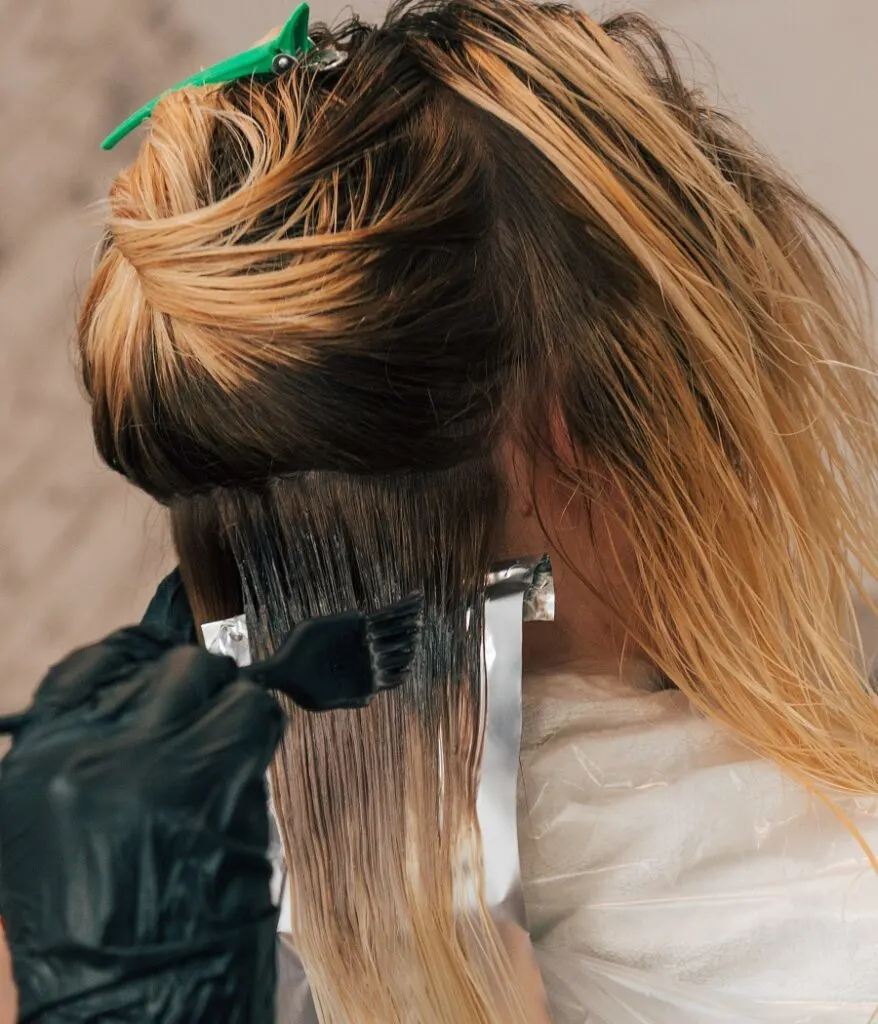
A root shadow is done with a demi-permanent toner on clean, damp hair directly after your highlighting appointment.
The toner for the shadow root will be a shade or two darker than your highlights and will be applied in horizontal sections right at the root.
Your stylist will then feather down the toner about an inch. He/She may use a wide tooth comb to comb through the toner after it is applied to diffuse any lines. The shadow root will process anywhere between 5-15 minutes.
When To Get A Shadow Root?
You’ll want to get a shadow root if you’ve gotten a traditional highlighting service i.e. foils that go all the way to the root.
Because a shadow root is only feathered down about an inch on the hair, it works best for traditional foils and gives you a longer time between appointments.
Root Melt

What Is A Root Melt?
A root melt is used so you can embrace your natural color at the root while still having the bright blonde or bronde highlights you love in the mid and ends of the hair.
It will also blur or “melt” your natural color with your new highlights so that there is not a harsh line of demarcation. A root melt will give you a much more rooted look than the root shadow.
How To Do It

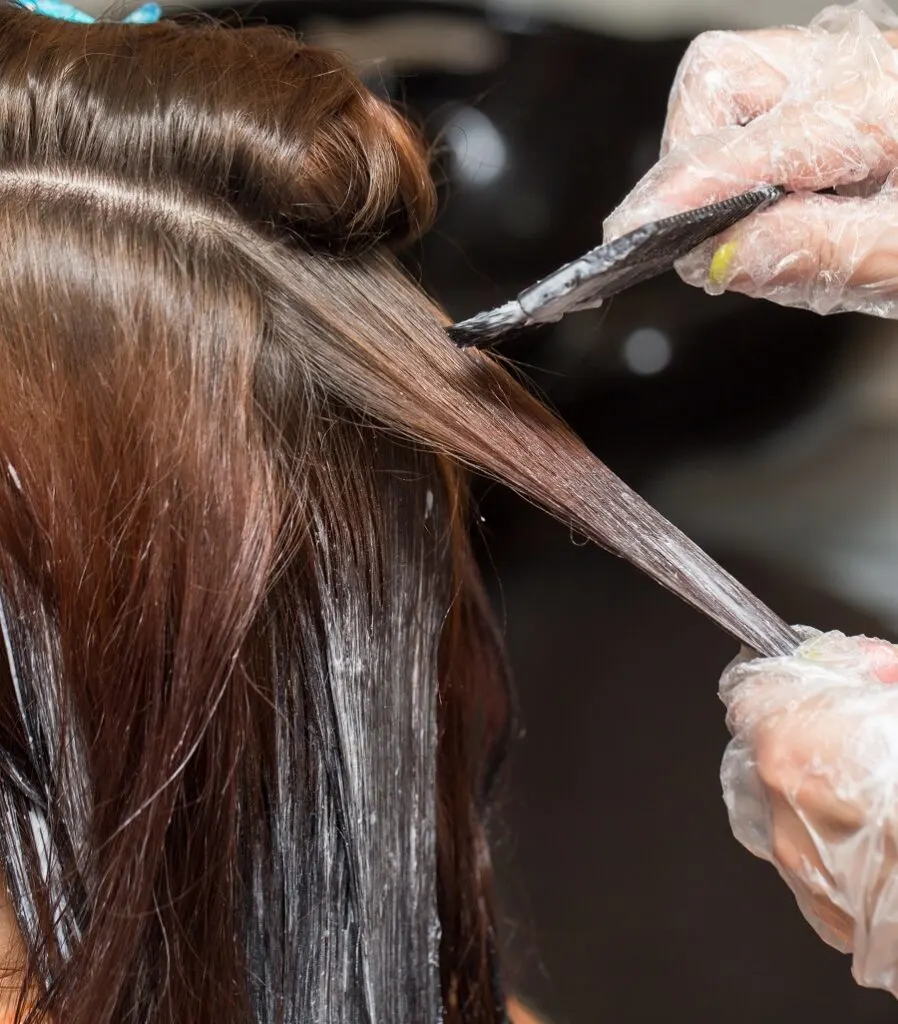
A root melt is done with a demi-permanent toner on clean, damp hair also after your highlighting appointment. The toner of the root melt will be the same color as your natural or slightly darker.
The toner for the root melt will be applied where the highlight usually starts about 3 or 4 inches from the root.
Your stylist may use a wide toothcomb or color brush to feather the toner down slightly to diffuse. The root melt will process for about 15-20 minutes or until it matches your natural color.
When To Get A Root Melt?
You’ll want to get root melt if you’ve gotten teasy lights or any highlights that don’t start right at the root (could be balayage or an ombre technique as well).
You wouldn’t choose a shadow root after teasy lights because it wouldn’t come down far enough or be dark enough to give you that lived in the hair of your dreams.
When you get teasy lights you’re already signing up for a more rooted one because the hair is backcombed before applying highlights so you will not have highlights starting right at the root.
The root melt will ensure a seamless blend between your natural hair and the highlights and you’ll be able to go a few months between highlighting appointments!
We hope that giving you the 411 on root shadows vs root melts will help you with hair lingo and speaking to your hairstylist during your color consultations to ensure you get the hair you want.
We know there are so many different hair techniques and everyone calls them something different (confusing!), we’re here to help you understand how to ask for what you want at the salon and get the effortless, low-maintenance hair we all love.
Your Cliff Notes:
- Root Shadows and Root melts will give you low-maintenance hair that allows you to go longer between appointments but they are different!
- Root Shadows work best after traditional highlighting services where the foils are placed directly at the root.
- A root shadow will seamlessly blend your new highlights and help them grow out gracefully
- Root Melts work best after teasy lights or highlighting services where the foil is not placed directly at the root.
- Root melts will give a more rooted lived-in look that embraces your natural hair color
Trending Topics
