
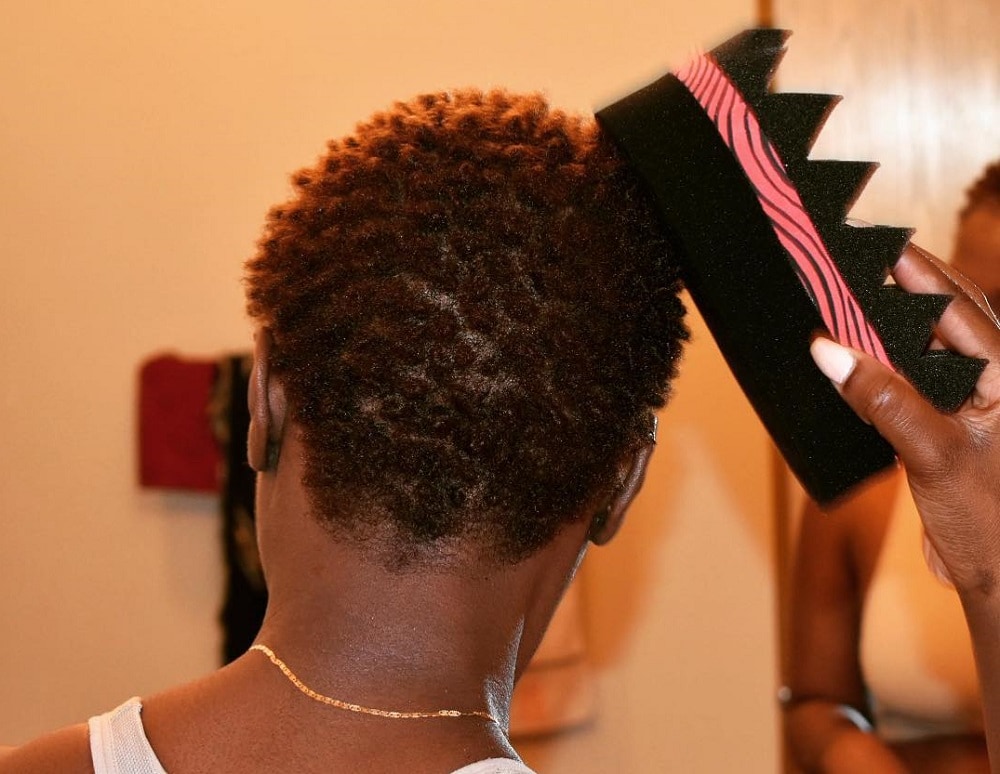
If you want your natural curls to stand out without spending hours in the mirror, sponge curls are one of the best ways to style your hair.
A hair sponge works with your natural curl pattern to clump short strands into defined twists or coils in just a few minutes. The process is faster than finger-coiling.
To get clean definition, use damp hair, enough product for slip, and a gentle, consistent motion.
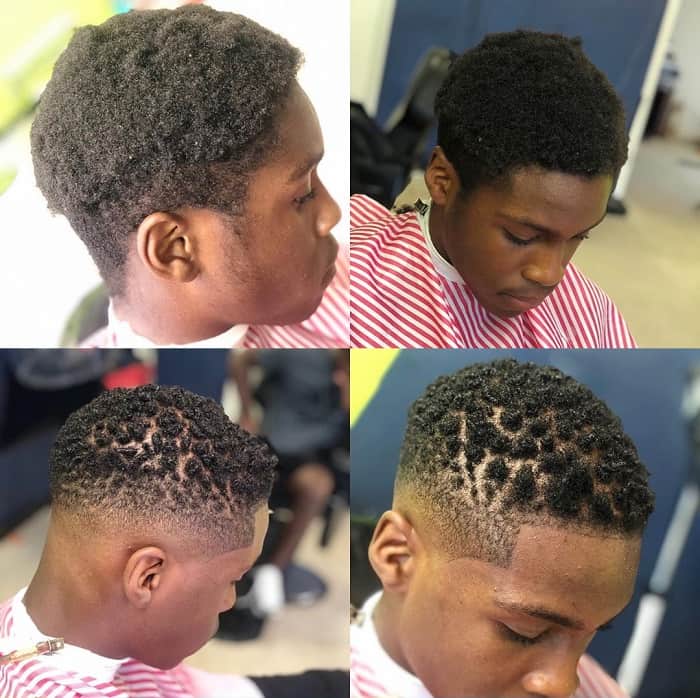
In this tutorial, we break down the safe, barber-approved technique for defined, healthy coils, plus before and after photos to show the results.
Key Takeaways
- Best Hair Type: Works best on short-to-medium Type 3 (curly) and Type 4 (coily/kinky) hair. It will not create curls on straight or wavy hair.
- The Golden Rule: Always rotate the sponge in one direction only (clockwise or counter-clockwise). Switching directions unravels the hair and can increase breakage.
- Never Use on Dry Hair: Dry hair can have a raised cuticle, so sponge friction can act like sandpaper on strands. Use damp hair plus a water-based leave-in, curl cream, or an alcohol-free gel to add “slip” and reduce flash drying.
- Hygiene Alert: Porous sponges trap sebum, product, and microbes. Wash your sponge weekly and let it air dry fully in a ventilated area to reduce bacterial and fungal growth (like Malassezia) and scalp flares (including seborrheic dermatitis).
- Time Limit: Stop after 1 to 5 minutes. Over-sponging increases friction and may contribute to thinning or patchy areas (friction alopecia).
How to Get Sponge Curls for Men
There are a few simple steps to getting sponge curls for men. Let’s take a look.
Preparation
For the sponge to work effectively, your hair needs to be at least one inch long, clean, and detangled. It should be slightly damp, not soaking wet. Towel-dry your hair thoroughly after your shower to remove excess water, leaving it just damp to the touch.
If your hair dries during prep, mist it with warm water. Apply a water-based curling cream or leave-in conditioner to create a “slip” layer that helps reduce friction damage. Now you’re ready to style.
Styling
Different sponge brushes create different curl shapes, but you should choose one based on your hair length. Use small holes for tight coils on short hair, and larger holes or grooves for big curls on longer hair.
Start at the crown and lightly press the sponge against your hair. Do not press it into your scalp. The sponge creates curls by catching the ends of your hair, not the roots. Heavy pressure causes breakage and scalp irritation.
Move it in small circles, keeping the rotation consistent. Continue the circular motion for 1 to 2 minutes until defined coils form.
Finalizing
By the end of this process, you’ll be mostly done, but there may be a few stubborn strands that aren’t as defined as others. Take a tiny amount of curl cream on your fingertips and twist those specific strands into place.
Do not apply curl cream all over your finished hair, as this will weigh down the coils and ruin the definition.
Once you like the shape, apply a light, alcohol-free holding spray, or an olive-oil based sheen spray for a glossy finish without stiffness. This helps seal in moisture and reduces frizz later in the day.
Aftercare & Maintenance
Follow these tips to keep this style fresh for 3 to 4 days:
Night routine: Wear a satin bonnet or durag to sleep. This helps keep your coils from getting flat, so you do not have to restyle every morning.
Morning refresh: Mist your hair with a little water, then finger-coil any flat spots.
My Advice & Notes
- Keep the rotation consistent: Pick one direction and stick with it for the full session. Switching directions can loosen definition and increase breakage.
- Protect the cuticle: Dry hair can have a lifted cuticle. Rubbing a sponge on dry strands can create a sandpaper effect. Keep hair damp and use a product with slip.
- Choose alcohol-free stylers: High-alcohol gels can cause flash drying, especially with sponge friction. Use alcohol-free gels, creams, or a water-based leave-in.
- Limit how often you sponge: Do not sponge every day. Short sessions a few times a week are usually enough.
- Tool hygiene matters: Rinse the sponge after use, wash it weekly with warm water and shampoo, and let it air dry fully in a ventilated area. Replace it if it stays torn, warped, or keeps an odor.
- For kids: Children’s hair can be finer and more prone to breakage. Use a sponge with larger holes and softer foam to reduce tension while still defining the shape.
- When to stop: If you notice snapping, itching, bumps, or a flare in dandruff, stop and simplify your routine. If symptoms persist, consider checking with a dermatologist. For example, bumps can be a sign of folliculitis.
Hair Sponge – Before and After Photos
Below are ten sponge curls before & after examples so you can see the range of results.
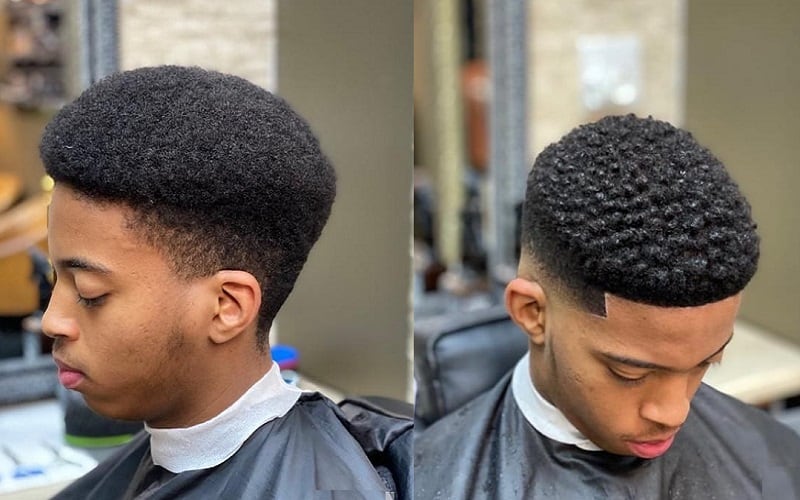
1. High Top Hairstyle with Glasses
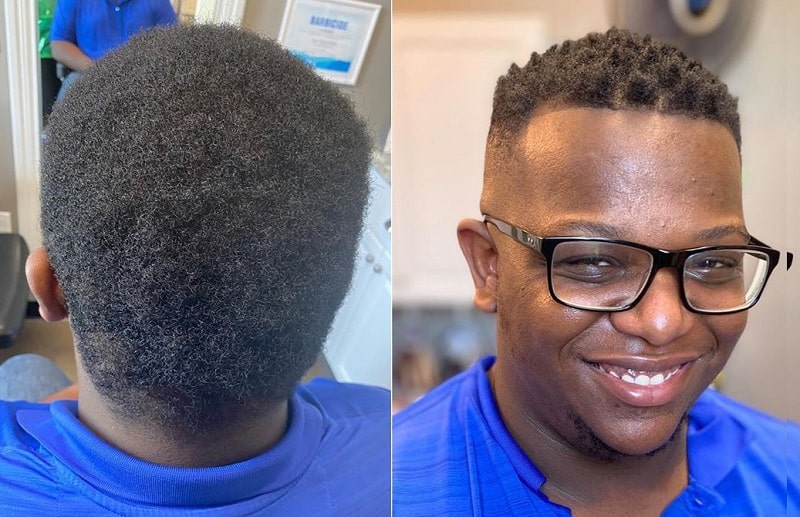
If you want defined sponge curls, start with a haircut that suits you. Maintain a high top and go for a high bald fade for the sides and back. This highlights the area where you will use the sponge to build your coils.
2. Mohawk with Side Design
On coily hair, mohawks can lose definition without a setting step. Use the sponge on the mohawk strip to define coils, then keep the sides clean with a hard part and two lines on both sides of the head.
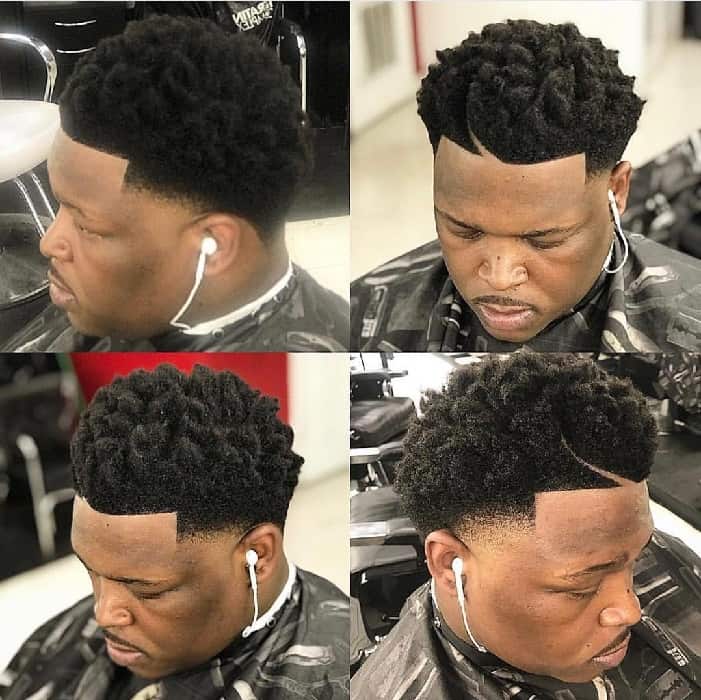
3. Textured Coils
If you want a tighter definition, choose a sponge with smaller holes and use light, even pressure as you sponge the hair.
4. Sandy Blonde Mohawk

If you dye your hair, keep it moisturized and stick to gentle handling while styling. Go for a taper on the sides and use the sponge for the top.
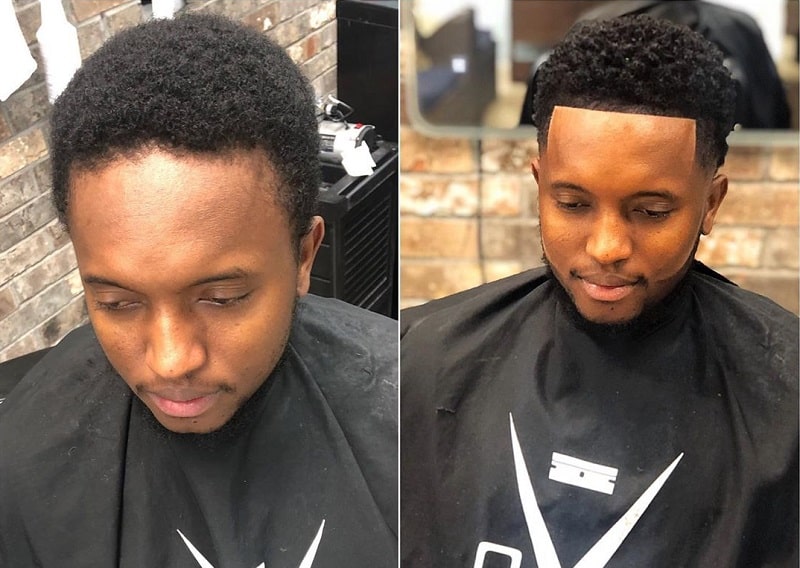
5. Short Haircut with Bald Fade
For this level of shine on shorter crops, apply a lightweight oil (like argan) after sponging. Sponging with heavy oils can clog the sponge pores, so apply the oil as a finishing step to help seal the cuticle.
6. Curly Box Cut with Side Part

You can transform this box haircut with a sponge and a clean part. Style a hard part that will create a disconnection between those short areas and the well-defined curls from the top.
7. Mohawk for Little Boy
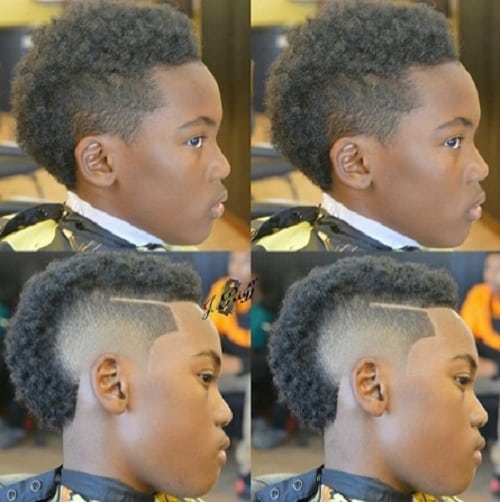
Children’s hair is often finer and more prone to breakage. Use a sponge with larger holes and softer foam for kids to minimize tension on the follicles while still defining the mohawk strip.
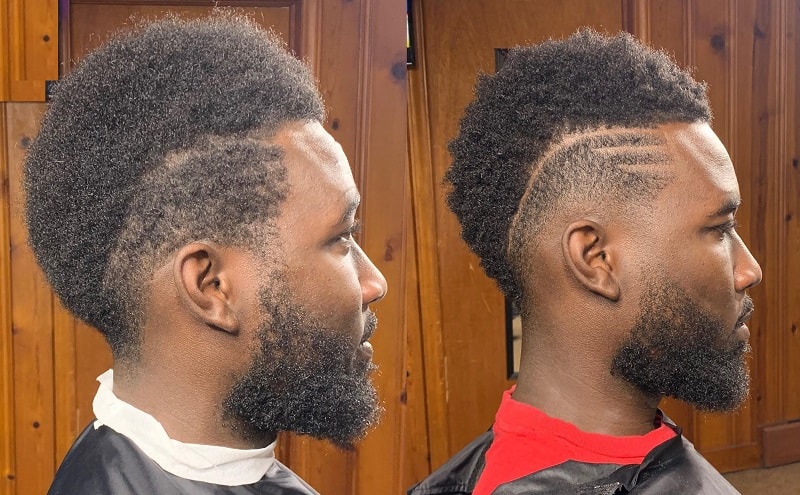
8. Sponge Curls with Curved Razor Design
To create this look, choose a bald temple fade. Maintain a high top and style a curved razored line in the center. Use the sponge to build definition through the top.
9. Brown Ombre for Sponge Curls
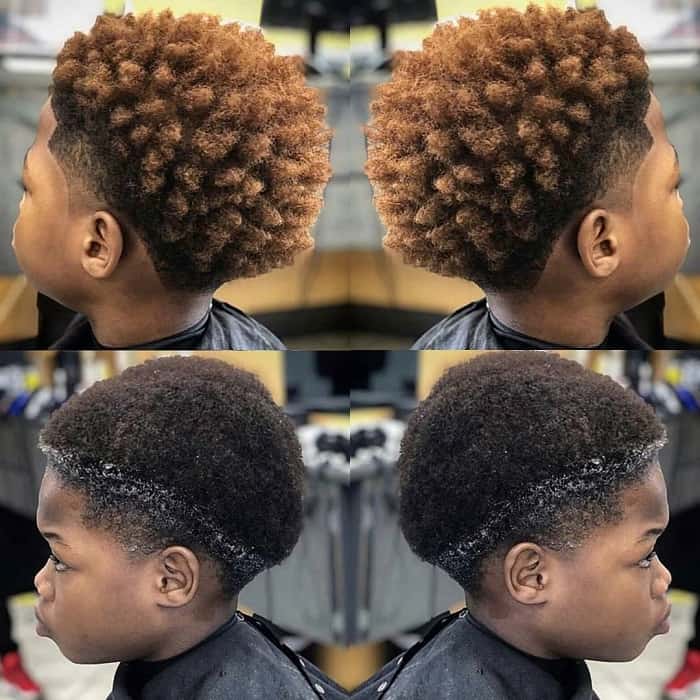
One of the best things about this sponge curl is that it meets your needs and hair type. If you apply light, even pressure while rubbing it, you will obtain tighter coils. To get this style for your son, frame the top and back curls with a taper fade.
10. High Fade for Curly Hair
If you choose a bald fade for the back and a higher top, your coils will stand out more. Keep the sides clean, then focus the sponge work on the top.
Sponge curls can make a clear difference in definition. Start with a good haircut base, follow the steps above, and keep sessions short for the best results.