
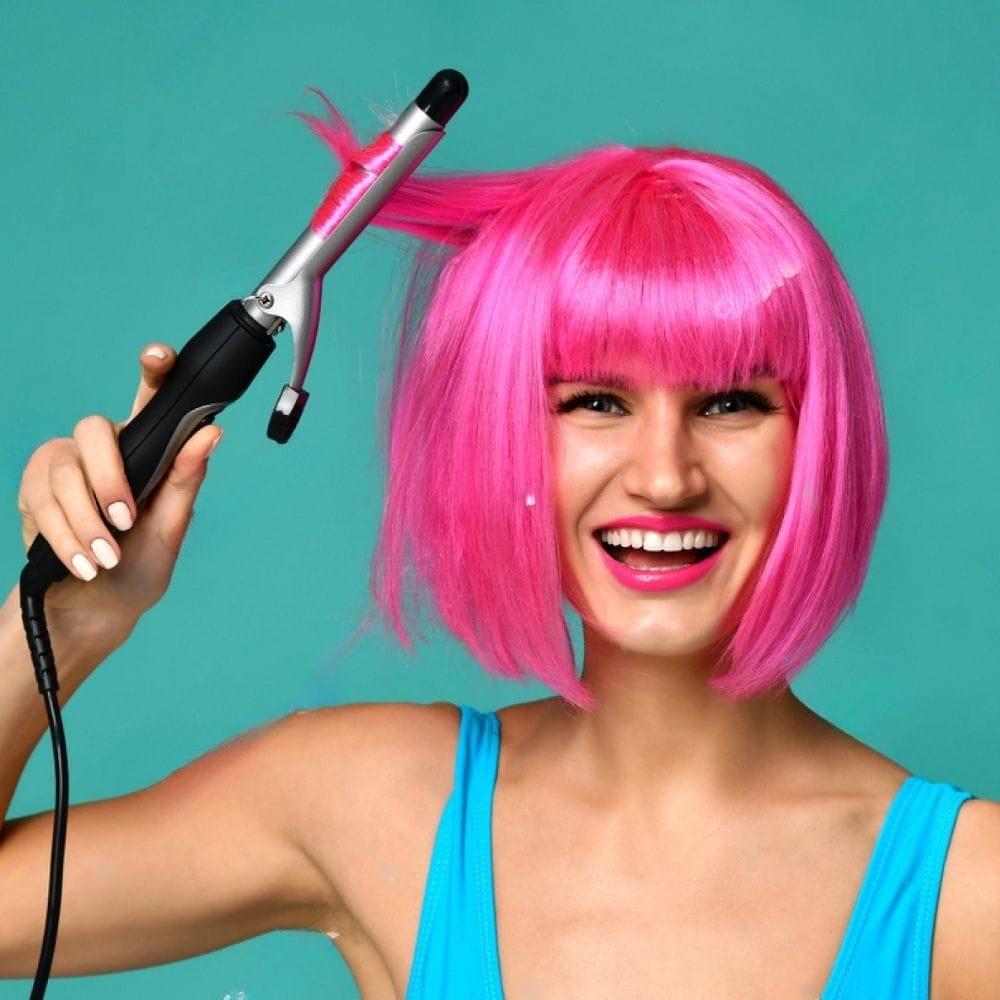
If you have straight hair with a short haircut like a bob or even shoulder-length hair, you might feel like it’s not possible to make it curly or wavy.
Fortunately, there are plenty of ways for short-haired beauties to create soft and bouncy curls that can last for days. And the best way to curl short hair is with a wand.
From prepping your hair with shampoo and protection products to following up with texturizing spray, our step-by-step guide will help you get gorgeous short curly hair with a curling wand.
Choosing the Perfect Curling Wand for Short Hair
When preparing short hair to curl using a wand, it is important to make sure that you have the right tools for the job.
A high-quality curling wand will not only supply pretty curls that look and feel natural to compliment your face shape, but it will also ensure that your hair is not burnt, damaged, or fried in the curling process.
For short hair, the NuMe Curling Wand is one of your best options. With an easy-grip handle and pearl-shaped curling piece, this curling wand will grasp and curl even the shortest of strands.
Create Wave or Curl on Short Hair with a Curling Wand
Once you have chosen the best curling wand to suit your needs, you are ready to begin the 10-step process of curling your short hair.
For best results, consider refraining from skipping any steps. Each step will help make your curls even tighter and longer-lasting.
Step 1: Wash Your Hair
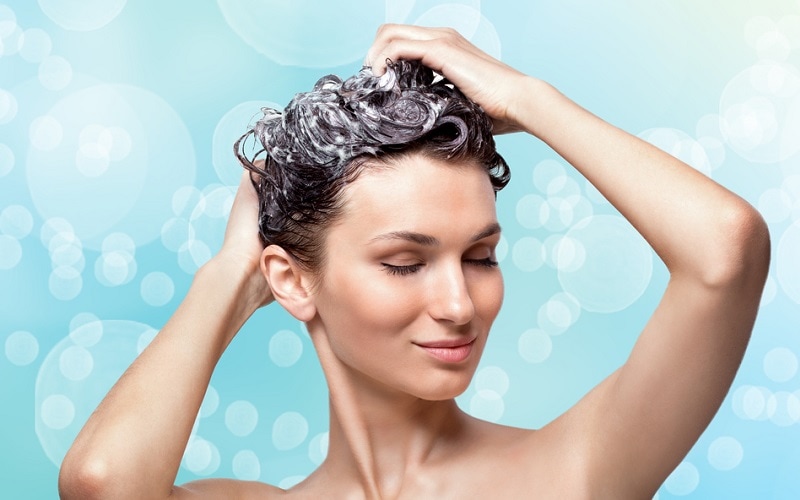

Before attempting to curl short hair, the first step is to wash your hair.
Wash your hair thoroughly with a sulfate-free, paraben-free, natural shampoo that is formulated especially for activating curly hair.
Lather and wash twice, repeating the process until your hair is completely free of shampoo suds.
After shampooing your hair twice and rinsing very well, make sure to condition the ends of your strands with a sulfate-free, paraben-free, natural conditioner.
If you can find a conditioner that is also specially formulated to activate curly hair and is the same brand as your shampoo, consider using it.
If you cannot find a complimentary conditioner, use one with a similar ingredient list to avoid mixing too many products in one hair wash cycle.
While you should shampoo your hair twice to strip your hair of excess dirt and oils, there is no need to condition your ends twice. Simply rinse them thoroughly with cool or lukewarm water until no conditioner is left over.
Step 2: Blow Dry Your Hair

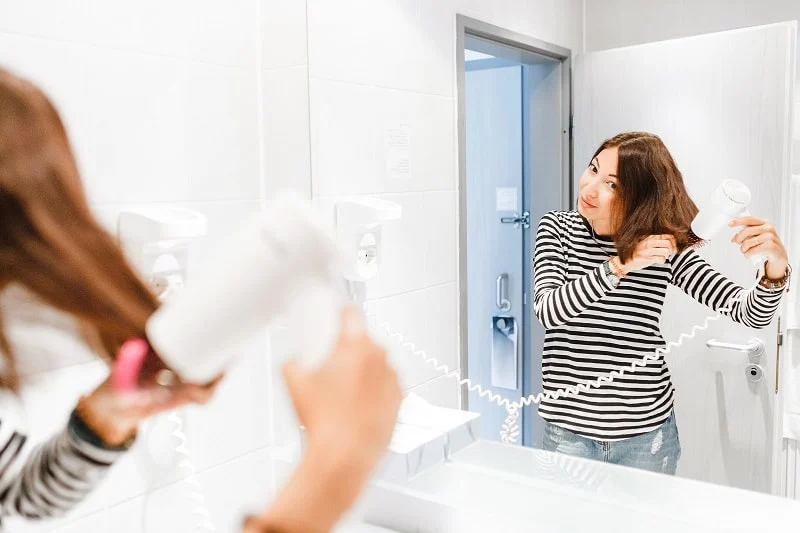
After washing your hair, it is time to blow dry it. While some curly-haired individuals with long hair opt for diffusers to bring out their natural curls, drying short hair can be done with any type of blow dryer at any heat you desire.
While it isn’t necessary, you have the option to brush out your wet hair before drying it. Make sure it is completely dry before moving on to the next step.
Step 3: Straighten Your Hair
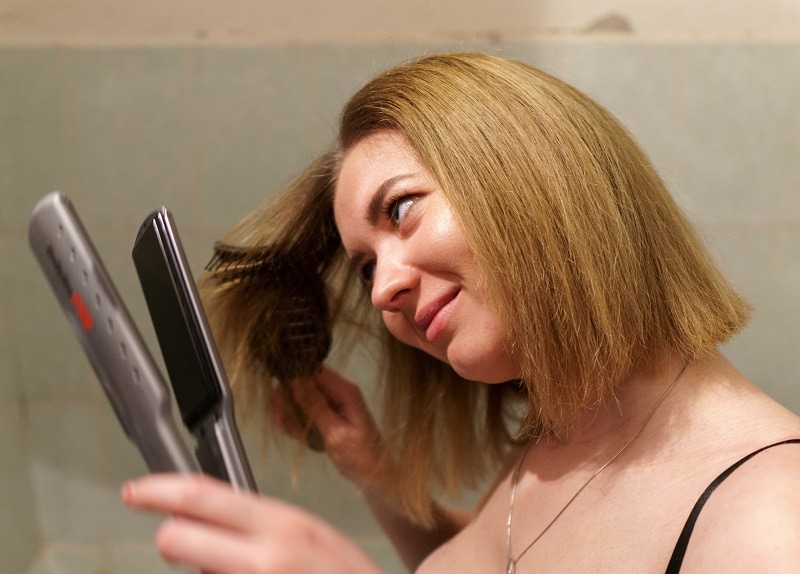
The third step for curling short hair with a curling wand is to straighten your hair.
This might seem opposite to the desired result, but beginning with straight hair rather than kinked or wavy hair will help you get the luscious and bouncy curls you desire.
To straighten your hair, begin by separating your hair into many different sections, including the bangs. Take a flat iron and begin at the back of your head, moving forward as you go.
Grasp each section of hair with the straightener as close to your head as possible and slowly move toward the end of your strands.
After you complete your entire head, move to the bangs and repeat. This process will be easiest if you choose to part your hair down the middle.
Step 4: Use Dry Shampoo
After you straighten your hair, use dry shampoo to bring some voluminous body back to your short hair. There are many different types of dry shampoo available including powder dry shampoo and spray dry shampoo.
There is also a dry shampoo that has been colored according to hair color. All dry shampoo will work well for this step in the curling process, so make the decision based on your own personal preferences.
Step 5: Prep with Heat Protection Products
Heat protection products are necessary for keeping your hair healthy any time you style it with heat. For short hair, this is doubly so due to the tendency of short hair to become brittle at the ends and break off.
Some good heat protection products include protection serums, oils, and sprays. Always opt for a natural product that has no parabens or sulfates.
Step 6: Curl with a Curling Wand
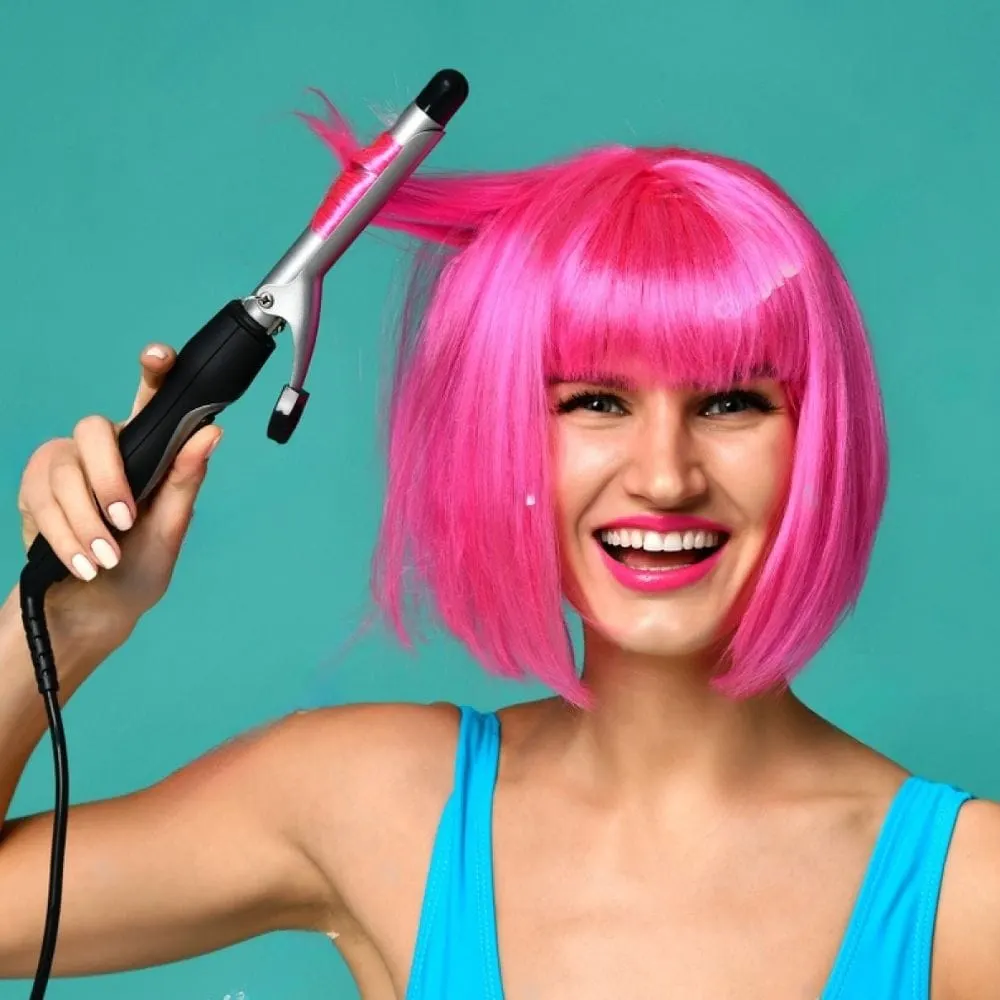
The sixth step in our guide is the paramount step for curling short hair. With your high-quality curling wand, repeat the process you underwent for straightening your hair.
Separate your hair into small sections and begin carefully wrapping the very ends of your hair around the curling wand.
You will need to wrap the hair around the wand all the way up to the scalp. Be careful, however, not to burn your head.
After repeating this process for every section of your hair, focus on curling the ends of your bangs. If you want a more natural look, opt for leaving the top of your bangs uncurled. This will give the illusion that your hair is naturally curly rather than completely styled with hand-made curls.
Step 7: Use Texturizing Spray
After your short hair has been completely curled, it may look even shorter than usual. Give your hair a natural look by adding texturizing spray.
This spray will relax some of the tighter curls and create that laid-back bounce that we all look for in a healthy and curly head of hair.
Step 8: Separate and Shake Out Curls
Once you have applied your texturizing spray to your newly curled hair, it is time to separate your curls and shake them out.
To do this, just take each curl in the palm of one hand and use your other hand to split the curl in half. This will result in two looser curls than before and give your hair the illusion of being fuller.
You can choose to do this to all of your curls or just a few of them depending on your preference. When you are finished, turn your head upside down for a moment and shake your head.
When you turn right side up again, your curls will fall into place naturally without needing to be adjusted.
Step 9: Add Hair Oils
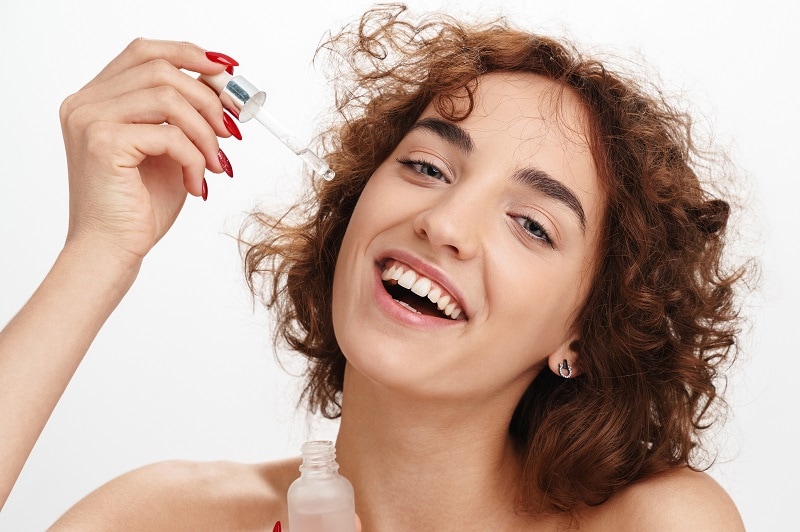

When your curls are finished, hair oils will give them a beautiful shine. They will also stop them from drying out in the harsh wind or due to excess sun exposure.
Hair oils made from coconut oil, olive oil, almond oil, sunflower seed oil, neem oil, and jojoba oil are all excellent curly hair options.
Stay away from castor oil as it can be too heavy and way your curls down, especially in short hair.
Step 10: Secure with Hair Spray
The last step to curling short hair with a curling wand is to secure your hair with hairspray. Pick a maximum hold hairspray with no parabens, sulfates, or artificial scents and colorings.
Close your eyes and generously spray your entire head. If you feel like you need even more hold, begin to spray each curl individually until you have completed all of your hair.
Keeping Your Short Curls Bouncy for Days
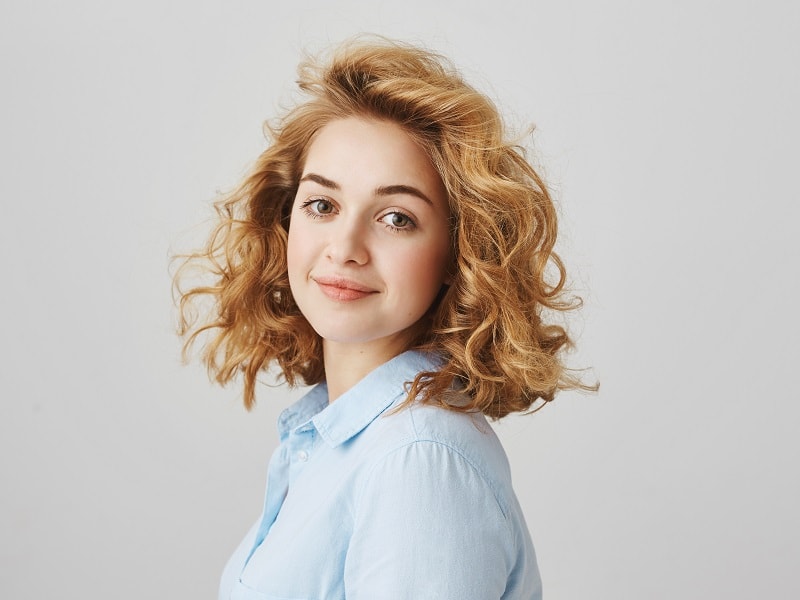
After you have completed the easy 10-step guide for curling short hair with a curling wand, making your curls last for days is completely possible.
When going to sleep, opt for silk pillowcases and hair wraps made of silk or organic cotton. Avoid washing your hair until you are ready to say goodbye to your curls. Until then, enjoy your new super-curly short hair.
Wrap Up
Achieving beautiful curls in short hair with a curling wand is a detailed process that involves careful preparation, heat protection, and styling.
By following the 10 steps outlined above, you can create stunning curls that enhance the natural beauty of your short hair.
Remember to use high-quality products and take your time to ensure the best results while protecting the health of your hair.