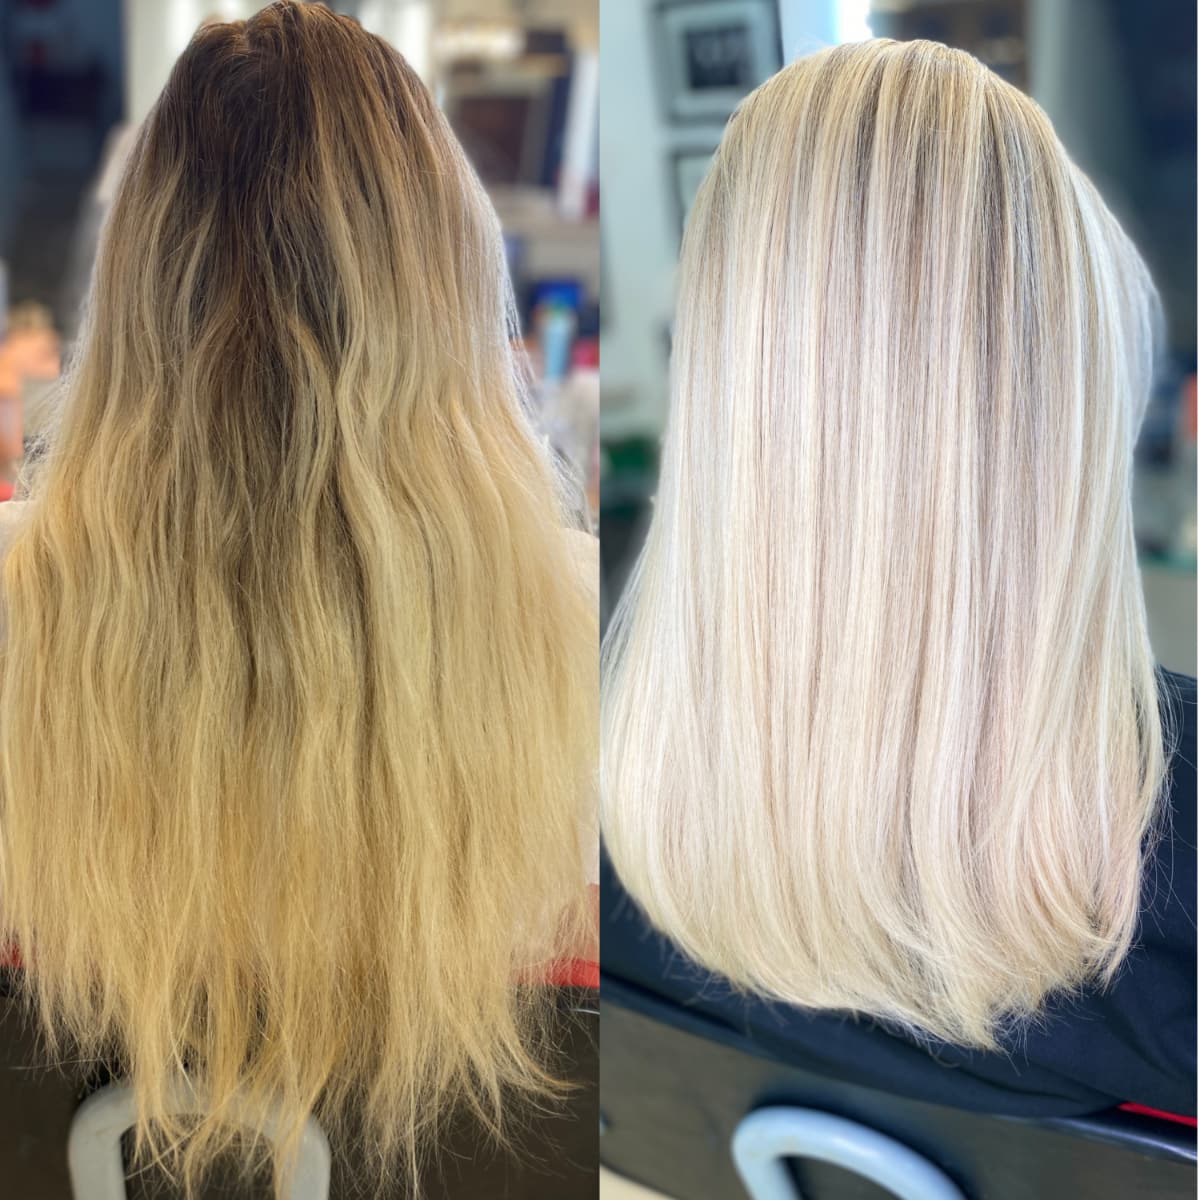


You thought a full highlight would be just the look you wanted, but now, you can’t stand the golden streaks you’ve added to your hair. Suddenly, you miss your natural hair color, and you’re looking for the best way to get back to it.
Or you loved that beautiful balayage your stylist gave you, but after a year, it’s super grown out and dull; you’re ready to go a bit darker. Not to worry, there are a few ways to cover up or remove highlights from your hair!
We will go through the best methods used to remove highlights and even give you the steps, so you can get back to the hair that you’ve been missing.
Asked how she talks clients through this decision, senior stylist Emma Baxendale starts with the reversible option:

When clients want to go darker or remove highlights, I will always suggest toning them down first. It's less committal in case you change your mind or realize you don't like being darker; a toner can give you a good idea, and also fade out or be lifted out easily.
Sometimes highlights peek through later on because the lightened hair is porous and doesn't hold onto color as easily. It sometimes takes a few sessions for the hair to really hold onto the color.
How to Get Rid of Highlights from Hair
Method #1: Tone Hair with Color Closest to Your Natural
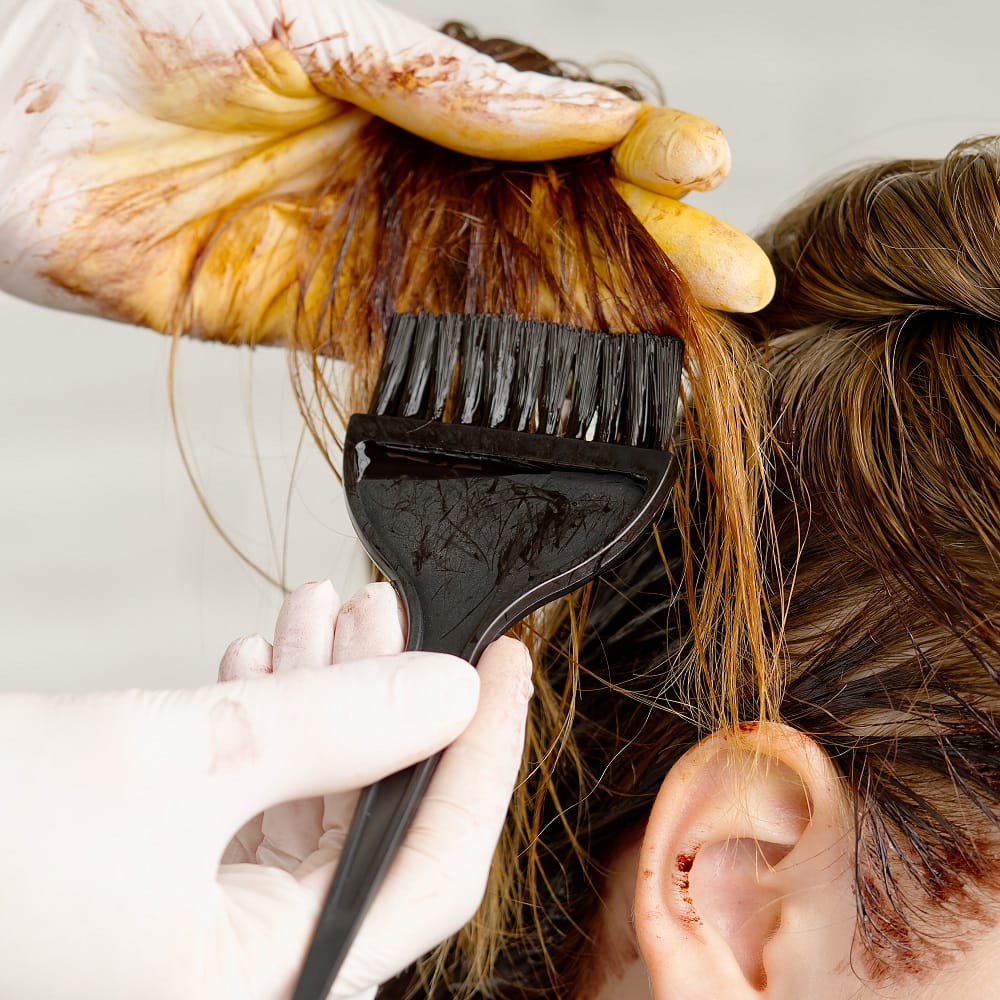
If your hair is highlighted just a shade or two lighter than your natural, this could be a great option for you.
Toner is typically a demi-permanent hair color used to correct unwanted tones or lightness in the hair. It can deepen lightened hair, making your highlights darker and leaving you with a beautiful, dimensional hair color.
Another great thing about toner is that it’s relatively easy to apply at home, or if you prefer to see your stylist, it’s a quick service, usually taking an hour or less. Since demi-permanent toners do wash out of the hair over time, you’ll have to repeat this process every couple of months.
Steps to Tone Hair at Home:
- Choose a shade that is close to your natural hair color. For example, if your hair is naturally a level 6 (lightest brown) choose a toner in a level 6. You also will need to purchase a developer, which is usually sold separately. Toners use a low developer, such as a 5 or 7 volume.
- Mix toner in an applicator bottle or in a bowl with a brush. Toners are usually mixed in a 1:2 ratio but make sure to follow the directions included with the color.
- Apply the toner to clean, towel-dried hair (make sure you get as much moisture out of the hair as possible before applying), and work in sections to make sure the hair is saturated. This can get messy, so be careful!
- Let the toner process for the recommended time, usually about 10 minutes.
- Rinse hair well and use a color-safe conditioner. Blow-dry to see that your highlights are no longer noticeable, and you’re back to natural!
- Repeat every 2-3 months or when the highlights start to show again.
Method #2: Color Hair with Demi-Permanent or Permanent Hair Color
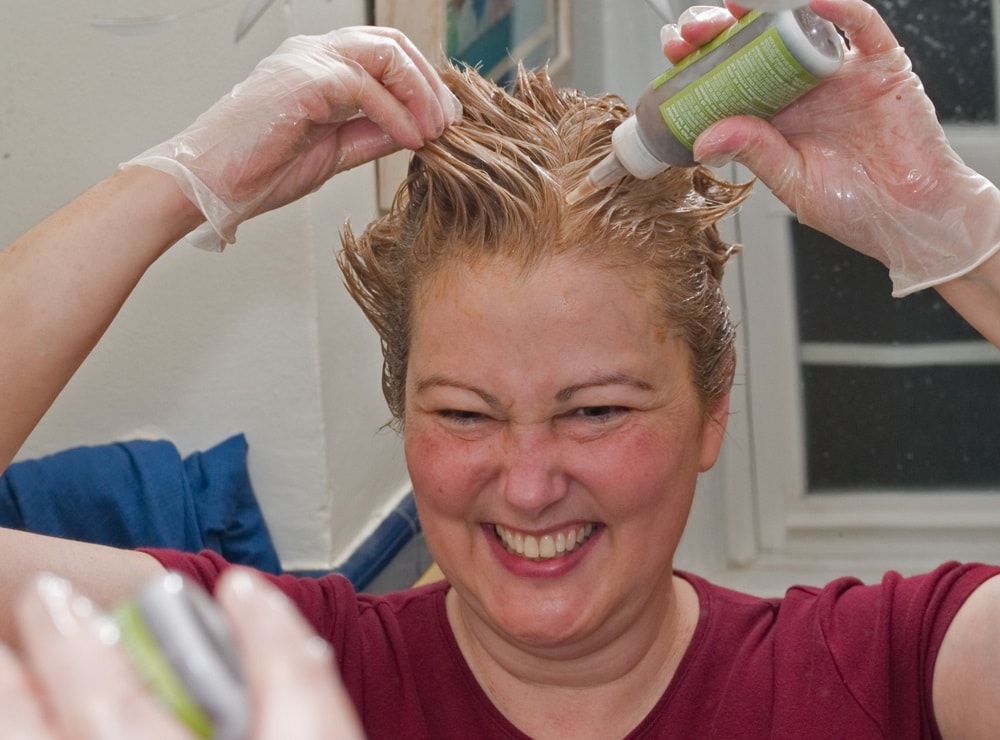
If your hair is a few shades lighter than your natural or you know you don’t want to go light again for at least a year, this could be the route you want to take.
When the highlights in your hair are much lighter than your natural, a toner might not be enough to hide them completely. In this case, you’ll want to do an all-over color with either a demi-permanent or permanent hair color.
Emma Baxendale goes a step further and pre-fills before the color goes anywhere near the head: “Always pre-tone light highlights with warm pigments like orange and red to make sure they don’t come out flat or khaki.”
On how deep to take that fill, she keeps it simple: “My rule of thumb is to pre-pig the hair to a base that is one shade above what you are going to dye the hair.”
Doing an all-over color is different than a toner because you’ll be applying the color on dry hair, and most toners are demi-permanent rather than permanent.
If you choose a permanent hair color (it will give you the least amount of fading), be sure you are ready to commit to the dark color for at least a year because highlighting through dark, permanent color can be almost impossible in some cases and/or damage hair. If you’re unsure, see a stylist to decide on what kind of color is right for you.
Steps for an All-Over Color:
Step 1: Choose a shade either the same as your natural or darker, depending on your desired look. For example, if you’re naturally a level 7, choose a level 7 or darker. Also, decide whether you need demi-permanent or permanent hair dye.
If you want a lower amount of fading and going longer between coloring, choose permanent dyes. If you aren’t sure if you want to keep darker hair for a year or more and don’t mind a little more maintenance to keep highlights hidden, choose demi-permanent.
Make sure you also have a developer; for an all-over color, use a 10 volume developer (or even lower, like 6 volume) for depositing color. Since you are going darker, you do not need the higher strength of 20 volume, which could dry out your previously highlighted strands. Follow the instructions on the hair dye you choose.
Step 2: Mix up the color in a bowl with a brush. Follow the directions for your specific hair dye, but hair dye is usually a 1:1 ratio of color to developer.
Step 3: Section dry hair into four quadrants using clips to make color application a breeze. Work back to front using the color brush to fully saturate all of the hair.
Step 4: Let the color process. The processing time is usually about 30 minutes; follow the instructions included.
Step 5: Thoroughly rinse hair color out and follow with color-safe shampoo and conditioner. Blow-dry to see the results!
Method #3: Get the Right Haircut
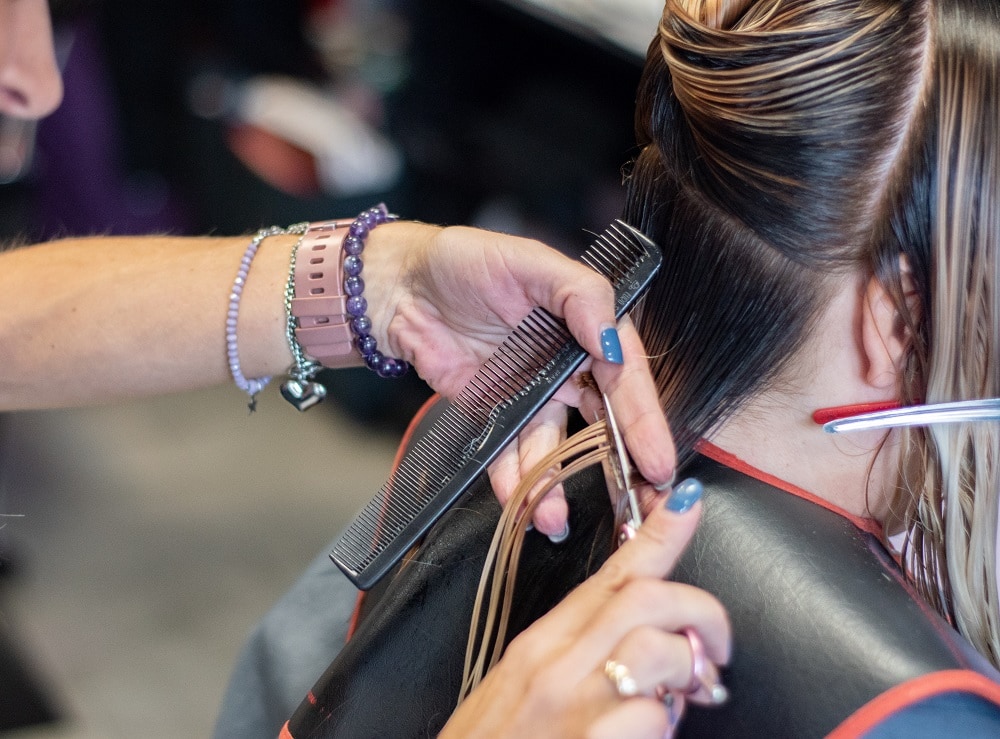
If your highlights are very grown out, and you’re ready for a shorter look or even just a big trim, this could be an amazing choice.
Getting a haircut is the only way to 100% remove highlights from your hair. Although you can hide your highlights with darker colors, they’re still underneath the hair and can be seen again as hair color fades.
If you’re wanting to get back to natural without the upkeep of coloring your hair, a haircut is an amazing choice! The amount of hair you will need to remove depends on how grown out your highlights are.
If they’re super grown out, you may only need a couple of inches off, but if the highlights are further up, you could consider a bob or even a cute pixie!
Steps to Getting the Perfect Haircut:
- Find a hairstylist you trust!
- On the day of your appointment, be prepared with lots of inspiration photos, and make sure you know how much hair you feel comfortable cutting.
- Let your stylist know you want a haircut that will remove old highlights.
- Sit back, enjoy your haircut, and step out of the salon ready to show the world your new look!
Whichever route you choose, removing highlights is a gradual job: fill and darken gently, reassess in good light, and save the scissors for the pieces that truly will not blend. A colorist can collapse weeks of guesswork into a single appointment.