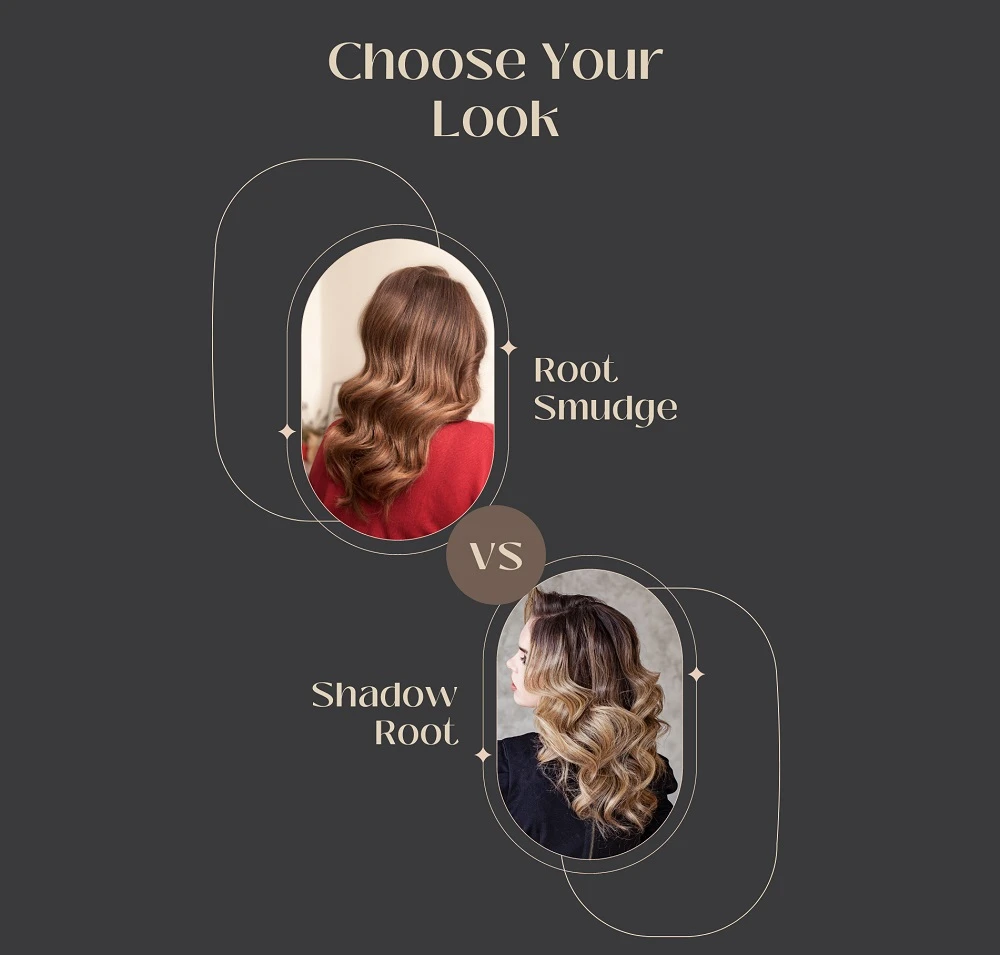
Do you want to go longer between coloring your hair? Do you love highlighting your hair but find yourself dealing with a darker regrowth line after a few weeks?
A root smudge could be exactly what you need. It softly blends darker roots into lighter hair with a smooth, gradual transition. This creates a more natural “lived-in” look and stretches the time between salon visits.
We are going to learn about what a root smudge is, when to use it, and the steps to do it. We’ll also cover shadow root and root melt, two techniques similar to a root smudge, so you can understand the difference and choose the right one.
Let’s get into it.
What Is a Root Smudge?
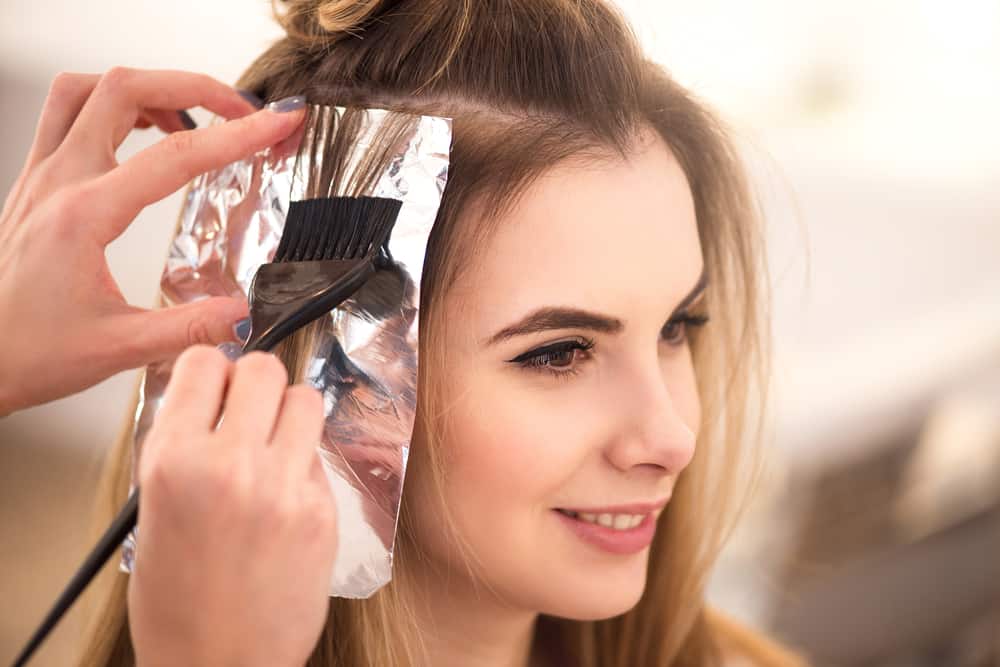
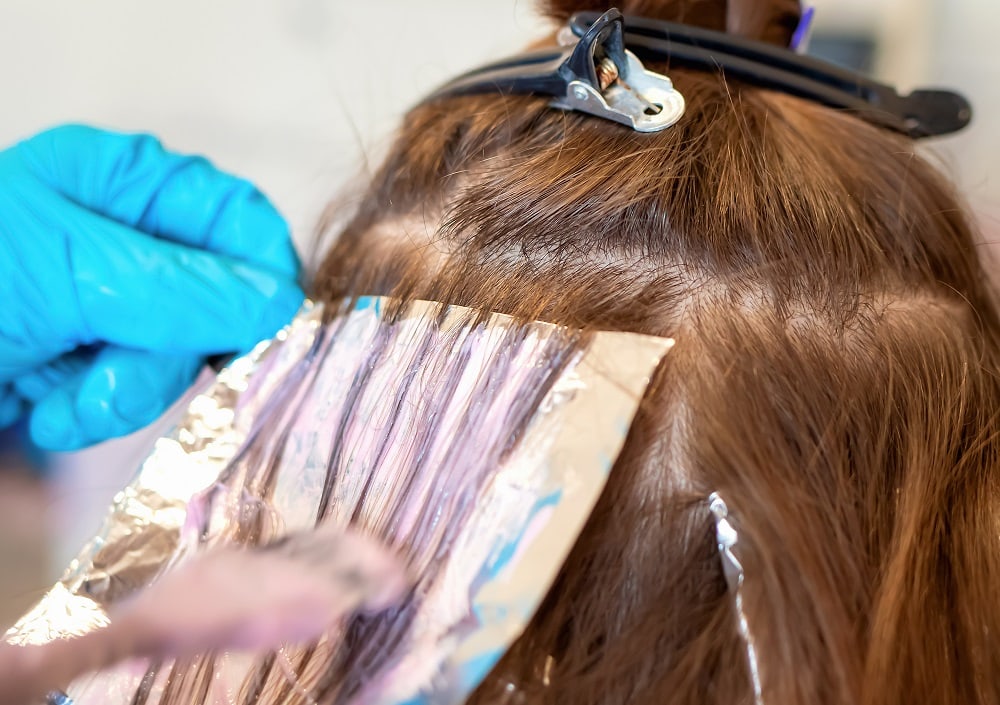
To smudge something means to blur, and that is exactly what a root smudge does in your hair. A root smudge is done after a hair lightening service, usually traditional foil highlights or balayage.
For root smudge, the stylist uses a toner, gloss, or demi-permanent color that is close to your natural shade and applies it at the roots and smudges it about an inch down into the lighter highlighted hair for a soft, gradual transition.
The root smudge will process for about 15 minutes and then be rinsed out of the hair. The root smudge blurs the highlights and your natural hair color, creating a softer, more lived-in look. The root smudge uses a toner that will only slightly deepen roots, so it does not completely cover the highlights at the root.
The process works really well to soften the line of demarcation as your hair grows out and usually stays fresh for about 8 weeks.
When Should You Use a Root Smudge?
There are a few reasons why you want to use a root smudge on your hair.
Reason #1: You Want a Softer Look at The Root
For a long time, it was very popular to have bold or chunky highlights right at the root but this look has fallen out of fashion over the years. Many people now prefer a softer, more natural look after lightening their hair.
Now, this doesn’t mean you won’t be able to see the highlights at the root. What it means is that the root smudge will tone down those fresh highlights, making it look more like hair that could have grown right out of your head!
You’ll still feel like your hair looks newly colored and fresh while still having that trendy, lived-in look.
Reason #2: You Want to Go Longer Between Salon Visits
You may be asking how exactly a root smudge can help you go longer between salon visits or at-home hair color.
When you have had a brighter highlight at your root in the past (ones that hadn’t been toned down with a root smudge), you may have noticed you can already see your roots just a couple of weeks later!
This is because the contrast between your natural color and blonde highlights is high and because the lines of the highlights haven’t been softened.
When you apply a root smudge, you are lowering the contrast between your lightened hair and your natural hair color by using a toner that matches your natural color.
You are also softening the highlights’ appearance. This will make roots less noticeable and let you color your hair less often!
Reason #3: You Want to Stay on Trend
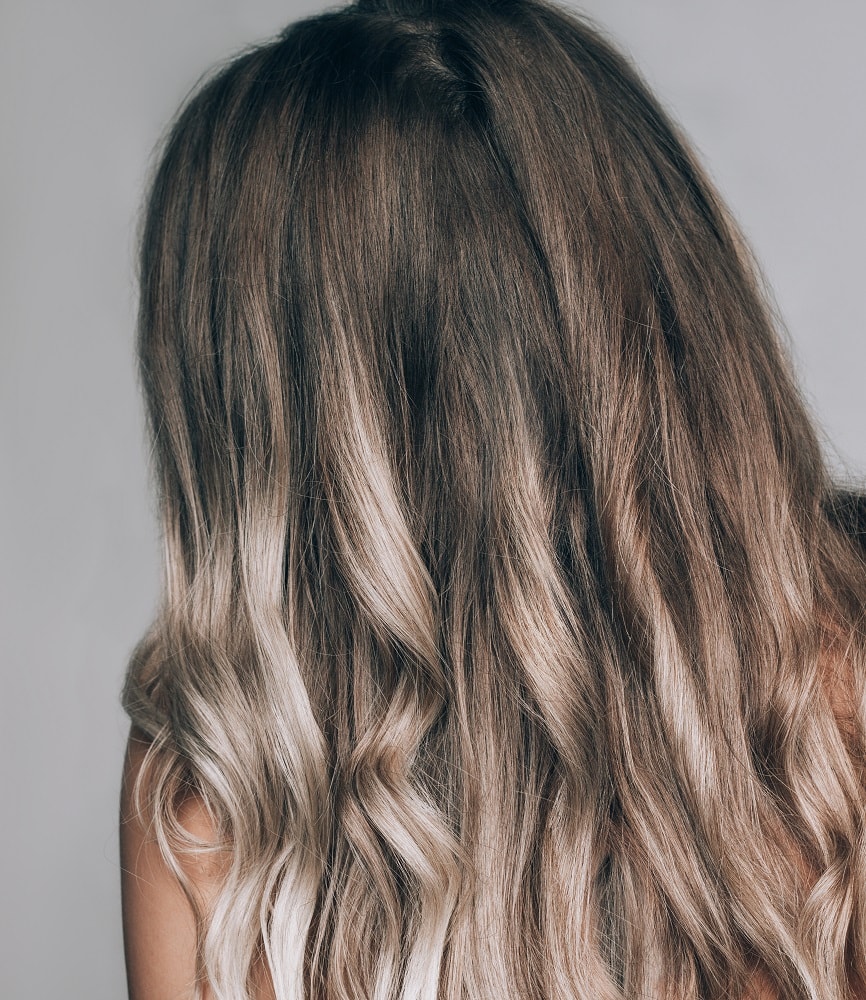
This one is simple. Over the last few years, we have seen these lived-in hair colors take hold and become the hottest hair color trend. A root smudge is perfect for giving the natural, lived-in, and even beachy hair color we all love!
Should You Attempt a Root Smudge at Home?
Yes! This is a fairly gentle and simple process you could definitely take on at home! Follow our steps for doing a seamless root smudge at home!
Root Smudge Steps
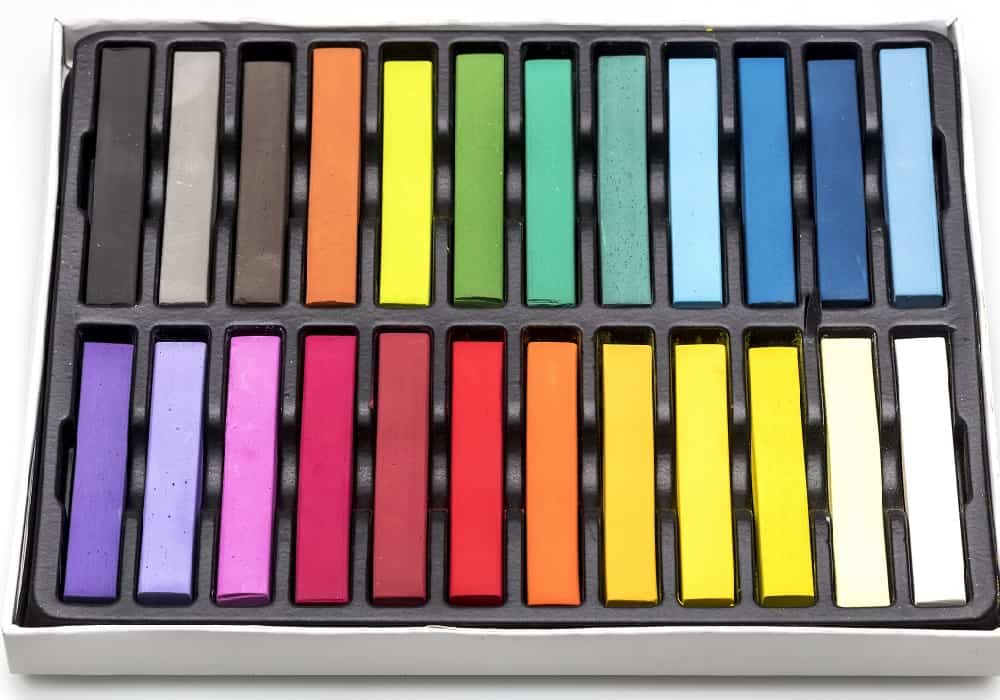
Step #1: Choose your toner
The first thing you need to do is choose a toner to use as your root smudge. Toners are demi-permanent (do not use permanent color for this!) and come in a wide variety of shades. You can order them online or pick them up at your local beauty supply. Remember that professional toners require a specific low-volume developer (usually 5 to 10 volume) to activate, which must be purchased separately.
Choose a shade that exactly matches your natural root color. (Hair color levels range from 1 for black to 10 for palest blonde. If you aren’t sure of your natural level, consult a standard hair color chart online before purchasing your toner.) For example, if you are a level 6 naturally, choose a level 6 toner.
Step #2: Highlight your hair
The best time to apply a root smudge is soon after you’ve gotten your hair highlighted in a salon or you’ve just highlighted your hair at home. Either way, starting out with freshly highlighted hair is a must!
If you are waiting a couple of weeks after you’ve gotten highlights and you’re hoping to blend the line of demarcation that’s started to form, you can also follow these same steps to blend out that line.
Step #3: Wash your hair
You’re going to want to apply your root smudge on clean, damp hair. Right before applying the toner, wash your hair and lightly mist with a leave-in detangling spray or porosity equalizer (avoiding heavy masks). Gently squeeze out water with a towel (do not rub) and carefully detangle with a wide-tooth comb before sectioning. Comb out hair and section into 4 quadrants. Secure the sections with clips.
Step #4: Mix the color
In a bowl, mix your demi-permanent toner with its specific developer according to the manufacturer’s exact ratio instructions.
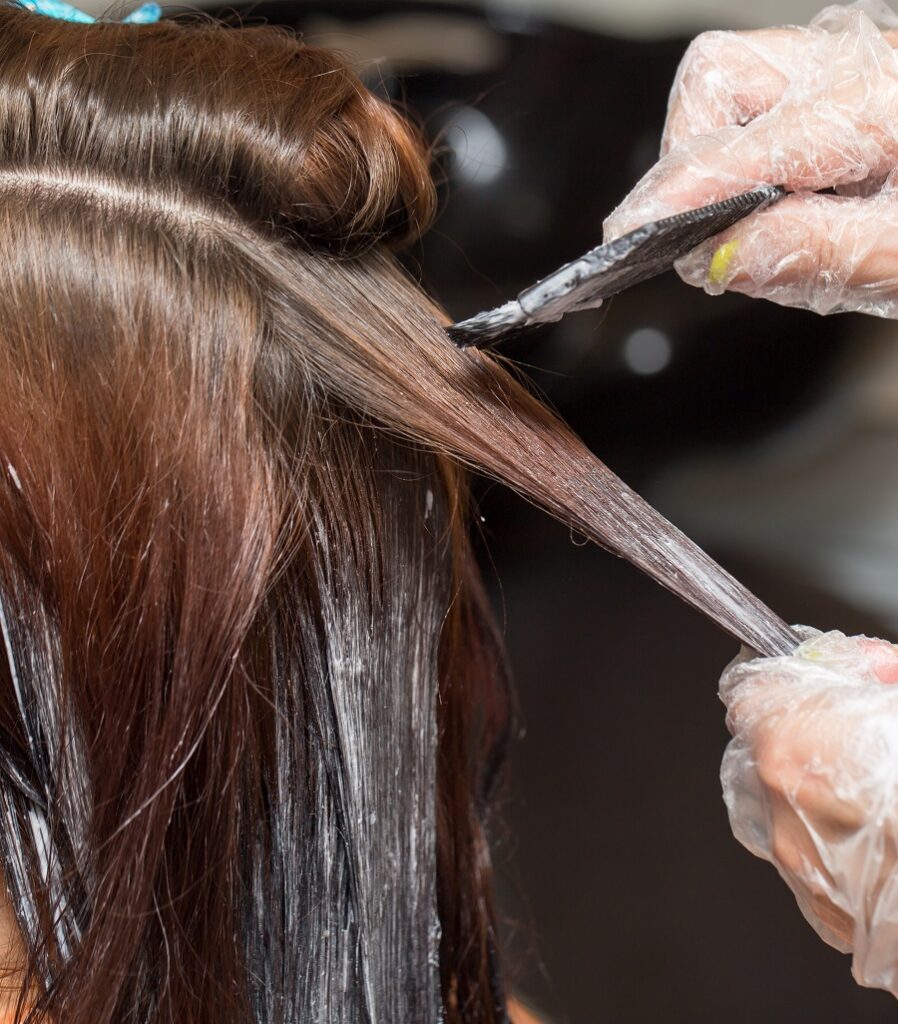
Step #5: Apply the toner
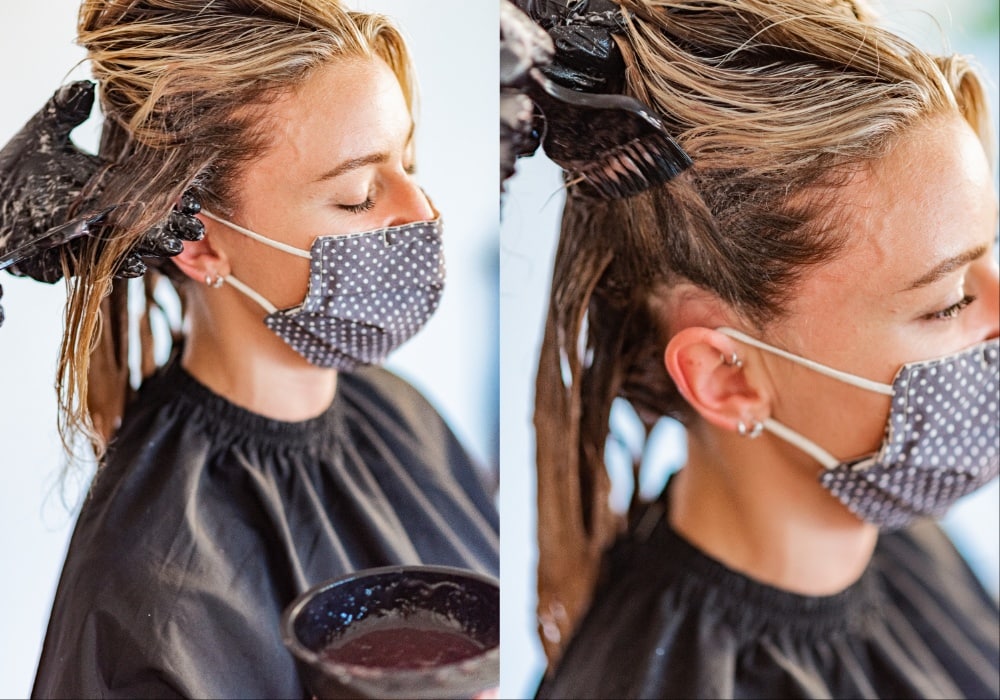
Always perform a patch test 48 hours before applying any chemical toner to your roots to check for allergic reactions. The most important part! Using a bowl and color brush, start in the back of your hair and start applying the root smudge to the first back quadrant.
First, apply right at the root, and then feather down the color about an inch with your color brush. Work back to front, taking half-inch sections and applying the color to the root and feathering down. Use a mirror to see the back of your head if you need extra help with the application.
Demi-permanent toner on wet hair is much more gentle. So it doesn’t have to be as perfectly precise as a root touch-up with permanent color.
Pro tip: Use a wide-tooth comb to gently comb down the color (for straight/wavy hair), or use your gloved fingers to softly milk and smudge the color down the hair shaft to avoid mechanical breakage on curly/coily textures.
Step #6: Let the color process
Most toners process for about 15 minutes; follow the instructions for your specific toner.
Pro tip: A lot of toners look very dark while they are processing. This is because of oxidation; it does not mean that your color will turn out that dark! Don’t panic! If you chose a color that matches your natural root, you’ll have a great result.
Step #7: Wash Out the Toner
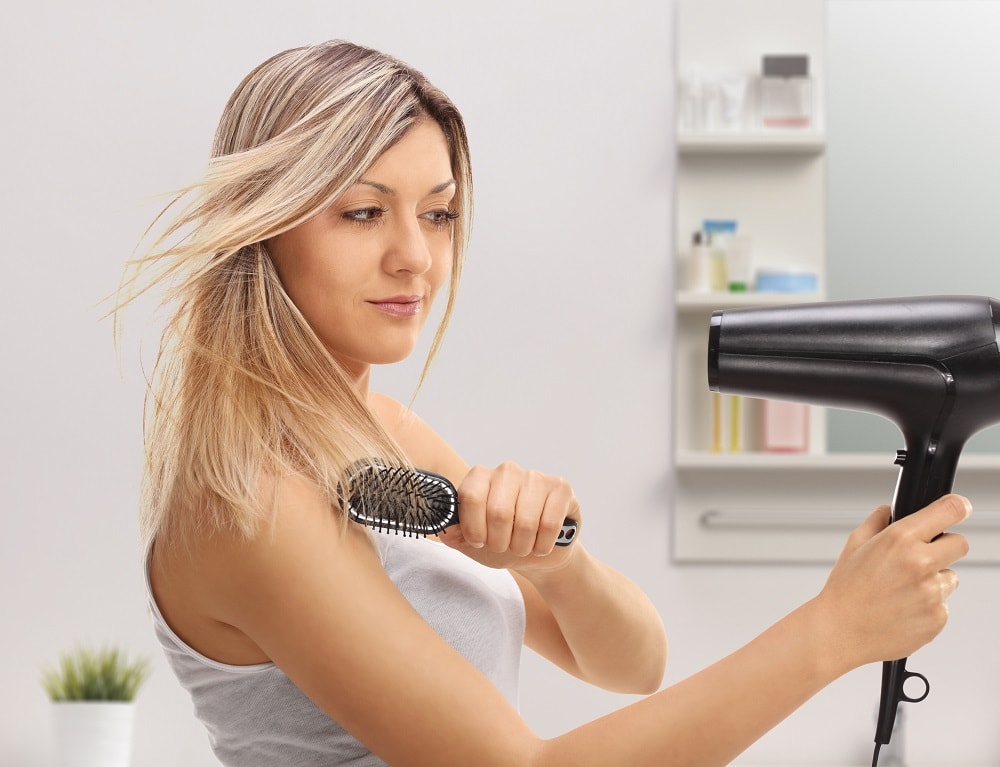
Rinse out toner well and follow with shampoo and conditioner! Be sure to use color-safe shampoo and conditioner, as it will help seal in the color. Blow-dry and admire the beautiful work you’ve done!
How Long Will My Root Smudge Last?
A root smudge will last anywhere between 6 and 12 weeks. How long the root smudge lasts is greatly dependent on how often you wash your hair, if you use salon-quality and color-safe hair products, and if you heat style often.
Reducing your wash frequency slightly can help the color last, but be sure to maintain a consistent scalp cleansing routine to prevent buildup and maintain healthy hair growth. Using high-quality, color-safe salon products generally helps your color last longer and look its best.
What Is a Shadow Root?
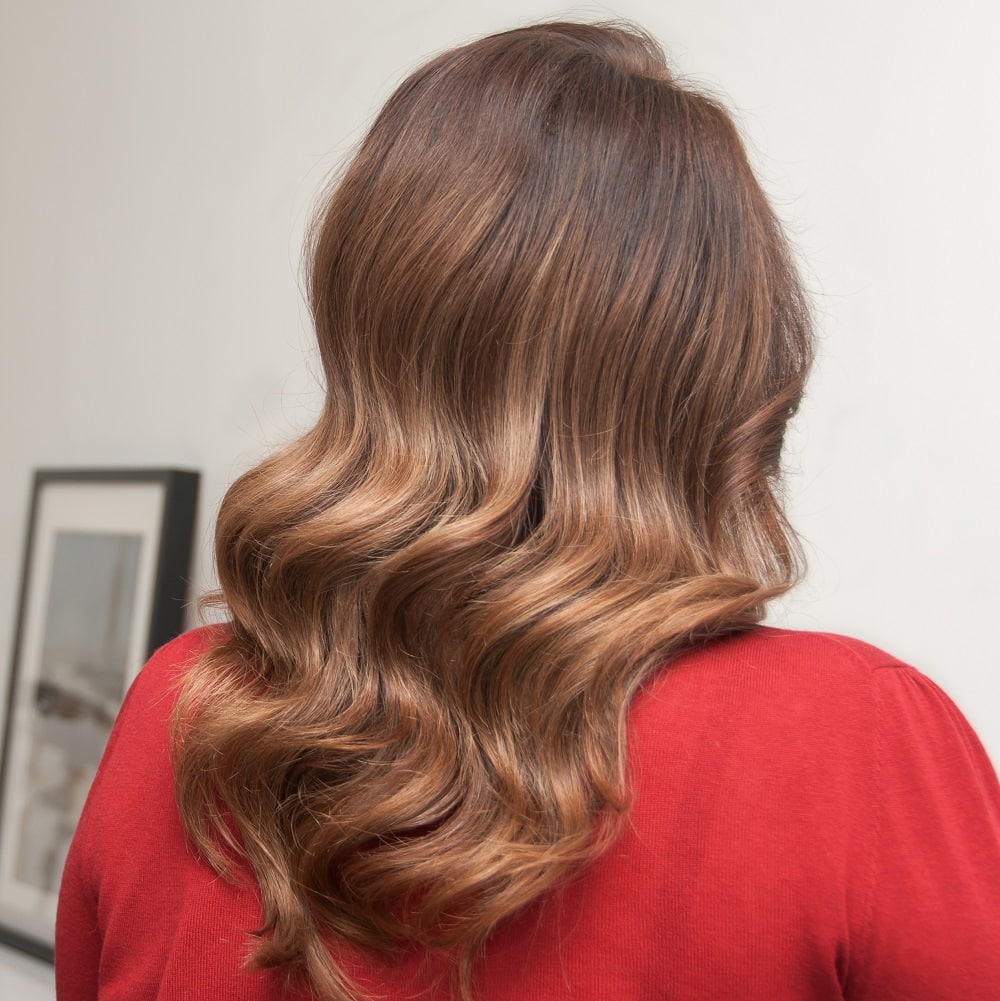
A shadow root is used when you want more depth and dimension than the root smudge can provide. A shadow root is done with a toner that is a shade or two darker than your natural hair color.
They are also applied after a hair lightening service on damp hair at the root, but in this case, the toner will be applied down further than an inch to really give depth, especially in areas like the crown and sides of your hair.
Process according to the manufacturer’s instructions, typically between 10 to 20 minutes. The shadow root adds softness to your new color and increases the time between salon visits. The main difference from the root smudge is that the shadow root is darker and applied further down.
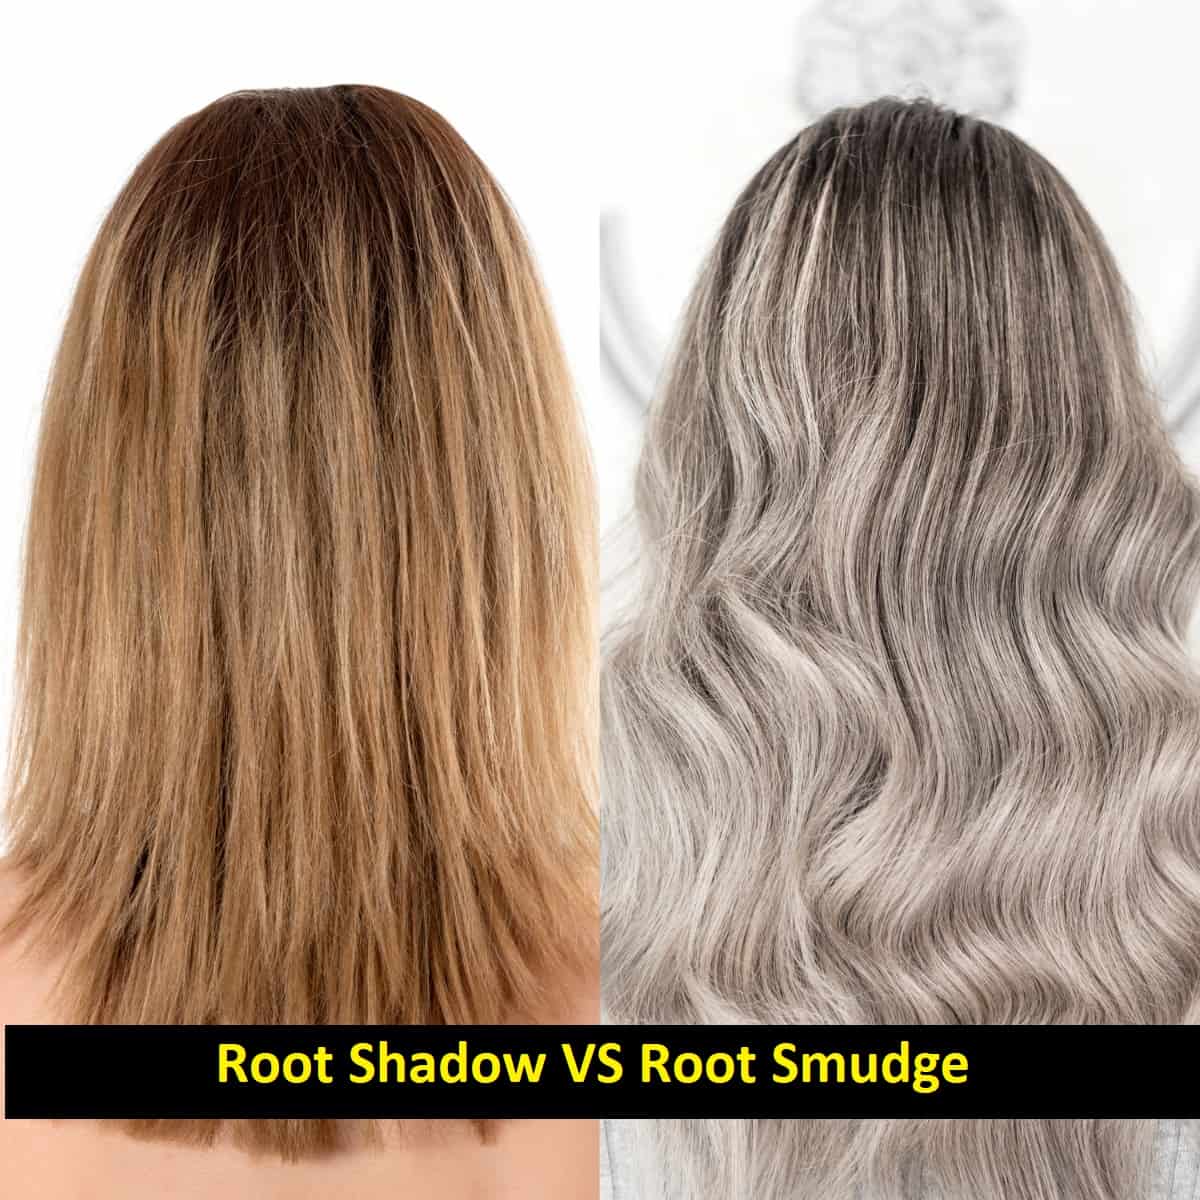
Root Smudge vs. Shadow Root: Quick Comparison
Here’s a root smudge vs. shadow root comparison table to give you a quick idea about the differences.
| Topic | Root Smudge | Shadow Root |
|---|---|---|
| Definition | A technique to blur the line between highlights and natural hair color by using a toner that matches the natural hair color. | A technique to add depth and dimension to the hair by using a toner that is a shade or two darker than the natural hair color. |
| Toner Shade | Matches natural hair color. | A shade or two darker than the natural hair color. |
| Application | Applied to damp hair at the root and smudged about an inch down. | Applied to damp hair at the root and applied further than an inch down, especially in areas like the crown and sides. |
| Purpose | Creates a softer, more blended, and lived-in look between the highlights and the natural hair color. | Adds depth and dimension to the hair, and makes the color appear darker and more dramatic. |
| Processing Time | About 15 minutes. | Process according to the manufacturer’s instructions, typically between 10 to 20 minutes. |
| Maintenance | Lower maintenance as it allows a softer grow-out, extending the time between salon visits. | Lower maintenance by adding softness and extending time between salon visits, but slightly more maintenance than Root Smudge due to darker tones. |
| Best For | Those looking for a lighter, soft, and natural blend with their highlights. | Those looking for added depth, dimension, and a slightly moodier or darker effect. |
| How it’s blended | Blended about an inch down using a comb or color brush. | Blended further down (more than an inch) from the roots using a comb or color brush. |
| Effect on length of salon visits | Extends time between salon visits by softening the line of demarcation as hair grows. | Increases the time between salon visits by adding softness and depth to the new color. |
Root Smudge vs. Shadow Root: How to Decide Which One Is for You?
When deciding between a root smudge and a shadow root, it comes down to the overall look you want to achieve. If you want something light and soft, a root smudge is a great choice.
If you want something a little darker and moodier, then opt for the shadow root. The best thing about these techniques is that they are done with demi-permanent color, so you can always try them out at different times or use one for summer and one for fall!
How to Apply a Shadow Root at Home
Use this order for a clean blend. It is beginner-friendly and helps reduce bleeding.
- Step 1: Choose your shade. Pick a toner that matches your natural root color or is 1–2 levels darker than your lightened hair.
- Step 2: Mix the color. Mix the toner and developer exactly as your product directions say. Do not guess ratios.
- Step 3: Start on towel-dried hair. Shampoo, rinse well, then towel-dry. Your hair should be damp, not dripping. Damp hair slows down absorption and gives you more time to blend.
- Step 4: Section neatly. Part down the middle, clip the hair into workable sections, then take clean horizontal sections as you apply.
- Step 5: Apply at the root only. Use a bowl and brush. Paint the first ½–1 inch at the root. Keep your mids and ends out of the way.
- Step 6: Feather lightly. With very little pressure, feather down about an inch. Do not drag the color through your blonde ends.
- Step 7: Process and watch the clock. Follow your toner timing. If you are unsure, check your blend early instead of letting it go too dark.
- Step 8: Rinse cool and condition. Rinse with cool water, then use a pH-balanced conditioner to help smooth the cuticle and lock in tone.
What Is a Root Melt?

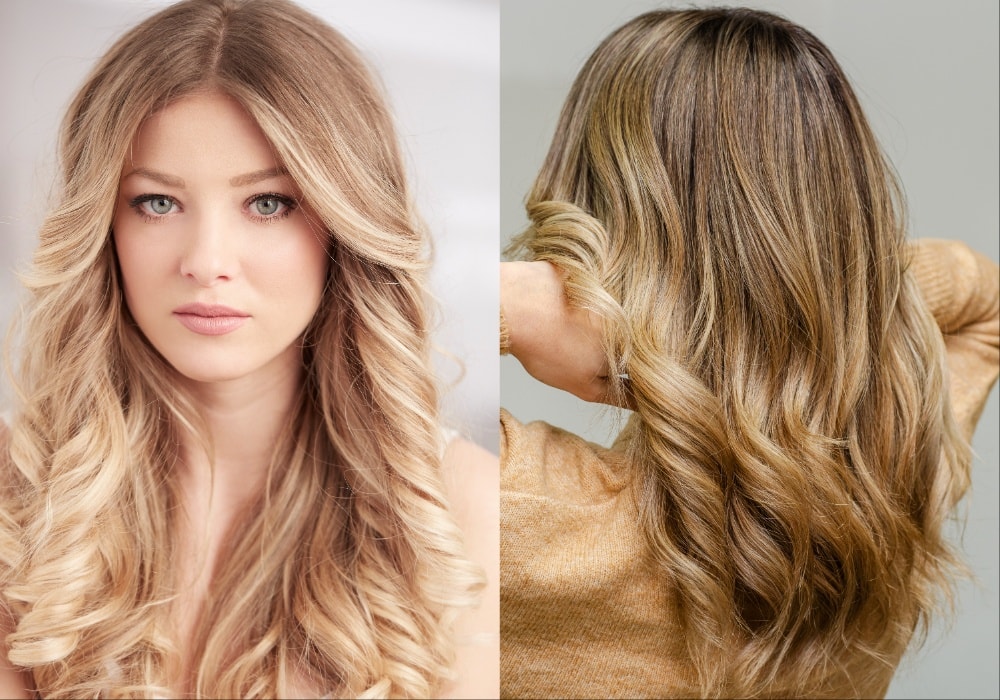
A root melt is used so you can embrace your natural color at the root while still having the bright blonde or bronde highlights you love in the mid and ends of the hair.
It will also blur or “melt” your natural color with your new highlights so that there is not a harsh line of demarcation. A root melt will give you a much more rooted look than the root shadow.
How To Do Root Melt?
A root melt is done with a demi-permanent toner on clean, damp hair, also after your highlighting appointment. The toner of the root melt will be the same color as your natural or slightly darker.
The toner for the root melt will be applied where the highlight usually starts, about 3 or 4 inches from the root.
Your stylist may use a wide-tooth comb or color brush to feather the toner down slightly to diffuse. The root melt will process for about 15-20 minutes or until it matches your natural color.
When To Get A Root Melt?
You’ll want to get root melt if you’ve gotten teasy lights or any highlights that don’t start right at the root (could be balayage or an ombre technique as well).
You wouldn’t choose a shadow root after teasy lights because it wouldn’t come down far enough or be dark enough to give you that lived-in hair of your dreams.
When you get teasy lights you’re already signing up for a more rooted look because the hair is backcombed before applying highlights so you will not have highlights starting right at the root.
The root melt will ensure a seamless blend between your natural hair and the highlights and you’ll be able to go a few months between highlighting appointments!
We hope that giving you the 411 on root shadows vs root melts will help you with hair lingo and speaking to your hairstylist during your color consultations to ensure you get the hair you want.
We know there are so many different hair techniques and everyone calls them something different (confusing!), we’re here to help you understand how to ask for what you want at the salon and get the effortless, low-maintenance hair we all love.
Differences Between Root Shadow and Root Melt
The below root shadow vs root melt comparison table should help clarify all the differences between root shadow and root melt.
| Feature | Root Shadow | Root Melt |
|---|---|---|
| Definition | A technique used to blur out the line at the root where your highlights were done, giving depth at the top and allowing highlights to grow out more seamlessly. | A technique that allows you to embrace your natural color at the root while having bright highlights in the mid and ends of the hair. It blurs or “melts” your natural color with your new highlights to avoid a harsh line of demarcation. |
| Purpose | Makes highlights look more modern and fresh. It does not cover up fresh highlights but adds depth. | Gives a more rooted look and ensures a seamless blend between your natural hair and the highlights. |
| Process | Applied with a demi-permanent toner, which is a shade or two darker than the highlights. It is applied in horizontal sections right at the root and feathered down about an inch. Process according to the manufacturer’s instructions, typically between 10 to 20 minutes. | Applied with a demi-permanent toner that matches your natural hair color or is slightly darker. It is applied about 3 or 4 inches from the root and feathered down slightly. It processes for about 15-20 minutes or until it matches your natural color. |
| When to Get It | Best after a traditional highlighting service i.e. foils that go all the way to the root. It extends the time between appointments. | Ideal after techniques like teasy lights or other highlights that don’t start right at the root (like balayage or ombre). It also extends the time between appointments. |
| Outcome | Helps the highlights grow out gracefully and seamlessly. | Provides a more rooted lived-in look that embraces your natural hair color. |
| Where to Apply | The shadow root formula is applied in horizontal sections to about 1-inch from the roots, leaving out the hairline foils for a brighter pop in the front. | The root melt formula is applied about 1 inch past where the teasylights begin, which is about 2- to 3-inches down from the root. |
| Why It’s Done | To blur or “shadow” the area at the roots where the highlight and natural color meet without completely covering up the highlights. | To completely erase any demarcation lines so no one can tell where the natural base color ends and the highlights begin. |
| Color Selection | The root area is aimed to be one to two levels darker than the highlights. Favorite root shadow formulas are combinations of Redken Shades EQ 9N, 8N, 7N, 7P, 9P and 7T. | Either aims for the same level as the client’s natural color or a level darker depending on the desired look. Favorite root melt formulas are combinations of Wella Professionals Color Touch 7/89, 5/1, 6/0 and 5/0 or Redken Shades EQ 4N, 5N, 6N, 6T and 7T. |
Which Technique Will You Choose?
Now you understand the difference between a root smudge, a shadow root, and a root melt. The best choice depends on how light your highlights are, how dark your natural color is, and how often you want to touch it up.
If you want the quickest, most natural blur at the roots, choose a root smudge. If you like a deeper root that makes your blonde pop and grows out with less upkeep, you may prefer a shadow root. And if you want the most blended, seamless fade from root to highlight, a root melt can give you that smooth finish.
Trending Topics