

There’s no better way to switch up your look than to color your hair. It adds instant pizazz to your style and may even jazz up your personality. There’s an inconvenient little reality no one ever talks about. Those pesky roots sneak up every 4-6 weeks like clockwork, compromising your gorgeous do.
Now, if you have one solid color on your mane, a quick touch-up is quite easy to do; if you have highlights, not so much. Here’s how to blend regrowth without ruining highlights between salon visits.
How to Touch-Up Roots Without Ruining Highlights
As tempting as it might be to want to fix your mismatched color the moment you spot hair regrowth, wait until you have at least 2 cm (6-8 weeks) of new, virgin hair to work with.
If you can wait until it grows out to 3 cm (8-10 weeks), even better. That way, it’s easier to touch up your hair roots without overlapping your beautiful highlights in the process.
Different Ways to Retouch Your Hair Roots on Highlighted Hair
If this is the first time you’re learning how to touch up hair roots without ruining existing highlights, the rule of thumb to keep in mind is to touch up only where required. Overlapping high-lift color or bleach on already bleached or lifted hair parts will damage your hair.
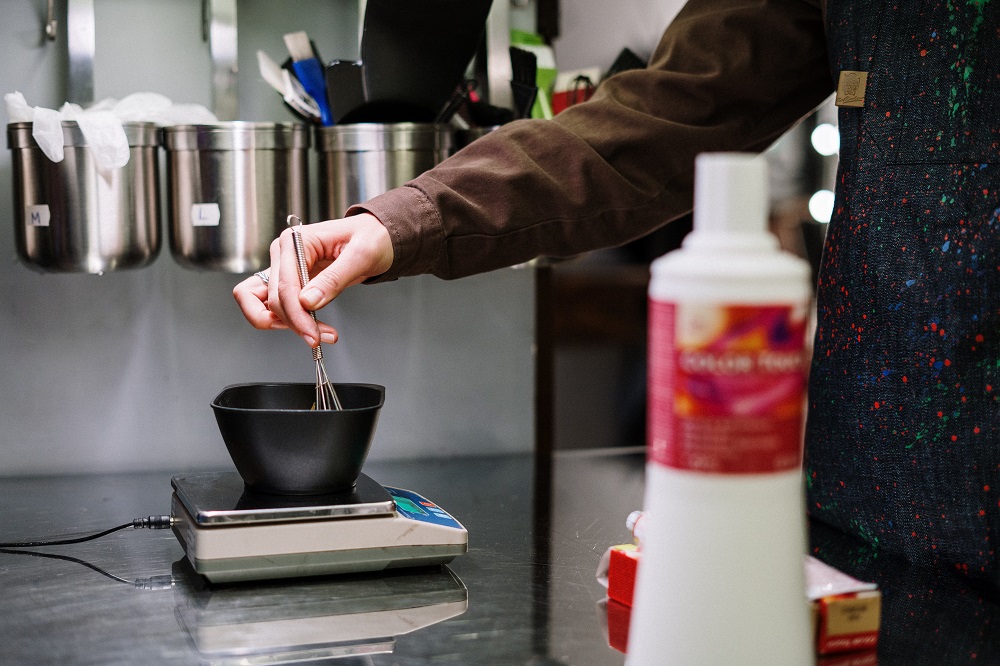
Safety note: Follow the instructions in your kit (including the mixing ratio, which is often 1:1). Wear gloves, do not leave color on longer than directed, and do not continue if you feel burning or stinging. If you are prone to reactions, do a patch test and strand test at least 48 hours before coloring.
Before you apply dye, coat your highlighted lengths with a thick conditioner or hair mask. This acts as a barrier, so when you rinse, the darker root color is less likely to grab onto the blonde pieces and turn them muddy.
Use the steps below to retouch your roots on highlighted hair with less overlap and less staining.
1. The T-Zone Method
This root touch-up method involves sectioning your hair in the middle to form a letter T. Start the parting from the middle of your hairline above your forehead, running it to the top part of your head. Then, part the hair along a horizontal line terminating behind each ear.
You should now have three equal sections to work with, completing the letter T. Secure each with a clip and then apply dye to the hair along the lines. This includes the entire hairline circumference as well.
Leave the hair color on for the recommended time as indicated by the manufacturer. This technique is ideal if you’re working with very little regrowth and is fairly easy to do.
2. The Bottom-Top Method
For this root touch-up, you’ll need to divide your color-treated hair into four equal sections. Then, split each section horizontally into smaller divisions starting from the nape of your neck and apply hair dye on the dark roots as you work your way up. Repeat this for the other three sections. Finish off with the hairline.
This root touch-up technique requires extreme precision. Use a tint brush, apply only to the regrowth, and feather the very edge where the color meets your highlights so there is no hard line. Remember to check the result frequently to avoid over-lifting or darkening.
3. The Applicator Method
This third technique calls for an applicator. Place the developer and color cream in the applicator bottle and shake well until it’s an even consistency (do not guess the ratio if you are mixing separate products). For most at-home root touch-ups, stick to 10 or 20 volume on the scalp to help control irritation and hot roots, and avoid very strong developers unless a professional tells you otherwise. Heat from the scalp and too-strong developer can make roots process faster and warmer.
Next, divide your highlighted hair into four equal parts, as described in the previous section. Cut off the applicator tip, make fine, horizontal partitions from the nape of your neck, and start applying the hair dye on the virgin regrowth as you work your way up. Repeat this process for each of the three remaining sections, and then finish off with the hairline circumference.
When it’s time to rinse, keep your highlighted lengths coated with conditioner for the first part of the rinse. Add a little warm water, gently emulsify the color at the roots, then rinse with your head tilted back so the dye runs away from the blonde ends as much as possible.
Choose the Right Tone
Finally, ensure you pick the right hue for the touch-up. The heat from your scalp makes the color process faster. To avoid ‘hot roots’ (where roots look lighter or orange compared to the rest), do not use a shade lighter than your base. Use a lower volume developer (10 or 20 vol) to control the lift. Match your formulation to your base color level and tone, and do not buy a lighter box dye hoping it creates a seamless blend.
Expert Note | Yashandeep Kaur
Always use a low-volume developer and the correct toner to avoid hot roots. Apply colour only to new growth to protect your highlights. I also recommend using sulphate-free and colour-protecting shampoos and conditioners to keep your hair healthy and reduce breakage.
Be careful not to stain the highlights during the application process. Precision is key. Here are some expert tips from a professional colorist on how to protect highlights when dyeing your hair.