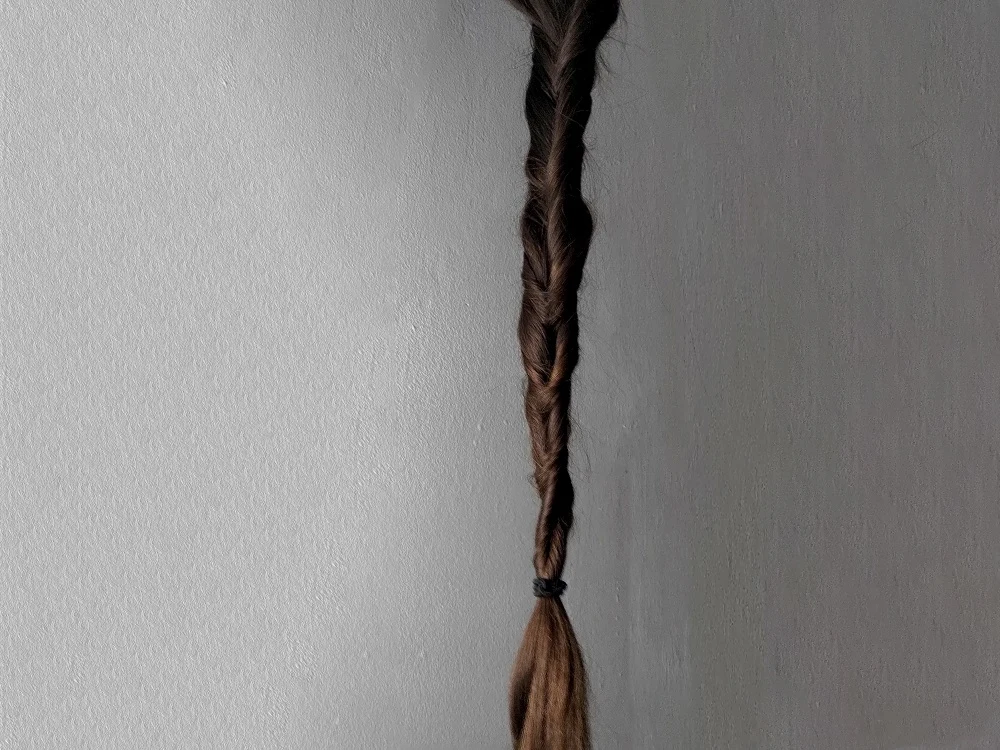
A herringbone or fishtail braid is a stylish and special way to wear your hair, which works on most occasions, be it casual or formal. It may look elaborate, but believe me, the Fishtail braid is an easy two-strand braid, and the only problem is that it takes a little longer to do it.
However, anyone can do it if they have patience, know-how, and practice.
If you want to know how to do it, stay with me here, because I prepared a step-by-step guide, especially for you, those who are ready to learn how to style Herringbone braids like a pro.
More than that, during this article, you’ll get some further alternatives and hacks.
How to Style A Herringbone Braid

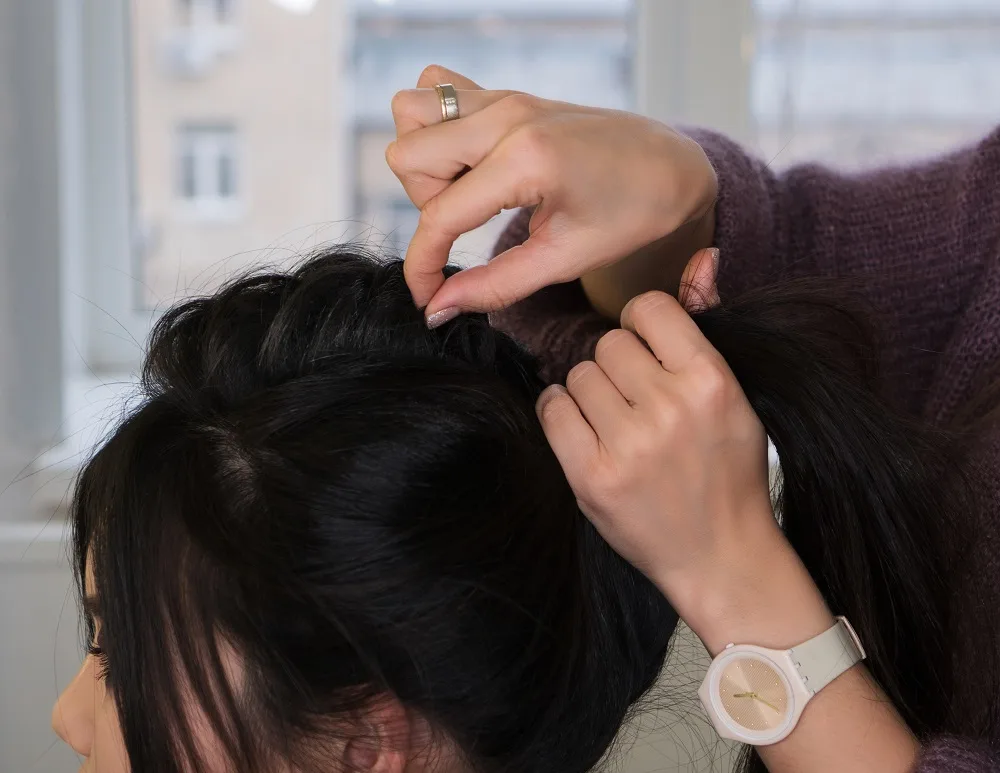
If you don’t know how to do a fishtail braid, the best way to start is with the hair tied, so you don’t have to stress yourself about holding it together while braiding.
So, in this tutorial, we’ll do the Herringbone braid starting from a ponytail, skipping the braiding on the scalp part, which is more advanced, as first of all, you need to know how to braid the basic version.
Steps to style Herringbone braid:
- Brush the hair and tie it into a ponytail. If you want to add extensions, you’ll better fix them on your hair before starting to braid.
- Find a long, meditative song and let it play.
- Separate the hair into two equal pieces. Those pieces of hair will remain apart from each other.
- Use your pointing finger to take a small strand from the back (underneath) of the right section (or the left one, it doesn’t matter which one you start with) and bring it to the inner part of the left section, crossing the middle.
- Control the middle part with your thumbs. Don’t let the strands fall.
- Take a small strand from the back of the other half (if you started with the right one, from the left) and bring it to the inner part of the right section, crossing over the middle.
- Next, do the same again with the right side. (Take a small section from the back and bring it to the inner part of the left piece, crossing the middle).
- Do that “x” shape pattern over and over again until the end, alternating left and right, and keeping the strand sizes small and consistent. Always grab the new strands from underneath the hair.
- In the end, use a clear rubber band to secure the braid. You can cover the elastic with a piece of hair, which will be secured with the same rubber band.
- Optionally, you can fan the braid out to make it look thicker and more detailed. It will also give it a casual flair or a more effortless touch.
If you want to style a Herringbone braid without tying the hair into a ponytail at the beginning, you’ll need to split the hair into two equal sections, and start braiding by crossing an external small strand of hair from one of the sides over the middle part, and do it symmetrically from the other side.
While you keep crossing the strands like that, you will also need to hold the hair tight, so the braid would not get loosened.

Herringbone braids can also be braided on the scalp, like French or Dutch braids. You can choose various ways to style them (two braids, buns, side braids, etc.). There is a reverse method for the fishtail braid too, which looks a little bit different, while the braiding technique is similar.
Therefore, Herringbone braids have lots of different appearances, depending on the way that it has been braided.
For those who feel that a Herringbone braid takes an eternity, and don’t have time for that, consider braiding it just several inches, and loosening the strands to look thicker. A little fish is still a fish.

Another quicker method for a full herringbone thick and airy braid is to hold a strand of hair from the middle of your future final fishtail braid (on the scalp) and cross symmetrical strands of hair over the middle strand, alternating from the left side and right side, and moving downer.
This time the strands can be a little larger, but you need to take the sections of the strands in a very balanced manner, from the top until the bottom of the braid, where you can secure it with a rubber band and tie it up.
Still, if you are having a hard time trying to do a Herringbone braid, you can use tips and tricks to create a similar look.
There are many alternative methods that you can try. I’ll provide you with a very easy one, in which you only need to use one elastic band, and it takes less than one minute to do it. Be aware, it wouldn’t look as good and detailed as a real Herringbone braid.
Fake Fishtail Quick Faux Braid Guide

- Place an elastic band at the beginning of your braid and create an opening in the middle of your ponytail, with your fingers, just above the elastic band.
- Then, you’ll grab the hair and flip it through the opening.
- Next, tie your hair up, move the elastic band a little downer, create another space above, near the first one, in the middle, and flip the hair again.
- And again, like that, until the end.
- That would take less than one minute, and it will look just as a much messier, careless, fishtail braid.
In conclusion, Herringbone braid is a versatile style that can be adapted to lots of circumstances. Hope this article helped, and don’t forget, “One fish in your net is better than ten thousand in the river.”
FAQs
Yes, there are two words for the same hairstyle, but don’t ask me why, because I didn’t name them. The idea is that they look similar to a fish bone, so… yes, some call them fishbone braids as well.
Yes, you can sleep with a herringbone braid, but it is better if you protect it with a satin scarf, so you’ll increase the chances of looking good in the morning.
Trending Topics
