
If you love cornrows and you want to learn how to do it yourself like a pro, here’s a detailed step-by-step guide for you, including the most important things to consider when installing this hairstyle.
If you have no idea how to braid cornrows, after reading this article, all you’ll need will be practice, patience, and your best disposition until you’ll be able to reproduce any pattern you see or let your creativity drive you into new art-piece designs of cornrow hairstyles.
Steps for Braiding Cornrows
Braiding cornrows might seem complicated at first glance, but with a bit of patience and practice, you’ll get the hang of it in no time.
From mapping out your desired pattern to nailing the actual braiding technique, we’ve got your back. So, grab your comb and hair clips, and let’s get those hands braiding cornrows!
Step 1 – Wash hair the night before
Make sure the hair is washed the night before braiding. Use conditioner only for dry or low-porosity hair.
Step 2 – Choose the pattern
Choose the pattern, and mentally adapt it to the head particularities and haircut. There are millions of cornrows patterns, varying from the easiest, simple, or classic, like straight lines, to the most complex designs, which can be literally any shape. If you are at the beginning, I’d suggest you avoid picking up a complicated one.
Step 3 – Comb and detangle hair
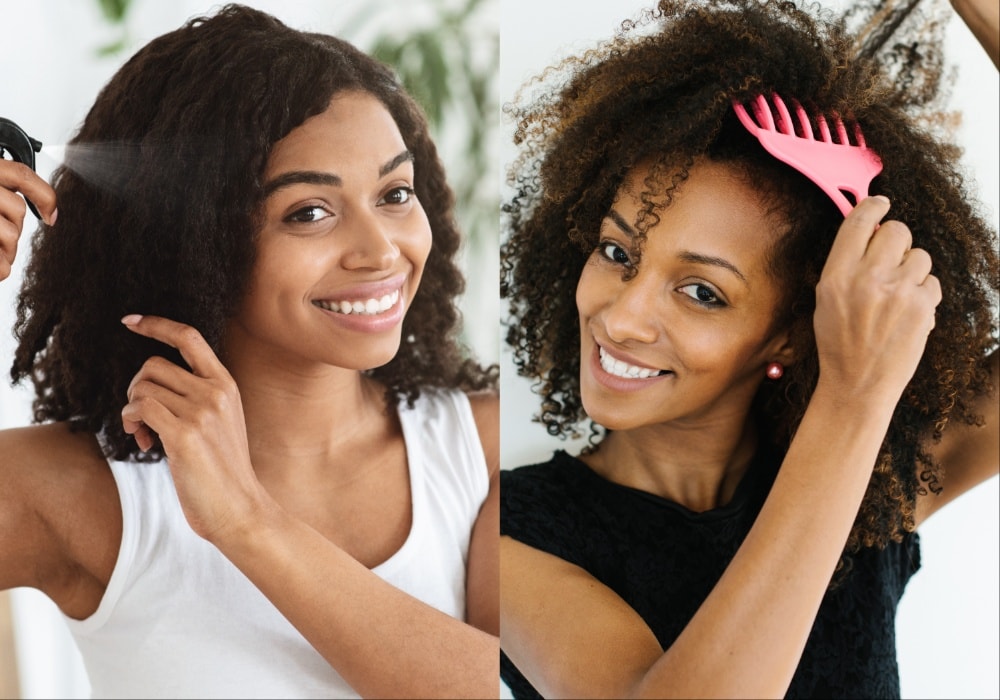
Comb the hair. If you need a detangling spray or moisturizing product, be prepared to have and use it.
Step 4 – Section hair for the first braid
Start sectioning the hair for the first braid (or more, if you want to organize the pattern in advance), using a pintail comb. You’ll need to draw perfect, clean lines and follow the direction according to your desired design. Secure the part that you won’t braid yet.
Step 5 – Prepare hair extensions (optional)
If you want to use braiding hair extensions, divide them into small strands because you’ll need to add them gradually into the braid. You can have different sizes of strands, as you’ll use thinner strands for the beginning of the braid, and you can add thicker ones afterward.
Step 6 – Apply edge control gel and other products
Comb the section that you’re about to start braiding, and apply edge control gel along both sides of the path. Use braiding wax, shine gem, or gel for the rest of the hair.
You can use only one product, your favorite one, as well. It is doable without any styling product too, but the hairstyle would last less, and it wouldn’t look that shiny.
Step 7 – Start braiding cornrows

Take a small section of hair at the beginning of the braid’s path and divide it into three equal pieces. Hold them separately, and don’t let them fall from your hands. If you want to add braiding hair extensions, grab a thin strand and hold it together with the middle strand.
Cross the right strand of hair (together with the other half of the hair extension if using them) under the middle strand of hair and the left strand under both strands. Get used to switching the fingers so you’ll not lose the strands.
Continue with crossing the middle strand under the right one, and hold it together with a small amount of hair from the braid’s path that you’ll use to continue the braid afterward.
Take a little hair from the left part of the path, the closest possible, and cross it under the middle part together with the left strand.
Add another strand of extensions if you are using them. Continue crossing like that and adding hair from the path (and strands of extension) until the end of the head, when you’ll just braid it normally without adding any small pieces of hair.
Consider braiding as close to the scalp as possible but without tensioning the hair, so the braid will be just perfectly tight.
Step 8 – Secure the braid end
If you are using hair extensions, at the very end of the braid, make a temporary knot by splitting the braid into two sections and pulling the two strands apart from each other several times (like making dreadlocks). If you’re not using braiding hair, secure the braid with rubber bands or other accessories that may serve you.
Step 9 – Repeat steps 4-7 for all sections
Repeat steps from 4 to 7 until there is no section left.
Step 10 – Trim stray hairs
When you finish all the braids, take a pair of scissors and cut the messy hairs which come out of the braids.
If there are big strands of natural hair left out of the braids that you don’t want to cut, then use a crochet latch to grab them and put them back inside the braid.
Step 11 – Dip braid ends in boiled water (if using extensions)
In case you’ve been using hair extensions, prepare some boiled water and a towel. Put the ends of the braids in boiled water and take them out in a towel to get the water out of them (and not to get burned either).
Step 12 – Add finishing products and accessories
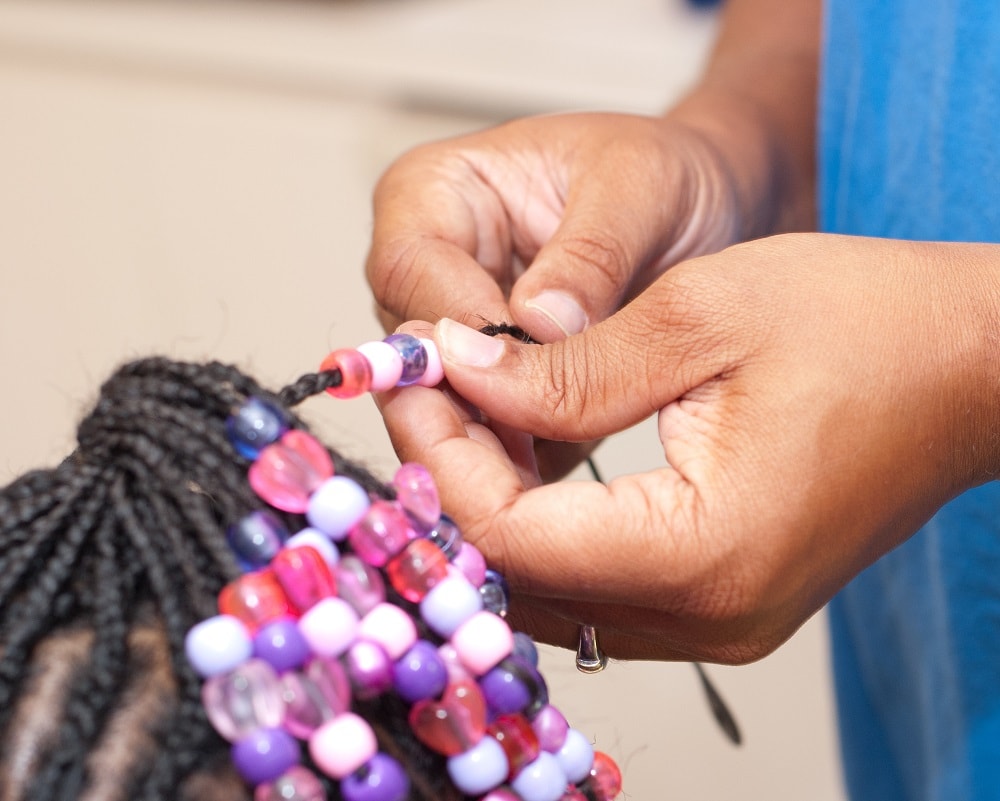
Optionally, you can add foam, hairspray, or other finishing products. Also, if you would like to decorate your braids with accessories (beans, cuffs, and so on), that would be the last thing to do before finishing up your hairdo.
Step 13 – Show off your new hairstyle
Enjoy the results and show off your hairstyle!
Cornrow braid universe is timeless and endless since it is one of the oldest hairstyles, but always in trend, never out of fashion, and what is more, it includes infinite variations of designs.
Don’t lose your patience if it seems difficult for you to braid at the beginning because as soon as your fingers learn how to move in order to create these braids, everything will become a matter of creativity.
FAQs
It is up to you, but the cornrow will become a stitch braid if you do that. If you want to see parallel straight lines very clearly, it means you want stitch braids, which is a defined type of cornrow, and for that, you’ll need to use a comb.
For other types of cornrows, you can also add the hair by using your fingers or nails.
Cornrows last, on average, about two weeks, but they can last up to four weeks, depending on the pattern (how thin the pats are), hair type, care, and the braider’s skills.
If cornrows are properly braided, and the braids aren’t over-tensed, they would not damage the hair.
During this hairstyle, you’ll still need to wash, nourish and take care of your hair and scalp, for the health and wellbeing of your hair.
Yes, but you would need to learn the classic three strands braiding, first. If you don’t want to learn how to braid, you could try alternative hairstyles that resemble cornrows such as-
flat twists (twist-braids on the scalp) or, the easiest, rubber band braids – which imply only parting the hair and binding it together with rubber bands in a precise manner.
You May Also Like