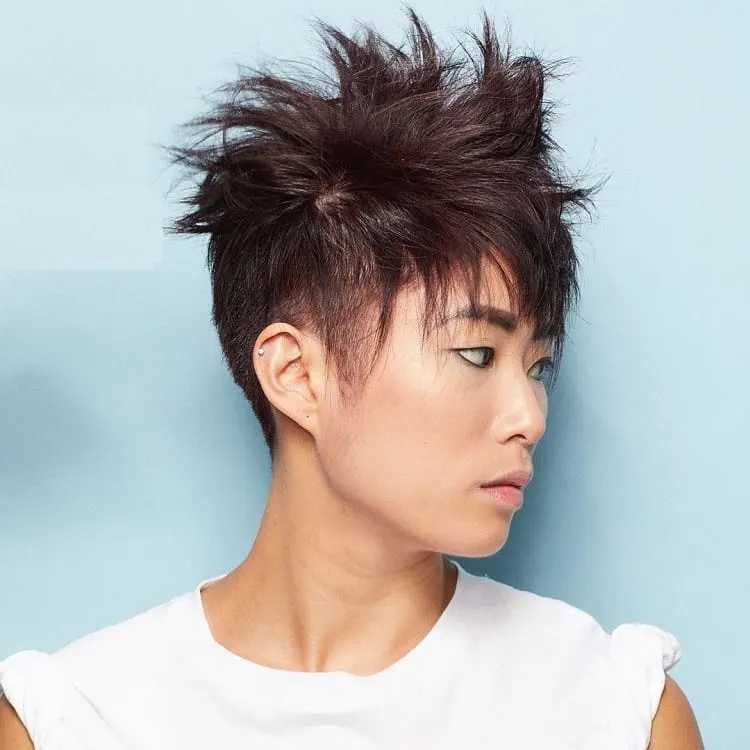
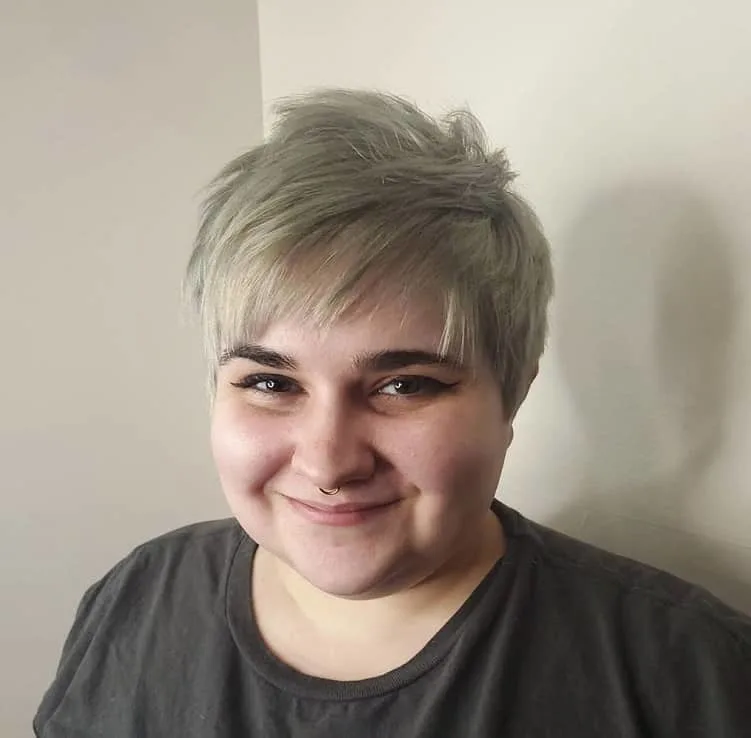
Now more than ever, pixie cuts feel fresh and new. The days of extensions feel dull and easy, feminine short styles have officially taken over. Not all of us have been blessed with wavy locks and lots of body, however. For those of us with uneven, fine, or even coarse textures, we could use a little help. Luckily, pixie cuts are short enough to save us time and potential stress to make styling a breeze.
How To Add Texture To A Pixie Cut
The best way to add texture is by using a product, but picking the right one and using the correct amount is crucial. Even though every girl should have salt spray on hand, it’s especially ideal for adding texture to a pixie without weighing it down.
When choosing your product, think light and airy; a dab of pomade creates a separated texture and a spritz of dry shampoo or root thickener applied to damp hair can go a long way. As for how much product, remember, less is more, so be conservative. To let the product really absorb, blow-dry hair and use your fingers to work in that texture.
Adding texture to a pixie cut can make it more stylish and versatile. Here are some steps and tips to create a textured pixie cut:
- Choose the right cut: Ask your stylist to add layers and use point-cutting techniques. This will create a more textured appearance.
- Use suitable products: Apply texturizing products like sea salt spray or dry shampoo to your hair. These products add grip, volume, and texture.
- Scrunch your hair: Gently scrunch your hair with your fingers while applying the product. This enhances the texture and creates a tousled effect.
- Blow-dry with a diffuser: Attach a diffuser to your hairdryer. Set it to low heat. Gently scrunch your hair with the diffuser while blow-drying: This encourages texture and natural waves.
- Use a flat iron or curling iron: Create subtle waves or curls in different sections of your hair. Use a heat protectant spray before applying heat.
- Finger-style your hair: Use your fingers to style and arrange your hair. Accentuate the layers and texture. Avoid using a brush or comb. They may flatten the texture.
- Finish with a styling product: Set your textured pixie cut with a light-hold hairspray, wax, or pomade. Use these products sparingly to avoid weighing your hair down.
By using these techniques and the right products, you can add texture to your pixie cut.
Fashionable Textured Pixie Haircut Ideas
Now that we have a good idea of how to style a pixie, let’s take a look at these top styles for some specific inspiration.
1. Long and Textured Pixie
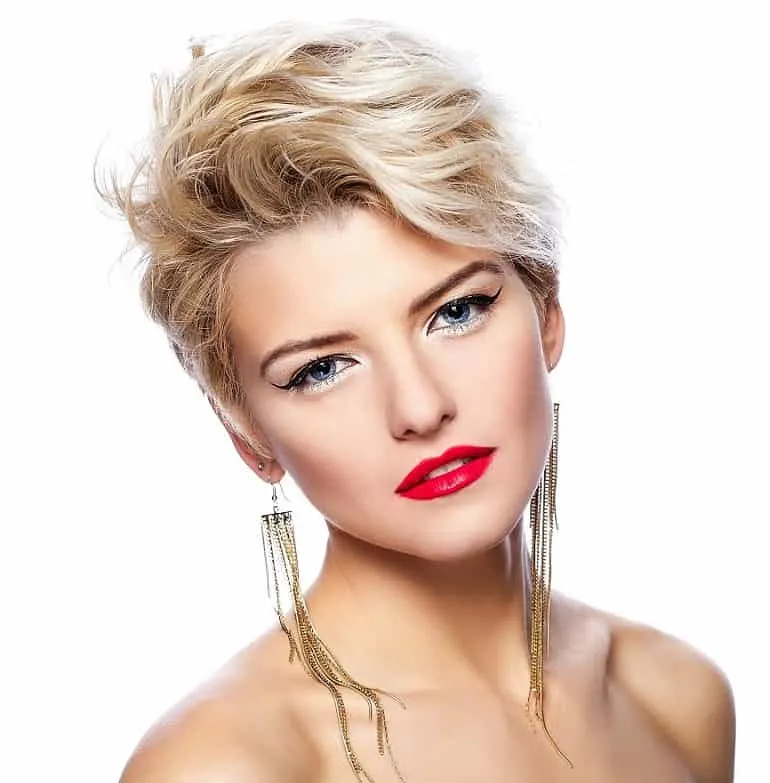
Your main goal when styling a long textured pixie cut is to create a gorgeous shape. A round brush can be helpful for molding that perfect swoop and lifting hair on one side of the forehead.
2. Textured Pixie for Thick Hair
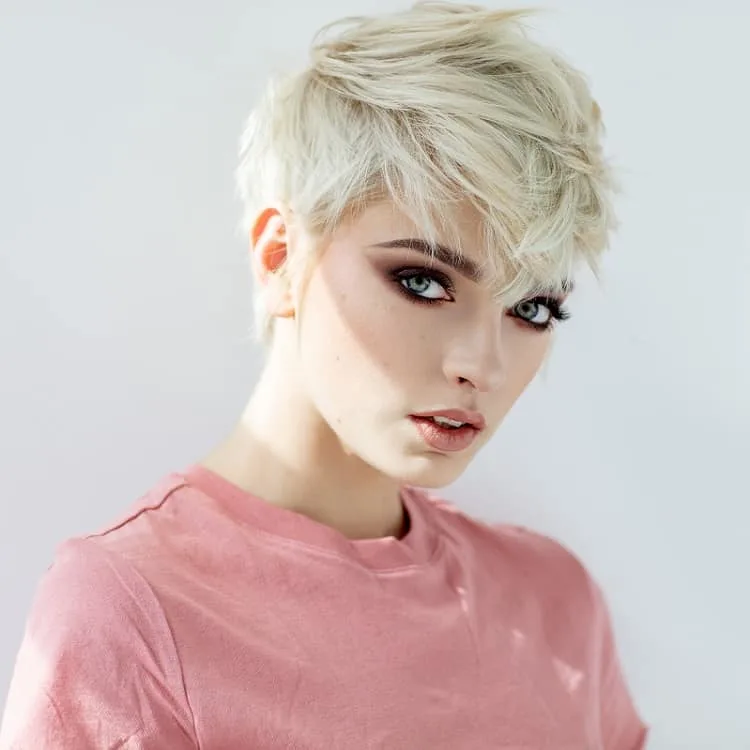
You can work all that hair to one side or the other, but this bangs-focused look feels particularly fresh. Use a lightweight wax to direct the energy forward on this textured pixie cut for thick hair. Be sure to separate different layered pieces for volume and flair.
3. Choppy Layers + Textured Pixie
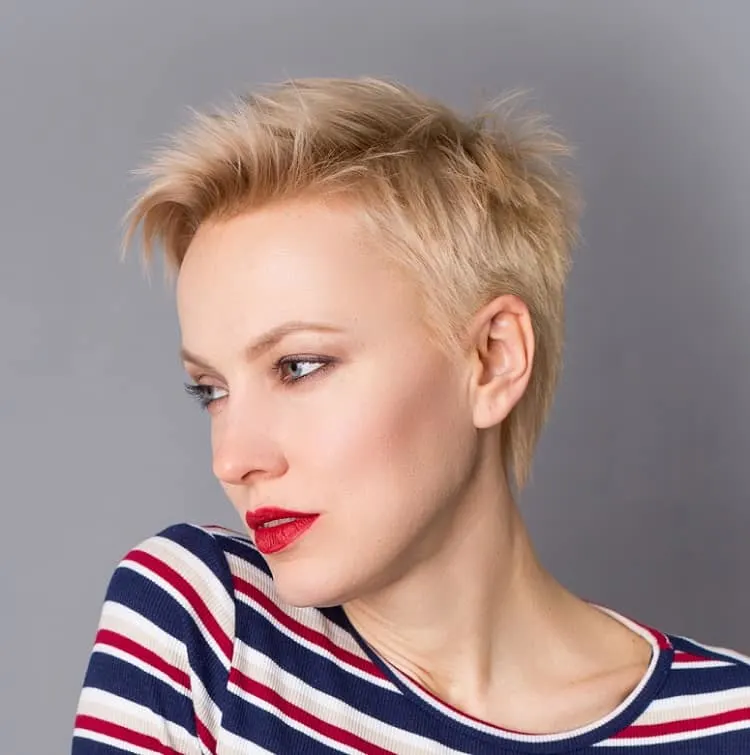
This short textured pixie cut uses choppy layers instead of a product to create its shape. You can focus a little salt spray at the front of the hair when blow-drying bangs upwards, though, and spritz a bit throughout. Use your fingers to separate and define pieces.
4. Textured Pixie for Older Women

Lots of mature women sport pixies, but none feel quite as trendy at this textured pixie cut for over 50. Smooth looks are dated while this multi-layered and piecey look draws the eye upwards for that ultimate youthful lift.
5. Maximum Texture for Thin Hair
You’ll need a least a couple of inches to get this textured pixie cut for thin hair. The idea is to keep this style lightweight and feathery, so use the slightest amount of wax to create these stunning shapes. There is no better way to maximize the appearance of thin hair!
6. Textured Pixie Bob
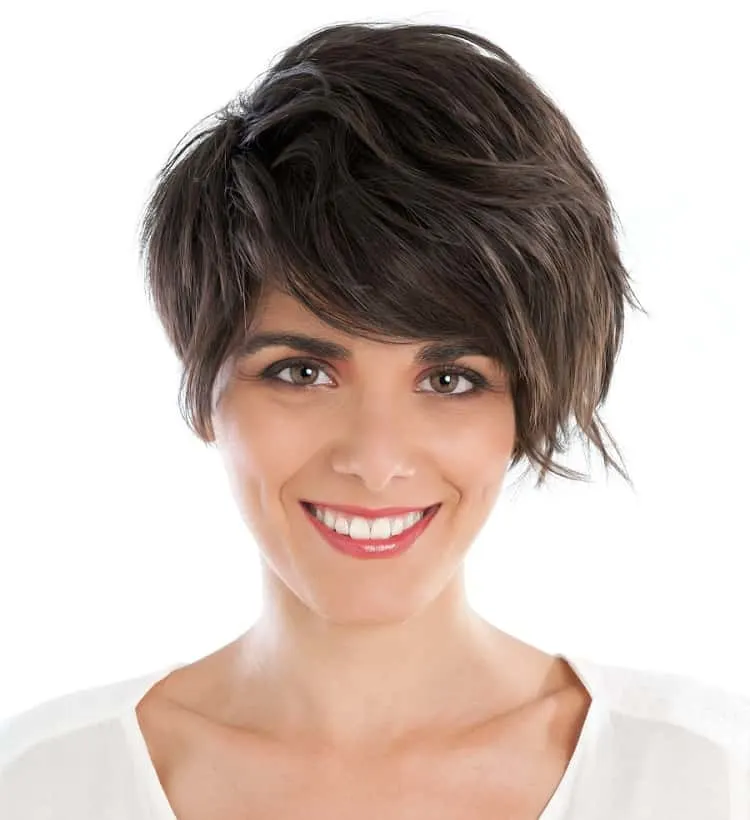
This textured pixie bob is subtle but has tons of lift. A root thickener or lifter will give hair an instant boost as you blow dry. A side part reveals gorgeous layers that sweep across the center of your hair to draw attention to your face.
7. Textured Pixie with Bangs
Short bangs can be flipped up, but medium and long lengths look great when swept slightly to the side and kept piecey. This textured pixie cut with bangs is so easy to wear and perfect for straight hair types looking for a little something interesting.
8. Choppy Textured Pixie
This style features short, choppy layers throughout the hair, creating a playful and edgy look. The choppy layers add dimension and movement, making it perfect for those who want a bold, modern style.
9. Asymmetrical Textured Pixie
This pixie cut has an uneven length, with one side being longer than the other. This unique style offers a sense of individuality and flair while still maintaining the textured, layered appearance.
10. Pixie with Long Bangs
In this style, the pixie cut is paired with longer, side-swept bangs that frame the face. The combination of short layers in the back and long bangs in the front adds a sense of depth and texture to the overall look.
11. Tapered Textured Pixie
This pixie cut features a gradual taper from the back to the front, with the longest layers at the top of the head. This creates a soft, feminine look that accentuates the texture in the hair and adds volume on top.
12. Curly Textured Pixie
Ideal for those with natural curls or waves, this pixie cut embraces the hair’s natural texture. The cut incorporates layers and shaping to enhance the curls and create a lively, bouncy style that showcases the hair’s natural movement.
As long as you focus your energy on creating shape as opposed to packing on product, then your pixie will have the texture that you’re looking for. Separate layered pieces with wax, blow-dry from the root to lift, and above all, don’t be afraid to get a little gritty!

