When you buy through links on our site, we may earn an affiliate commission.
Finger coils are a kind of curl you make by twirling your hair around your fingers. The result? Tightly-packed curls that are full of bounce.
Finger coils can be worn anywhere. They are professional enough for the office and fun enough for the beach, too.
Are you ready to create this voluminous style? Let’s get started!
How to Make Finger Coils on Short Hair
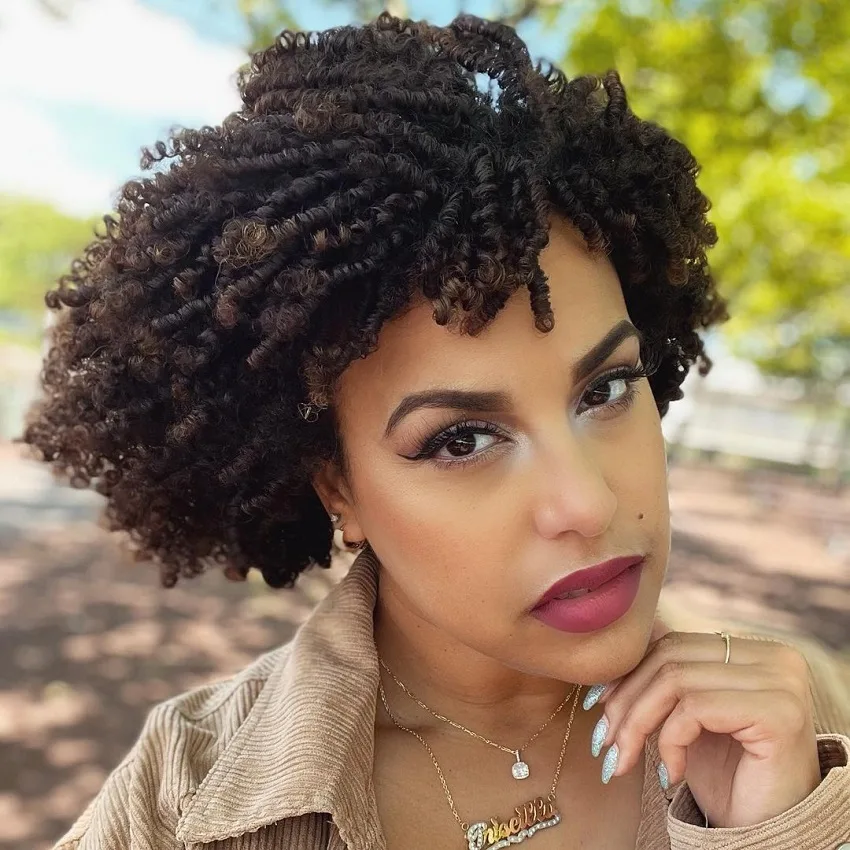
If you just cut your hair short or you like keeping it in a teeny weeny afro, you can still create coils in your hair. All you need is a curl sponge and some gel. This style looks nice on men, too.
1. Cleanse your hair first
Finger coils can last up to a week or more, so it’s a good idea to start off on hair that’s already clean. Condition your hair after washing and apply a leave-in conditioner.
2. Detangle

To make sure your coils form properly, first detangle your hair with a brush. Apply leave-in conditioner first, so that detangling is easier.
3. Apply a natural gel
You want to massage the gel all the way into your roots and smooth it out from there. Because the product gets so close to the scalp, it’s best to use one that doesn’t contain petrochemicals like carbomer and PEG that can clog your hair follicles.
Try Alaffia Beautiful Curls Curl Enhance Defining Gel, Camille Rose Curl Maker Defining Gel, or As I Am Curling Jelly.
4. Roll your coils with a curl sponge
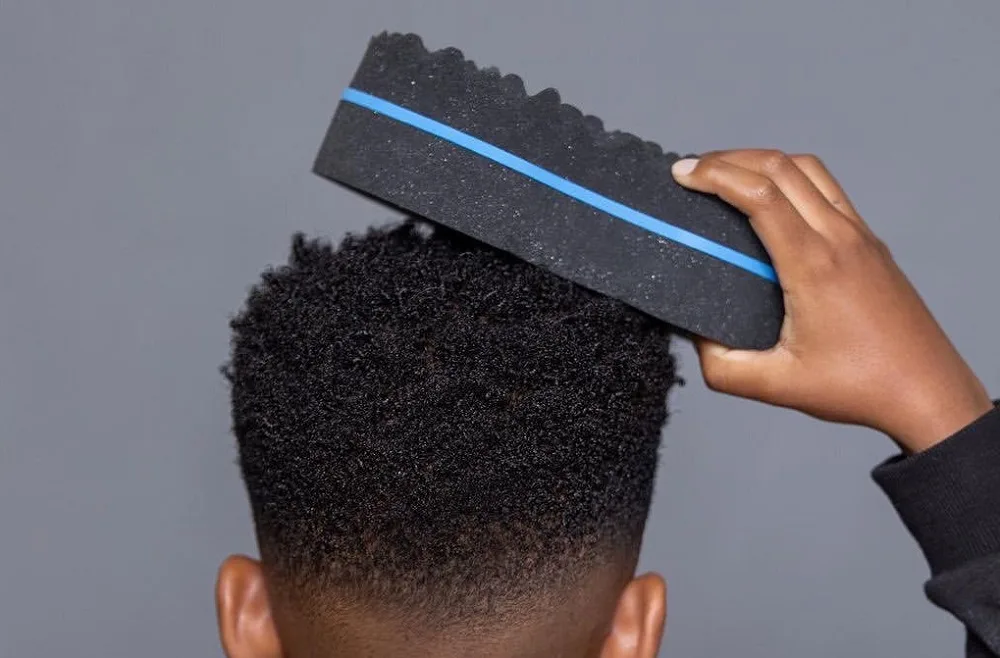
Using the flat side of a curl sponge, make small circular motions in the same direction for every section of hair. This creates defined coils. Don’t touch your hair after you’ve created the coils, but allow your hair to dry instead.
5. Maintenance of short coils
To keep your coils tight and well-defined, apply natural gel to each small section and thereafter use your fingers to recoil them before bed.
Then sleep in a silk scarf. Depending on how your hair is affected by humidity and how much there is in the environment where you live, the coils will start to puff, quickly or slowly, until your curl definition is loose.
It will look similar to the coils produced by the textured side of the curl sponge. Go with your new look until wash day comes around again in one or two weeks.
The coils will start to puff, sooner or later, until your curl definition is loose.
How to Make Finger Coils on Medium Length Hair

Finger coils for medium-length hair use the classic procedure of twirling small sections of hair around your fingers until they form coils.
1. Start with clean, damp hair
It’s best to start with clean hair for this because you want the gel to adhere well to your hair without having too many products underneath.
Make sure to condition your hair, though, and also use a leave-in. Then start the process while your hair is still damp. Spray it with water in case it starts to dry out while you’re working.
2. Detangle
But before you start, detangle your hair with a detangling brush while the leave-in is still wet in your hair.
3. Use a natural gel as you style
Instead of applying the gel to your whole head, apply it to each individual section. Starting right at the scalp, apply it to the roots and then smooth it down to the tips of the hair.
4. Twirl the sections
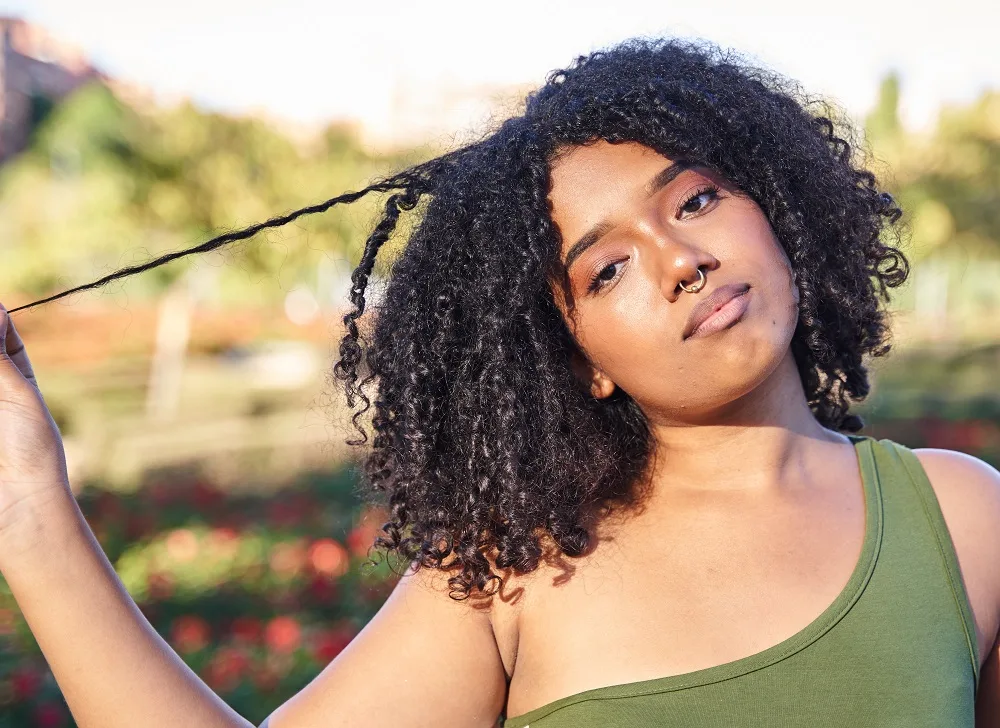
Starting again at the roots, twirl the section tightly. Use the other hand to hold the coil in place so as not to lose tension as you move down to the tips of your hair.
5. Maintenance of medium-length coils
What will help medium-length coils stay for a while is using rollers at night. Tighten the roots first using a little gel, then roll the coils onto a smooth roller.
The best kind to sleep in are silicone rollers, which you can install at night and tie a hair net over them to keep them in place. Silicone rollers for loose curls that are easy to style.
Tighten the roots first with a little gel, then roll the coils onto a silicone roller to maintain them.
How to Make Finger Coils on Long Hair
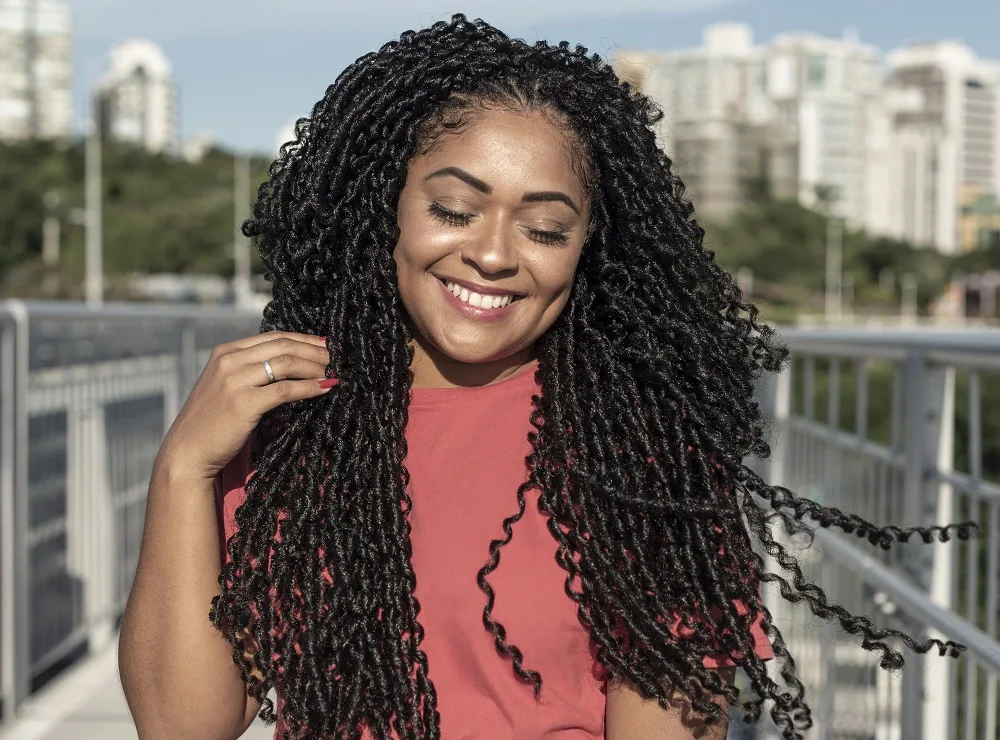
If you try twirling long hair as you do for medium-length hair, you’ll be twirling forever! It just won’t work. Try this instead:
1. Start with clean hair
For long hair, it won’t matter if your hair is still damp or not. But make sure to condition your hair and use a leave-in as well.
2. Detangle
You’ll be using Bantu knots to prepare your hair for finger coils. Make sure to detangle each section before creating the knot.
3. Bantu knot your hair for two days
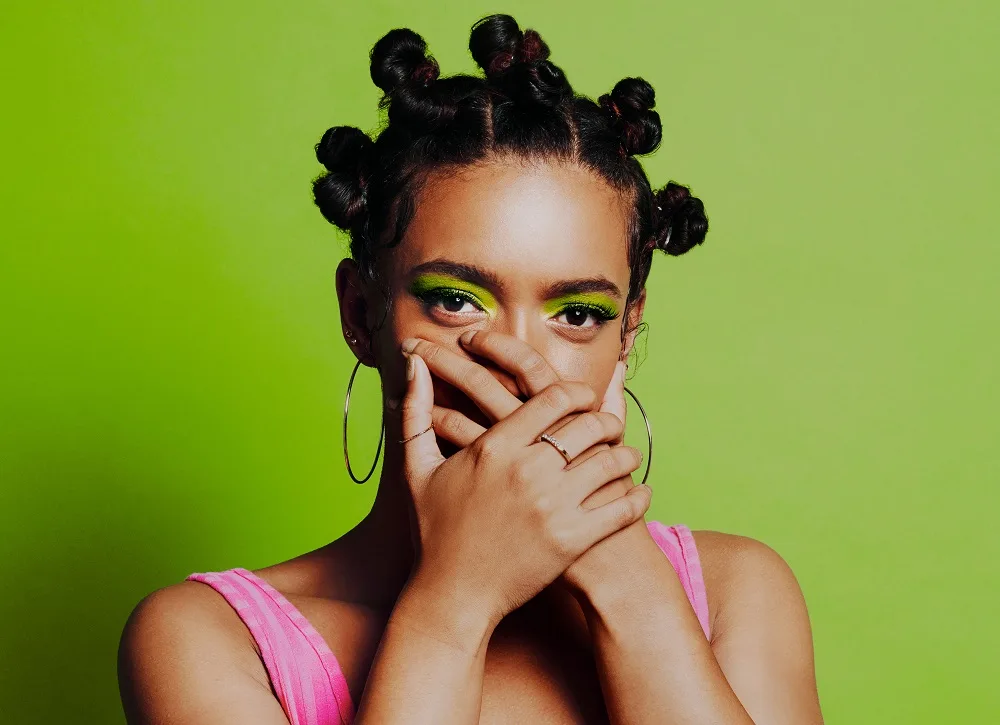
If you have long, natural hair, you’re probably used to styling your hair in phases.
For this style, it helps to put the Bantu knots in on the first day, then brush each one out individually, add a little leave-in conditioner and re-knot the section in the same direction for the second day.
This will allow the entire length of your hair to be accustomed to twirling in the direction of the knot. It also helps to stretch your hair in the same pattern.
4. Twirl your hair
Undo one knot and break off a small section, twirling it with a natural gel in the same direction that you made the Bantu knot. You should find that the sections are easy to twirl.
Just make sure to add the gel to the roots of your hair and start twirling from there. As you move down the length, hold the parts of the coil that have already been twirled with your other hand.
After making Bantu knots, you’ll find the small sections are easy to twirl.
5. Maintenance for finger coils on long hair
To maintain your finger coils, simply re-create the Bantu knots, using the same sectioning as before. This will help keep them stretched. Make sure to create the Bantu knots in the same direction as the coils, otherwise, they will unravel.
Finger Coils Will Puff

It will only be a day or two before your roots start to puff. Depending on your hair texture, the whole coil might puff, and it’s okay either way! This just gives you a new style to play with. You can pull them back or up into a bun and still have a textured look.
Or if your hair is medium length, let the shrinkage take hold and you’ll have an afro with a curly texture at the tips. Experiment with the various phases of finger coils and see how you like them best.
Finger Coils Can Turn Into Locs
Making finger coils is exactly the way locs are started in the hair. Unlike braids or twists, finger coils are created using the same pattern of natural hair.
So they have a high capacity to start locking up easily. If you don’t want locs, don’t leave them in for more than two weeks.
Also, check your hair periodically to make sure it’s not forming the natural tangles that lead to locs. You can do this by taking one down and checking it, then reforming the coil with gel.
FAQs
You can sleep in a silk scarf if your coils are short. If your hair is medium length, you can sleep in a hair bonnet or a hair net.
Yes, they sure can.
You can wash your hair with finger coils in it, BUT it accelerates the locking process.
You can leave them in for a week or two before they either get too puffy to look nice or before they begin to lock.
The process will start in about two weeks. A month later and your hair might be locked permanently or seriously tangled.
They don’t take long to dry because there is an air hole right in the middle. They will take an hour or two to dry at the most.
To get your hair more voluminous, you can always pick the roots.
No. Your curl pattern won’t become looser from having finger coils.
Yes, because after your hair is saturated with water it dries tighter. Also, there is some movement with the hair being saturated and then drying.
Between the movement and the drying process after saturation, the hairs wrap around each other tighter.
You May Also Like
