
Last time you had highlights, and now you are due to do your regrowth again but don’t want to ruin the existing highlights. So, how can you protect the highlights while coloring hair?
How to Protect Highlights When Coloring Hair
There are a couple of options when it comes to redoing your regrowth without ruining the highlights.
Option 1
When you want to redo your regrowth color, but wish to keep highlights, you can actually just color over the regrowth. Do this with a hair color brush very carefully.
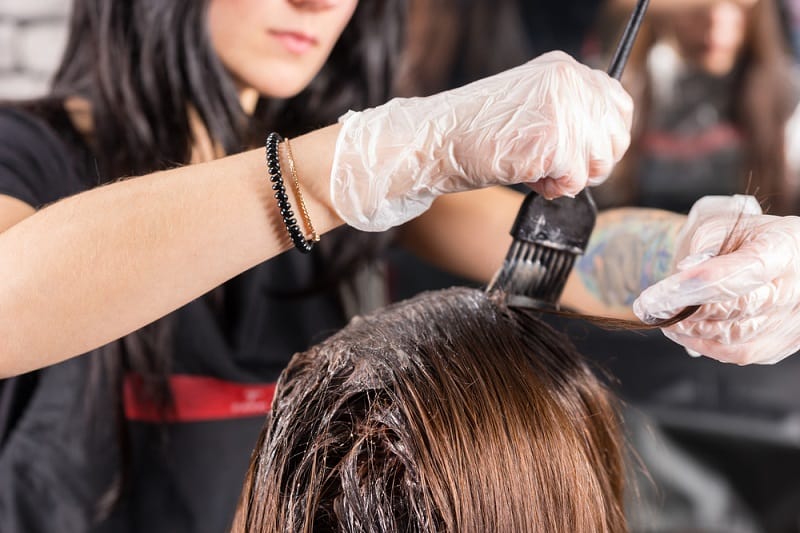
Firstly, divide your hair into 4 sections.
Secondly, spot-apply color to any stubborn greys first, but avoid painting the fine baby hairs around your front hairline until the last 5-10 minutes of processing, as they are porous and will grab color much faster. Only cover just the hair that requires recoloring, not onto the last color.
Thirdly, choose one of the front sections and work your way from the center of the hair towards the ear taking sections of half a centimeter each. When you are sectioning and color like this you need to also color both sides of the sectioned piece of hair to ensure good coverage of all of the hair.
When the first front section is completed, move onto the second front section, with exactly the same method. Following the application of the front sections, move on to complete the rear sections also.
Apply color to the front sections first because these areas often have the most stubborn grey hairs, which may need a little more processing time for even color coverage.
If you’re careful and not applying hair color over the previous color, there’ll be no need to do anything further to protect highlights! To prevent the dark root color from staining your highlights in the shower, coat your highlighted mid-lengths and ends heavily in conditioner before washing. Tilt your head back to rinse the root color backward so the dark water does not run down the length of the blonde. Don’t allow the new color to remain on the rest of your hair for any period of time to help ensure a clean, even result.
Pro tip: Always go back over the outer hairline, especially if the hair contains greys. Some of these grey hairs are very strong and have a mind of their own. If they have popped out of the color you applied initially they will often not become colored. And they are very obvious!
Option 2
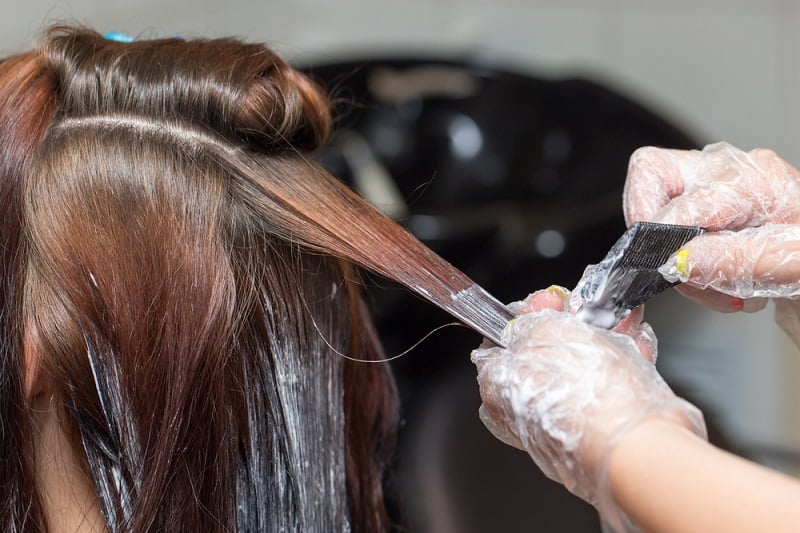
Another option for protecting the highlights from a new hair color application is carefully picking the highlights up with a tail comb and covering them in foil. This process is a lot more tedious.
However, if you are wanting to change the color that is around your highlights, it’s a very effective way of doing it!

To perform this method, you need a tail comb, hair color bowl, brush, and conditioner.
Firstly, highlights are typically applied in a direction, maybe around the hairline then sectioned back, or from the front of the hairline straight back to the crown and then down the sides, there is a number of different ways to section for highlights.
However, if you can see the direction they have been applied or remember the direction they have been applied it will make picking them up with the tail comb easier!
Once you have established the direction you’re going to be going, and picking up the highlights, use your tail comb to push a bent piece of the foil underneath the hair you have picked up, paint the highlighted pieces with conditioner.
Then fold the foil over and over the highlighted hair a few times to securely hold the highlights in place in the foil. If you don’t use conditioner the hair springs out of the foils.
Once you have picked up all of the highlights and protected them with the foil and conditioner you are free to start applying your new color.
Just remember, if you are depositing color in between your highlights, use a gentle demi-permanent color with a low-volume developer (for example, 5-volume or about 1.5%–2%), following the brand’s instructions. This helps minimize cuticle lift and reduces the risk of unnecessary damage or unwanted lightening around your highlights.
Pro tip: Using the conditioner works in 2 ways. The conditioner makes it easier to contain the hair, while also keeping the cuticle closed and protected.
Option 3
There is actually a third option that can be used to protect highlights and this is likely the most common option that is used in salons.
Firstly the color that is currently on the hair is visually assessed and a color that is very similar to the darkest shade currently in the hair is chosen.
Pro tip: This is always a different color to what was originally put in the hair because of natural fading, and the degree that the original color has faded because of environmental, heat, and treatments between color applications.
It will also be affected by the hair color and condition of the hair originally. The degree of fading and remaining color pigments will be different for everyone!
Once the appropriate hair color is chosen, follow the same application method as described in the first option of protecting your highlights.
However, when you apply the color instead of just applying on the regrowth only, use a root-smudge technique: apply the root color, then use a clean brush or fine-tooth comb to gently feather the color down about 1 cm into the start of the highlights to create a seamless, diffused blend.
Diagram: After applying the root color, gently feather it down into the first ~1 cm of highlights for a soft blend.
The idea is that you are blending your new color into your previous color so that you do not end up with a color line between the 2-colors. This method graduates the new color into the previous color and “blends” the two colors beautifully!
This method minimizes overlapping damage to your existing highlights, and the blended root can actually accentuate them! The ideal way to finish this root-smudge method is by applying an acidic demi-permanent gloss or toner over the highlights. Because these toners sit at a lower pH, they can help smooth the cuticle, making the hair look shinier and the tone more even, without unnecessary lift. This works as a long-lasting refresher that boosts shine and tone while being gentler on lightened hair and less likely to shift your natural, un-lightened base.
Pro tip: This method can be used a number of times before new highlights are required, depending on the look that you are after. When this method is used a number of times consecutively it starts to create an ombré to balayage type look.
Final Thought
Last but not least, always maintain the new hair color that you have invested in with good salon-quality shampoo, conditioner, and treatment to look after the health of your hair. Healthy, low-porosity hair with a balanced pH holds colors the best, as the cuticle lies flat and traps the color pigments… enjoy!