Social media and hair forums are saturated with inspirational photos of layered hair with curls or waves that lay just perfectly. However, trying to achieve the same look by curling your layered hair may be a bit tricky and frustrating.
Perhaps your attempts have left you with uneven curls, or your layers just aren’t sitting right. Either way, you may want to throw your curling iron out the window.
Curling your layers doesn’t have to be a frustrating experience. By following the step-by-step guide in this article, you can learn how to curl your layers effectively.
6 Easy Steps to Curling Layered Hair
So you’ve got layered hair and you want to add some curls. Curls add extra oomph to any look. We’ll go through six steps to help you achieve beautiful, bouncy curls with minimum fuss. Have your curling iron at hand, and let’s get started.
1. Prep Your Hair

If you want to create beautiful curls with your layered hair, the first step is to prepare the canvas. Before you even touch your hair with a flatiron, curling iron, or curling rod, your hair should be fairly clean, well moisturized, and dry.
To prepare your hair to be curled, you can either let it air dry, or you can blow dry it. For a style with more body and volume, blow drying is a better option (If you blow dry your hair, apply a heat protectant beforehand).
You can curl your hair on the same day as you wash it, or you can wait a day. Some find that waiting a day helps their curls to hold a bit better.
2. Apply Heat Protectant
Before you put heat on your hair, you should always apply a heat protectant. If you dried your hair using a blow dryer, you would have already placed a heat protectant on your hair.
However, you still need to add more before touching your hair with a hot iron. Try a heat protectant spray that also doubles as a hair spray. It will protect your hair, and also hold your curls in place.
3. Section Your Hair

If you try to curl your layers all at once, you will end up with an odd-looking mix of nicely formed curls with strange pieces that are sticking straight out.
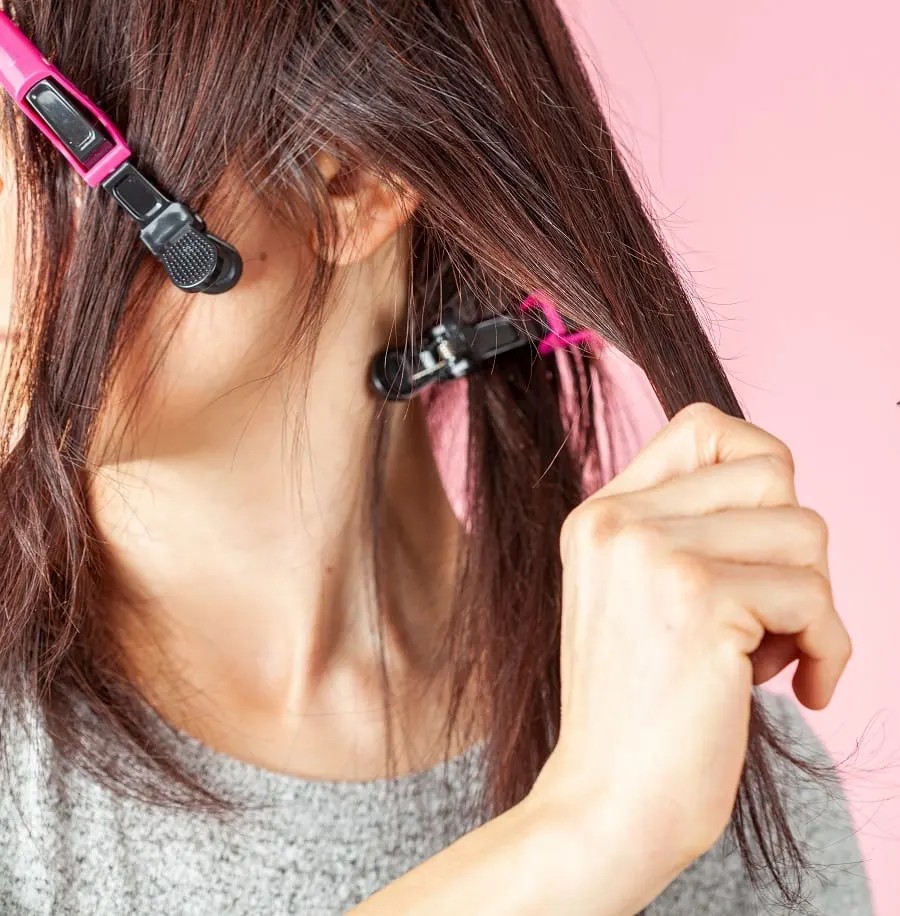
Before you curl your hair, divide your hair into three sections. One of these sections should be at the back of your head, and span from the nape of your neck to the crown of your head.
The sides of this section should end at your ears. The rest of your hair in the front will be divided into two sections.
You can divide these sections wherever you want to part your hair, with one section on each side of the part.
4. Curl Your Layers

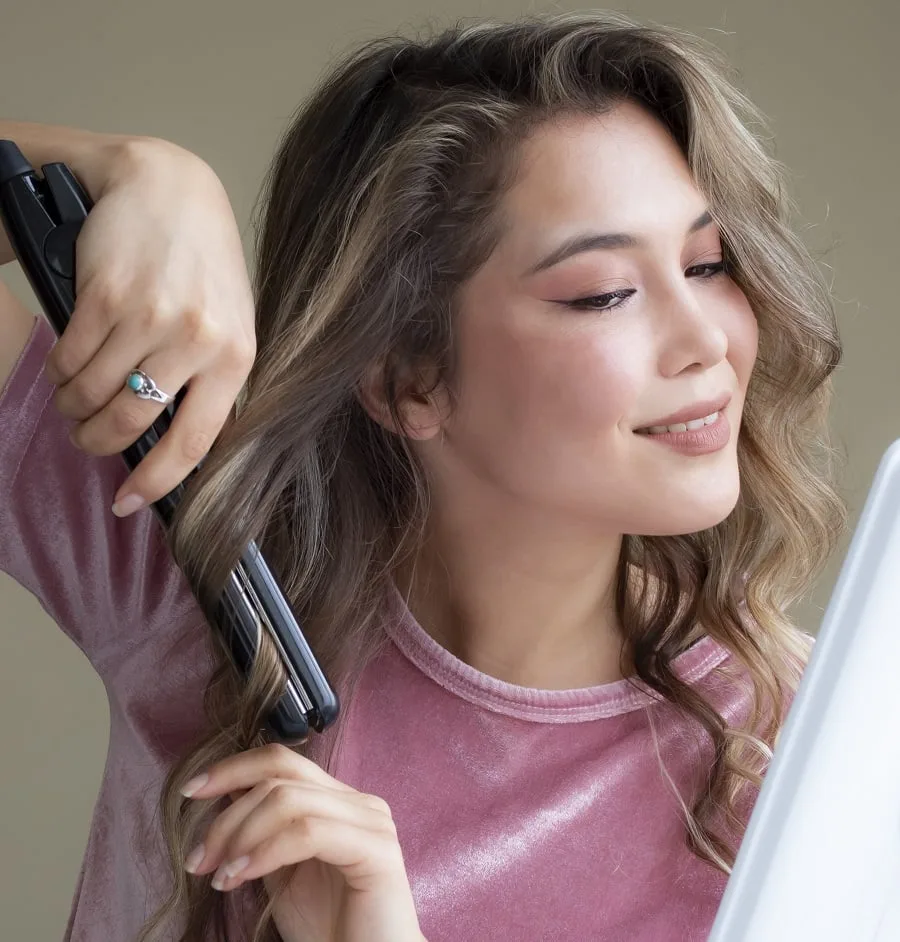
To curl your hair, you can use a flat iron, curling iron, or curling rod. If you use a flat iron, you need to wrap the piece of hair through and around the iron.
To use a curling iron, clamp the end of your hair in the iron and twist the iron in the desired direction. To use a curling rod, all you have to do is wrap a piece of your hair all the way down the rod.
Start curling at the nape of your neck, which is in your back section of hair. Take your time to add curls to each half-inch, horizontal section of your hair, as you work your way up to the crown of your head.
Then move to the front sections, and work your way up from the sideburn/ear areas to your bangs.
5. Secure Your Curls

After you have curled all of your hair, you may notice that a few adjustments need to be made. For instance, if you want softer, more natural-looking waves or curls, you can run your hands or a wide-toothed comb through your hair to break up the curls.
Notice that, because you curled your hair section by section, your layers lay beautifully and blend perfectly.
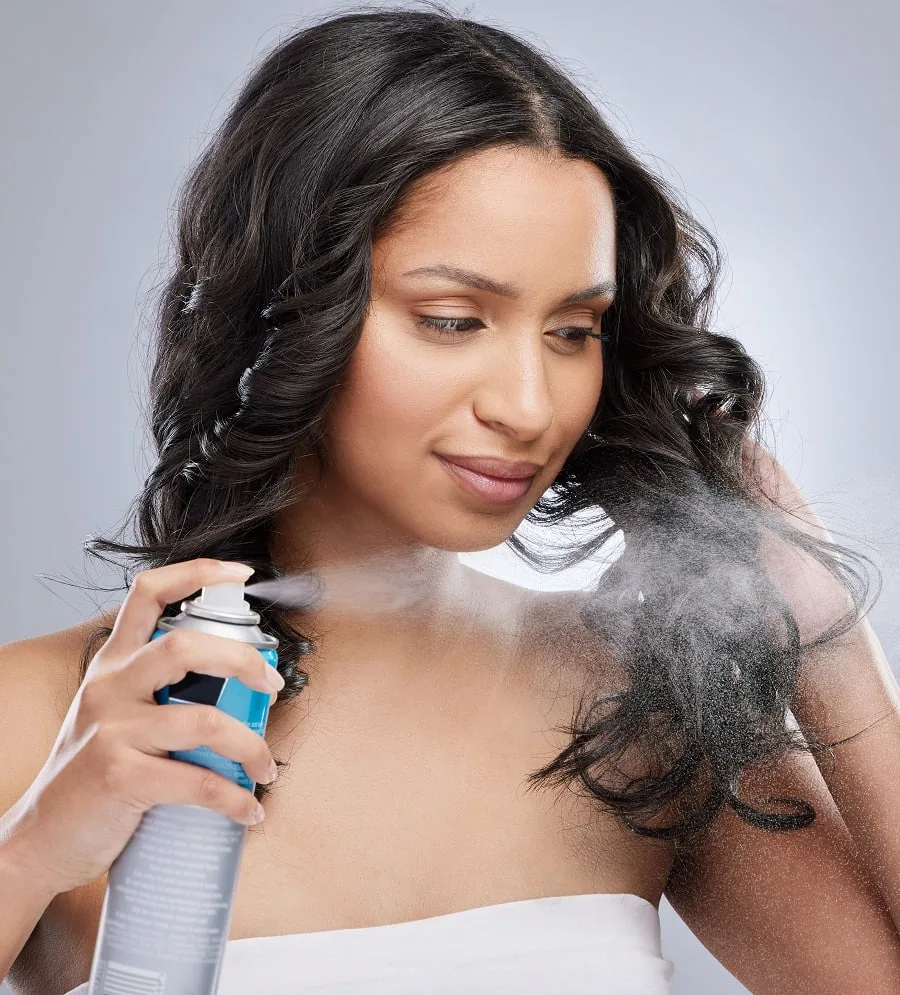
After your curls are styled exactly how you want them, spray them with some hairspray to hold them in place.
6. Protect Your Curled Layers
If you want your hairstyle to last more than a day, you will need to protect it from water and excess friction. Wear a shower cap, and avoid swimming. Also, try not to touch your hair throughout the day. Leave it alone as much as possible.
Finally, reduce friction between your hair and your pillow by using a satin or silk pillowcase and/or bonnet while you sleep. Following these suggestions will help you to extend the life of your style.
In What Direction Should You Curl Your Layers?
The direction in which you curl your hair can vary depending on what look you’re going for. If you want a more natural look, you can alternate directions for every other curl.
To sweep your hair away from your face, curl your hair in a backward direction so that your curls meet in the back.
If you want your curls to fall more in your face, curl your whole head in alternating directions, and then when you get to the front, curl towards your face.
Curling your layered hair will take a little extra time, but it is so worth it. By following the steps and suggestions in this article, you can achieve a flawless hairstyle that showcases gorgeous layers of curls.
Frequently Asked Questions (FAQs)
If your curls instantly fall, try using a small, single-prong clip to secure each curl to your scalp immediately after curling it, and remove the clips one by one after you have finished curling your hair. When your hair cools down in this position, it is more likely to hold the curl for longer.
A curling iron is usually the same diameter from base to end and has a clamp that secures your hair in place. A curling rod typically gets narrower toward the end, which creates curls that start bigger and end smaller. It doesn’t have a clamp, so you have to wrap your hair around it while using a heat-resistant glove.
Flat irons can work just as well, or better than curling irons. If you have naturally curly hair and you want to straighten and curl it simultaneously, a flat iron is the best tool you can use. Curling irons are effective in curling, but they work best on hair that is already smooth and straight.
Key Things to Know
- Curl your hair on the same day, or the day after you shampoo and condition it.
- Use a heat protectant before you use any hot tools on your hair.
- To curl your hair, you can use a curling iron, flatiron, or curling rod.
- Curl your hair section by section to make sure that each layer is curled.
- Secure your style with hairspray, and prolong the life of your style by protecting it from water and friction.
