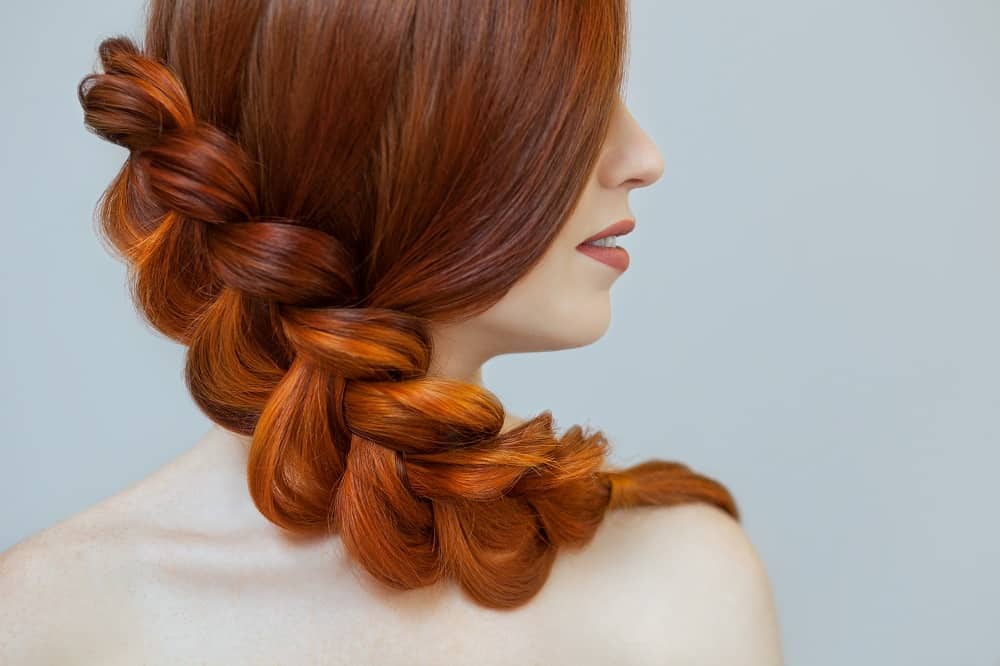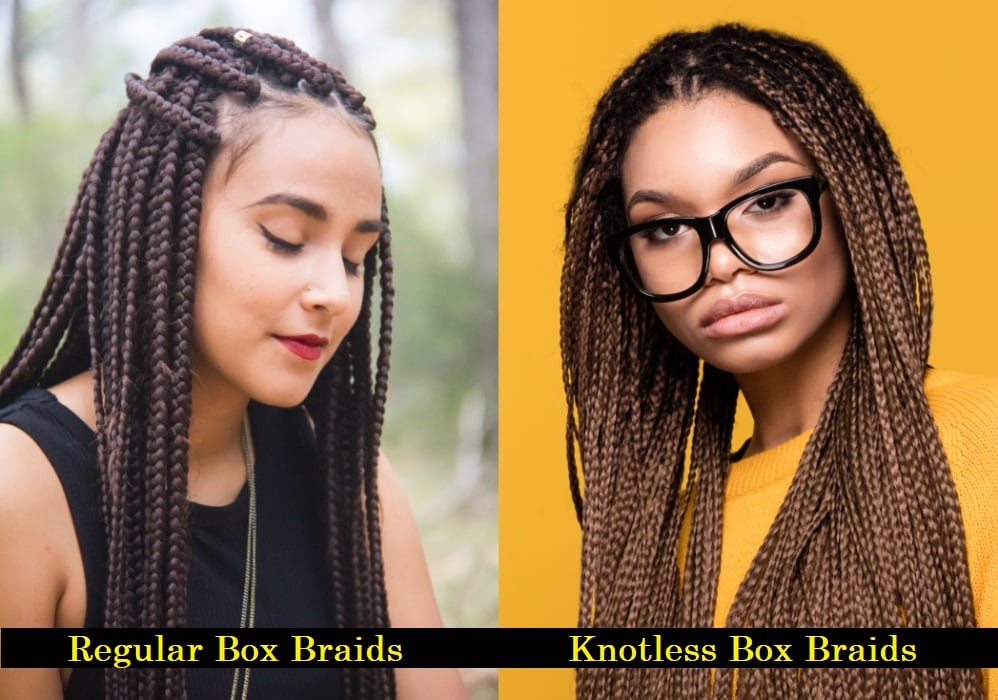
There are numerous types of braids that people practice and love to wear for different occasions. Some braids have a more formal texture and suit special events, while others are better suited for everyday wear. Two of the most popular braids among women are the French braid and the Dutch braid.
Boxer braids commonly use two Dutch braids, so each side follows the same underhand crossing pattern.
The two are often confused with each other, so this article will give you a clear picture of the key differences between the French braid and the Dutch braid.
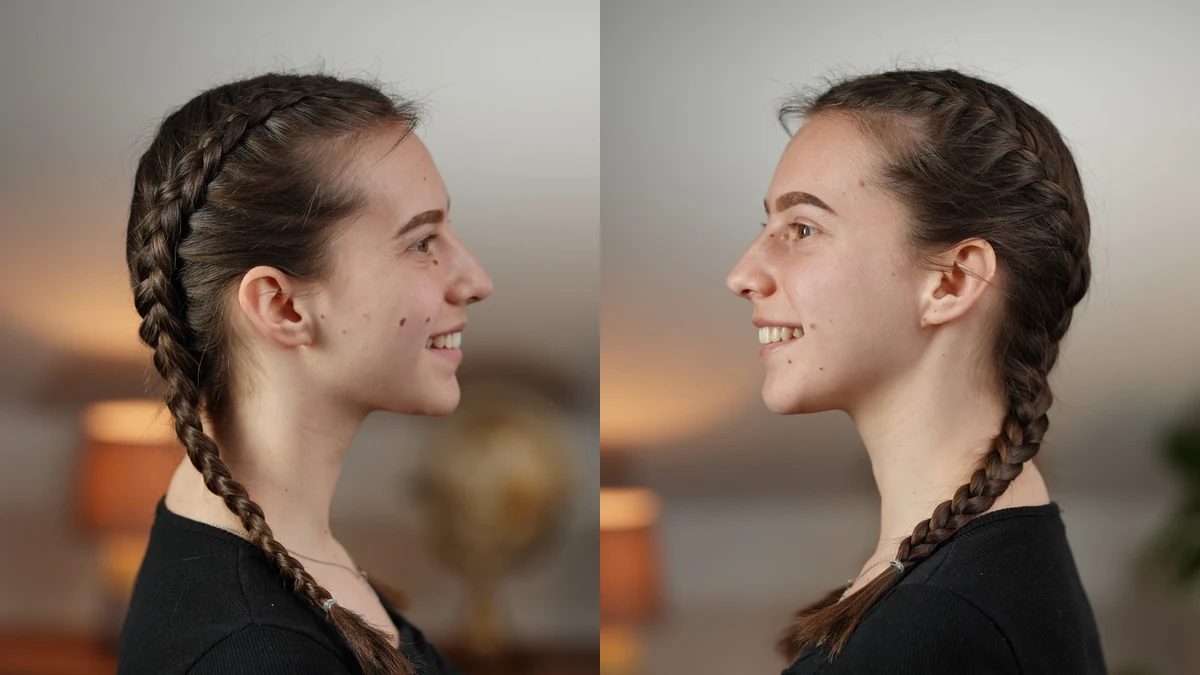
In the video, both braids are made on the same head at the same time. The hair is parted into two equal sections, then a French braid is worked on the left side and a Dutch braid on the right. Seeing them side by side on the same hair is the quickest way to understand what separates them.
What You Will Need
- A hair brush
- Two rubber bands
- A clip to hold one section out of the way
- Hairspray (optional)
What Is a French Braid?
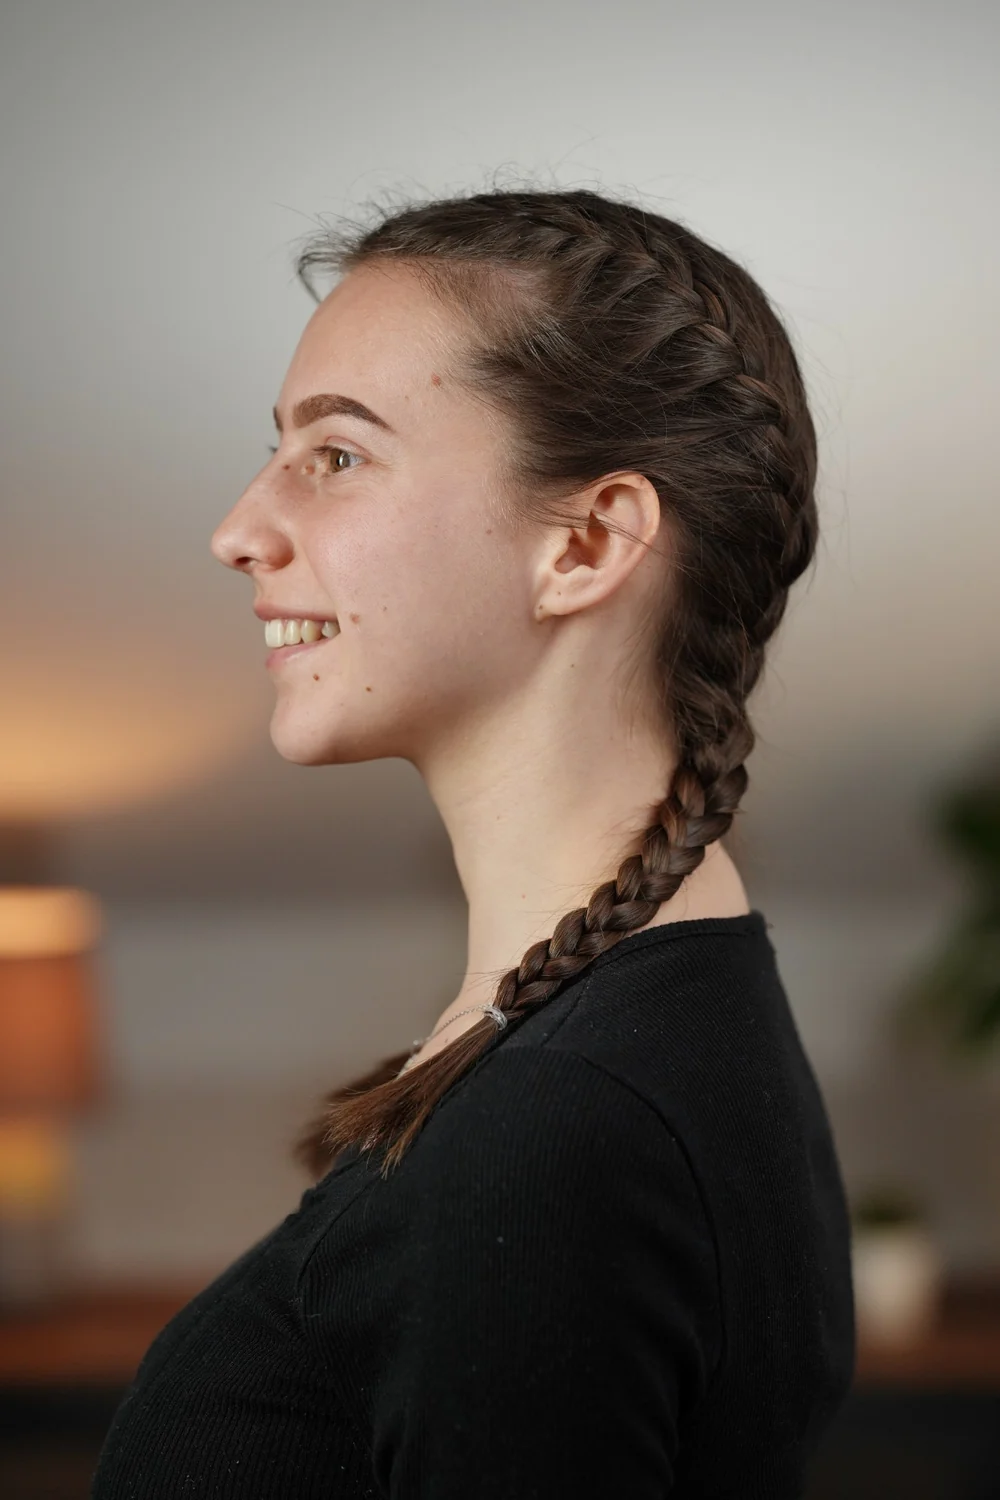
The French braid is a classic style in which three strands of hair are woven together. What makes it distinctive is that at each pass, a few additional strands are incorporated, giving it its signature look.
The braiding technique follows a consistent pattern: strands from the left are crossed over the middle strand, and the same is repeated on the right. This method allows for a wide range of textures and finished styles.
Because every strand travels over the top of the one beneath it, the finished braid settles down into the hair and lies flat against the head.
How to French Braid, Step by Step
- Brush the hair through, part it into two equal sections, and clip one half out of the way.
- Start at the top of the head and pick up three small sections of hair.
- Cross them once as you would for a regular braid, so the first row is a plain three strand plait.
- On the second pass, add a little hair from the left side of the head to the left strand, then cross that strand over the middle one.
- Repeat on the right: add hair from the right side to the right strand, then cross it over the middle so it becomes the new center strand.
- Keep going down the head, feeding in hair from the left and the right at every pass, until you have picked up all the loose hair from the sides and reached the nape of the neck.
- If your hair is long and you still have hair in your hands, finish the length as a regular three strand braid and secure the end with a rubber band.
The video works this braid on one half of the head so it can be compared with the Dutch braid. The same steps apply if you want a single French braid across the whole head.
What Is a Dutch Braid?
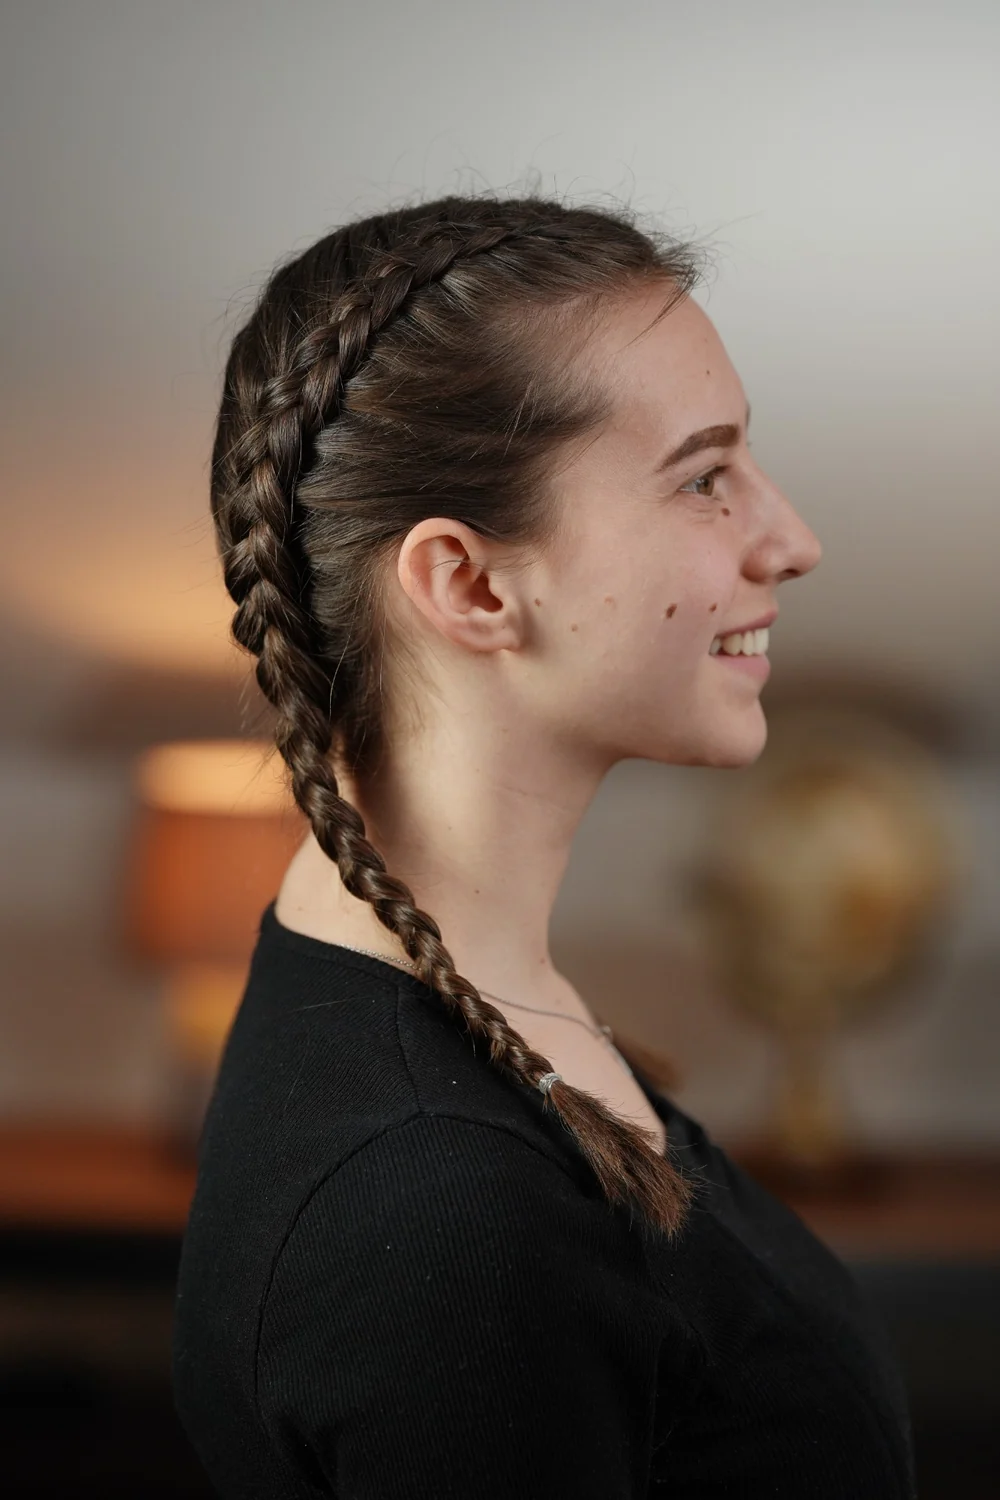
The Dutch braid is essentially the reverse of the French braid and is also known as the inside-out braid. The technique is similar, but instead of bringing the outer strand over the middle section, you bring it under, which is what gives the Dutch braid its bold, raised appearance.
How to Dutch Braid, Step by Step
- Unclip the second half of the hair and brush it smooth.
- Take a small section at the top of the head, divide it into three, and cross them once for a plain first row.
- On the second pass, add hair from the left side of the head to the left strand and pass it under the middle strand, so it ends up in the center.
- Add hair to the right strand the same way and pass it under, bringing it into the center.
- Carry on down the head, adding hair from both sides at every pass, until all the side hair has been used and you reach the nape of the neck.
- Finish the length as a regular three strand braid and secure it with a rubber band.
Each strand gets thicker as you feed hair into it, which is why the Dutch braid looks so bold by the time it reaches the neck.
French Braid vs. Dutch Braid: Key Differences at a Glance
The comparison table below breaks down the key differences between the French braid and the Dutch braid in a simple, easy-to-read format.
| French Braid | Dutch Braid |
|---|---|
| It lies flat against the head. | It creates a raised, 3D effect. |
| Outer strands cross over the middle section. | Outer strands cross under the middle section. |
| It produces a smooth, sleek finish. | It results in a thick, prominent braid running down the center. |
What They Have in Common
Despite their differences, Dutch braids and French braids share quite a bit in common, and both deliver a distinctly polished finish when done well.
Both styles are versatile enough to wear for casual and formal occasions alike, from school days to bridal showers to wedding events.
Hair accessories like flowers, jeweled pins, and gemstone clips can be added to either braid to elevate the look and add a touch of elegance.
A practical bonus: both braids keep loose strands tucked away, making them ideal for yoga and workouts.
Which Braid Should You Try?
Once both braids are finished, look at them side by side and decide which one suits you better. Then take the whole style in that direction and redo both sides in the same braid.
Both braids are easiest to learn on medium to long hair that is smooth and straight, which is what the video demonstrates. Straight hair slides into place and makes it simple to see where each strand sits.
On wavy, curly, or coily hair the technique is exactly the same, but the hair grips more and the finished braid reads as more textured. Working on damp hair with a leave-in or a light styling cream keeps the sections manageable.
Length is the real limit. You need enough hair to hold three strands and keep feeding in more, so anything much shorter than chin length tends to slip out before you reach the nape.
Whether you prefer one over the other, both styles offer a beautiful, effortlessly polished finish that works for any occasion.