If you have gray hair and want to cover it up without completely eliminating every strand of gray, you are probably wondering what is the best way to go about it.
Of course, there are several ways to cover gray hair, but perhaps the most elegant and natural looking way to cover the gray is through lowlights. In this article, we will discuss how you can cover your grays with some gorgeous, tasteful lowlights.
What Are Lowlights?
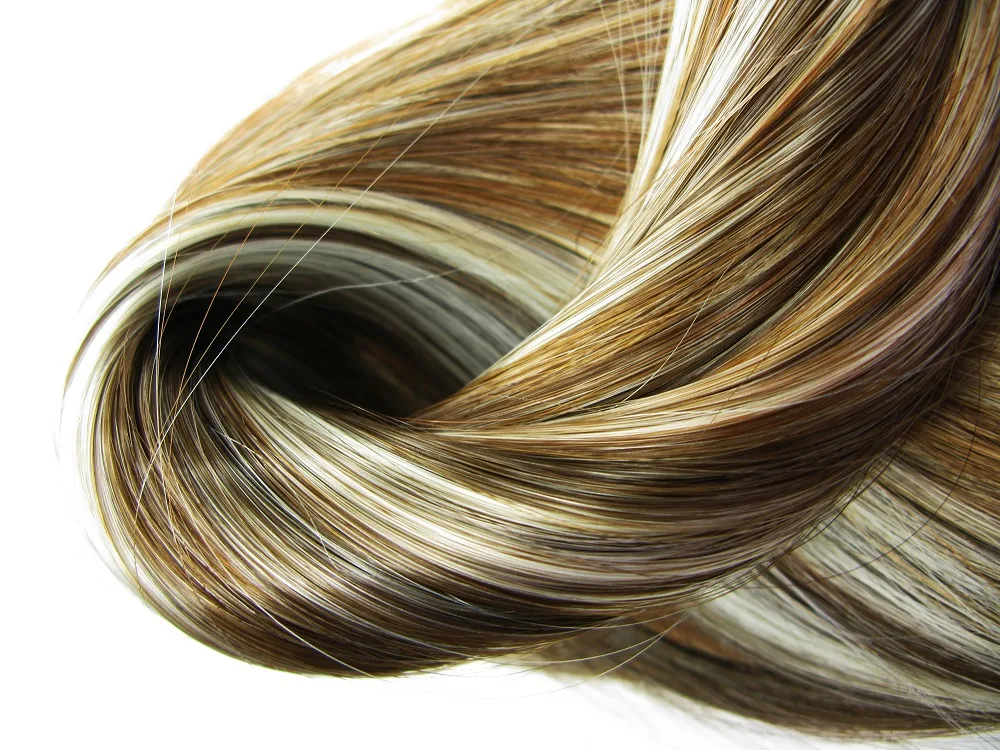
Simply put, lowlights are dark streaks in the hair. Lowlights are the opposite of highlights. In contrast with an all-over color, lowlights leave a bit of the natural hair out and simply blend in the darker color with the existing hair color.
Lowlights can vary in darkness from blonde to black, but the key is that they are darker than the hair on which you are applying them.
When to Use Lowlights to Cover Gray Hair?
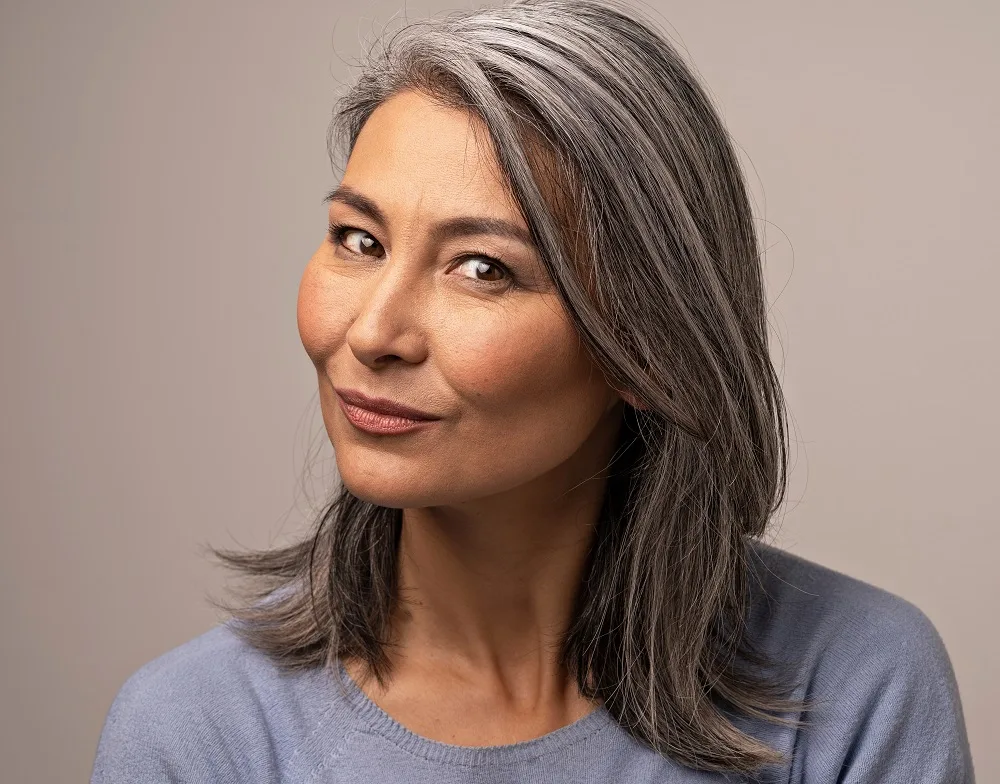
If you want to cover some of your grays without completely eliminating them, lowlights are a good option for you. The amount of gray left out can vary depending on your taste, so there are many options.
For instance, you may only want a bit of gray showing, and in that case, you would need more lowlights. If you just want to add a little bit of color to your gray locks, adding fewer lowlights is a good option.
Lowlights can be used to add color to your head of gray hair, or they can be used to blend your colored hair with your gray hair as your silver roots grow out. Either way, they are a great option for achieving a mature yet stylish look.
It is usually best to contact your stylist to discuss the best options for achieving the look that you desire, but if that is not an option, keep reading this article for detailed instructions on how to cover your gray hair with lowlights.
We will discuss how to use lowlights to cover your grays if you already have a whole head of gray hair, and also how to use lowlights to help blend your colored hair with your gray roots as they grow out.
How to Cover Your Gray Hair with Lowlights
As stated previously, the purpose of lowlights is to add a darker color to your hair, not completely eliminate your current color. Lowlights are a great option for you whether you want to add some color to your head full of gray hair or just help blend your colored hair with your gray roots.
We will be discussing the step-by-step process for adding lowlights to your gray hair from roots to ends or to just your roots.
Choose the Right Color for Covering Your Gray Hair with Lowlights
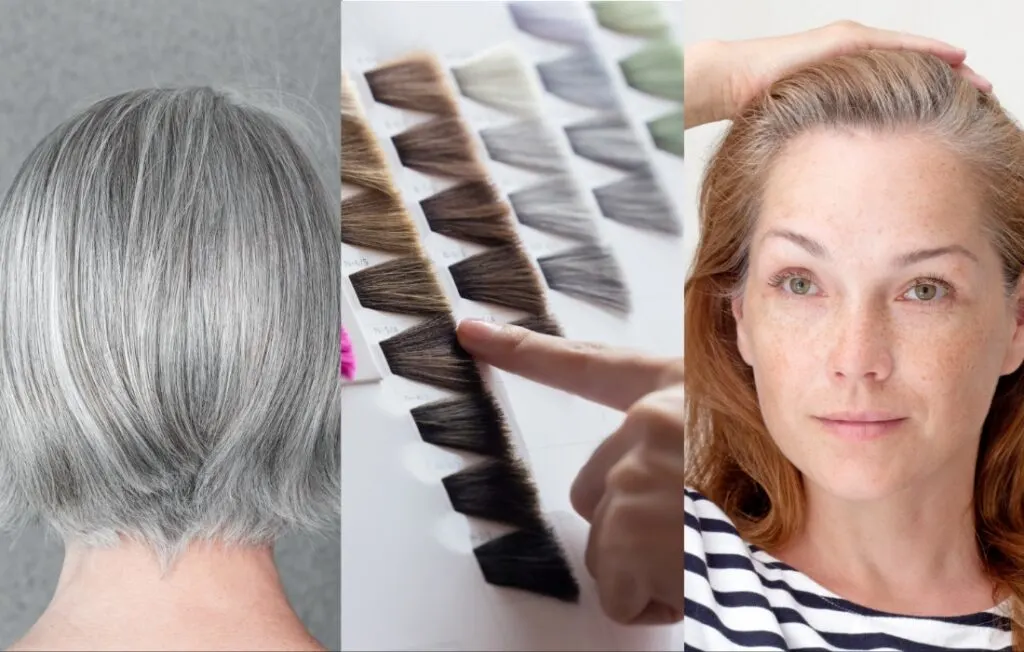
Choosing your color can be the funniest part of the coloring process! With so many colors to choose from, you will no doubt have a blast. Here are a few things to keep in mind when choosing your color:
If you are covering your grays from roots to ends:
- If possible, purchase a permanent color that is specially formulated for gray hair coverage.
- For coloring gray hair, it is usually best to select a color that is one shade darker than your desired color.
- If you have cool gray hair with a more silvery tone, try to choose a color that has cooler tones, such as a neutral brown or black.
- If you have warmer tones in your gray hair, try to choose a color that also has warm tones, such as golden brown or blonde.
If you are blending your grays with your dyed/colored hair:
- Again, it is best to purchase a permanent color that is specially formulated for gray hair coverage.
- Select a color that is closest to your already dyed/colored hair. You may need to consult a swatch book to compare.
- When you have selected the color that is closest to what you are trying to achieve, go one shade darker. Gray hair can be more resistant to color, so if you pick a color that looks exactly like the colored portion of your hair right now, it may look a bit lighter later.
- Pay attention to the undertones of your already colored/dyed hair. Does it have cool or warm undertones? Select a color with similar undertones.
Once you have chosen your color, it is time to make sure that you have all your supplies!
Get all of the Needed Supplies to Cover Your Gray Hair with Lowlights
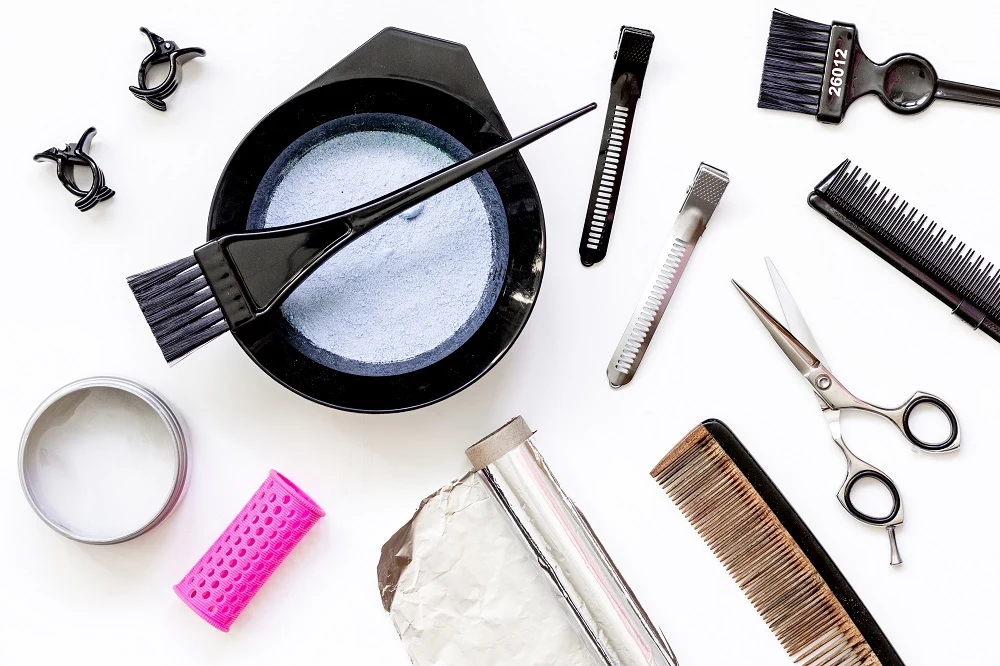
Before you apply your hair color, be sure to have all of your supplies. If you are applying lowlights all over your head, you may need more product and supplies than if you are just blending the roots with the rest of the hair.
If in doubt, it’s always better to have extra supplies and product than to run out halfway through the process. Here are a few things you will need:
- Permanent Hair Color and Developer (Choose a developer that is specifically formulated for the color that you are using. For covering grays, it is recommended that you use a 20 vol. developer.)
- Plastic Gloves
- Foils (If you are only blending the roots of your hair, standard-length foils should work just fine. If your hair is past shoulder length and you are applying lowlights from roots to ends, you may need long foils.)
- Color Brush and Bowl
- Plastic Caps
- Cape/Apron
- Clips (Butterfly Clips or Duck Bill Clips are Best)
- Rat Tail Comb
- Detangling Brush
- Gentle Shampoo
- Deep Conditioner
- Measuring Cup
- Timer
When you have all your supplies, make sure that they are set out and ready to use! This will streamline your process and help to avoid frustration.
Prepare Your Gray Hair for the Lowlighting Process

Before you apply lowlights to your gray hair, make sure that you prepare your hair for the process. Simply put, your hair should be clean and dry.
If your hair is dirty or greasy, the color may not process as effectively. Gray hair already tends to be a bit stubborn, so you want to make it as easy as possible for your hair to absorb the color.
Here are a few tips for preparing your hair:
- Cleanse your hair with a clarifying shampoo the day of or the day before you plan on adding your lowlights.
- You can apply a light conditioner to help you detangle your hair, but make sure you thoroughly rinse it out.
- Don’t apply products to your hair after cleansing it.
- Make sure that your hair is thoroughly dry before starting your color process.
Now that your hair is prepped, it’s time to get started!
Covering Gray Hair with Lowlights
You have chosen the perfect color, set out all of your supplies, and made sure that your hair is clean and dry. Now it’s time to add those lowlights. The process for covering your grays with lowlights is a bit different depending on if you are applying the lowlights from roots to ends, or if you are just blending your gray roots with your existing color.
(Note: If you are only wanting to apply lowlights to the crown of your head and not your entire head, simply section out an oval section around the crown of your head. Then divide that section in half like you are going to make pigtails.
Apply the foils from the back to the front switching from the right to left section every three or four foils. For a more natural look, foil your hair in diagonal pieces. You can refer to all other steps in this guide besides the sectioning.)
How to Apply the Lowlights from Roots to Ends
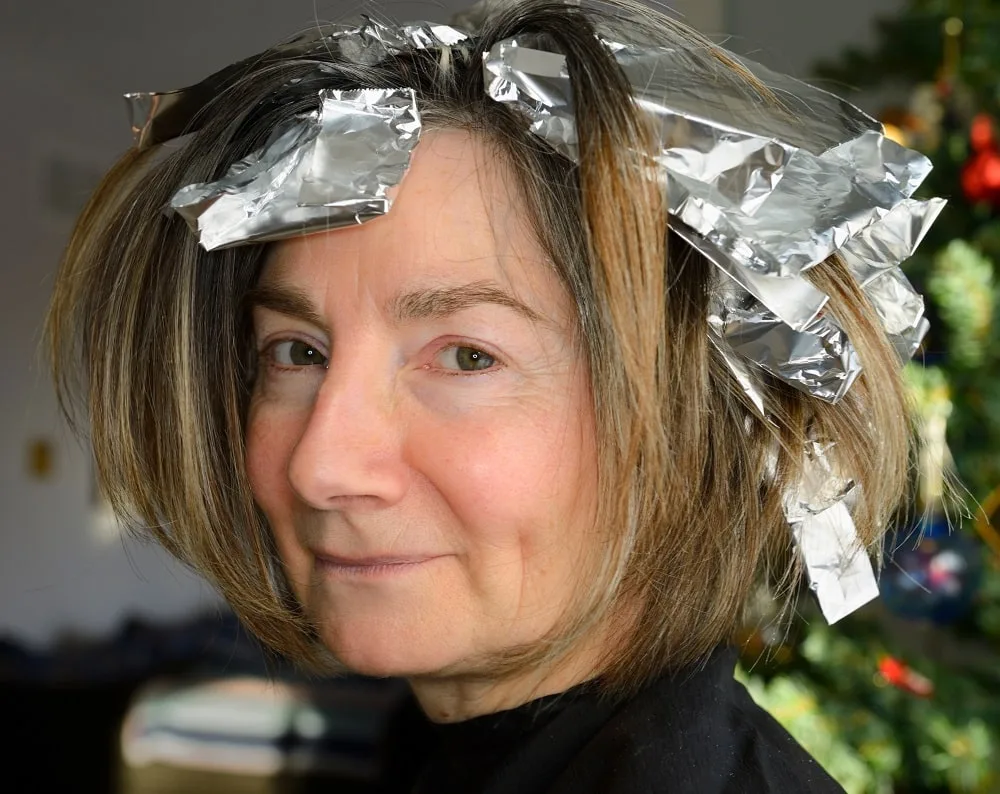
This is the option you want to choose if you have a head full of gray hair and want to cover up some of that gray. Follow the steps below to add lowlights to your gray hair from roots to ends.
- Make sure that your hair is thoroughly clean and dry.
- Create a mohawk section in your hair from your forehead all the way to the nape of your neck. This section should be about as wide as the width of your foils.
- After you have created a mohawk section and clipped it out of the way, create four other sections (two sections on each side of your head). One section should be above your ear and the other should be behind it.
- Put on your gloves and mix your hair color. Be sure to follow the directions on the box and use the proper ratio of color to developer.
- Starting at the nape of the neck, section out a very small sliver of hair with your rat tail comb and clip away the other hair.
- Fold a foil over your rat tail comb and then press the comb under the hair that you just sectioned out.
- Keep the foil and comb in place while you dip your color brush into the color and then brush the color onto the piece of hair that is resting on the foil. Make sure to apply the color from the roots to the ends of your hair.
- Once the color has been applied, fold the foil in half so that the bottom edge meets the top edge right at the roots of the hair. Fold each side in.
- Check for color bleeding. This means that the color is squishing or oozing out of the foil. If you see color bleeding, wipe it off with a towel and apply another foil around the existing foil to prevent it from bleeding further.
- Take your rat tail comb and section out a small section of hair above the foil. Clip this hair down and out of the way. You won’t be coloring this section. (If you want more gray coverage, leave out smaller sections.)
- Repeat the whole process again until you have foiled the entire mohawk section of your head from the nape of your neck to the front of your hairline.
- When you have completed the mohawk section, move to the back two sections of your hair, starting from the bottom, near the nape of your neck, and working your way up to the crown.
- When you are done with the back sections, move on to the two front sections of hair, applying foils starting at the bottom, near your ears, and working your way up to the top.
- Put on a plastic cap to cover the foils while the color processes.
- Start your timer, and let your hair process for the recommended amount of time. For extra gray coverage, it is usually best to leave the color on for forty-five minutes.
- When your hair is done processing, gently remove the foils.
- Rinse out your hair with cool water.
- Shampoo your hair with a gentle shampoo and cool water.
- Apply a deep conditioner to your hair and leave it on for at least 10 minutes.
- Rinse out the conditioner with cool water.
How to Apply the Lowlights to Blend Gray Roots with Colored Hair
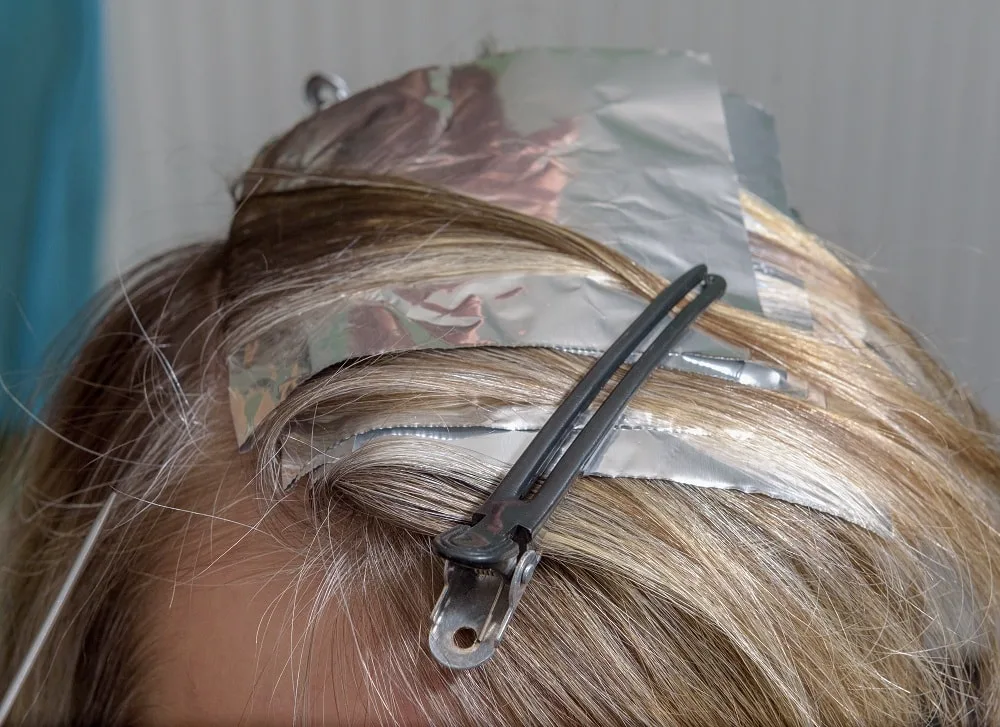
This is the option you want to choose if your gray hair is growing out and you want to blend it with your colored/dyed hair without completely getting rid of it. Follow the steps below to add lowlights to your gray roots.
Steps 1 through 6 are the same as the previous guide on how to apply color to your grays from roots to ends.
7. Keep the foil and comb in place while you dip your color brush into the color and then brush the color onto the piece of hair that is resting on the foil.
Make sure that you apply the color thoroughly to your gray roots. As your brush enters the area of your hair that is colored, simply lift the pressure on the brush and gently fan the color into this area.
Once the color has been applied, put another foil on top of the hair. Don’t fold the foil in half.
Steps 8 hrough 20 are the same as the previous guide on how to apply color to your grays from roots to ends.
After Care

You did it! You covered your gray hair with lowlights and it looks stunning! Now, it’s important to make sure that you care for your colored gray hair properly. Here are some tips:
- Use a gentle, color-safe shampoo.
- Apply a moisturizing hair mask at least once a week.
- Protect your gray, colored hair from environmental damage that could fade your color by protecting it from the sun, hard water, and excess chlorine.
In Summary
Gray hair is classic and stunning. By adding lowlights to your silver locks, you are able to add color to them while not completely eliminating the gray.
Whether you want to add some color to your whole head of grays, or simply blend your gray roots with the rest of your colored hair, adding lowlights is a great option for you. With this guide, you are only a few steps away from wearing your hair with confidence.
Key Things to Know:
- To add color to your entire head of gray hair, apply lowlights from the roots to the ends of your hair.
- To blend your gray roots with the rest of your colored hair, apply lowlights to your roots.
- When choosing a color, pick a permanent color that is specially formulated for gray hair, and go one shade darker than your desired shade.
- Make sure you have all your supplies before you start adding lowlights to your hair.
- Care for your hair after you color it by using a gentle shampoo, by deeply conditioning it, and by protecting it from excess damage that can cause fading.
