Nobody wants frizzy, unmanageable locks. But when you have tightly-coiled curls, creating the perfect blowout can seem impossible. Thankfully, a solution may be diffusing the heat using a hair dryer diffuser to create frizz-free curls.
An attachment that will take your tresses to the next level – but if you don’t know how to use a diffuser on curly hair, it can result in the worst of hair days.
Read on for tips, do’s & don’ts, and benefits of using a diffuser to style your curly hair.
Benefits of Using Diffuser for Curly Hair
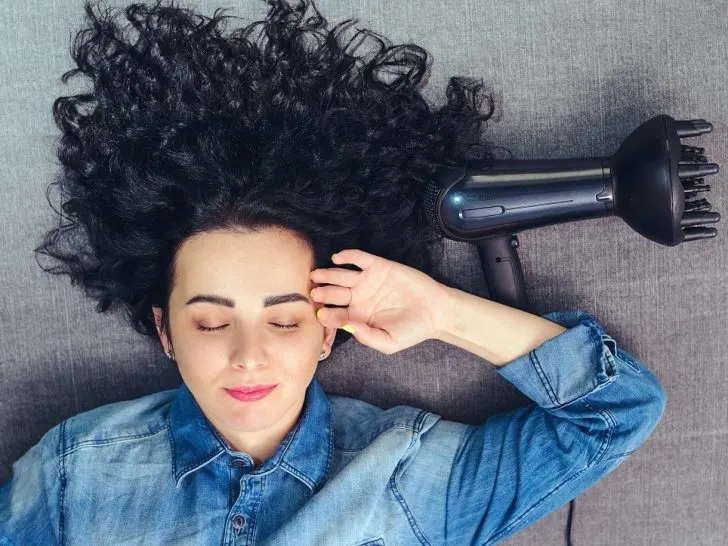
Most modern hair dryers come with attachments that either magnetize or clip into the open section where the air blows out, and a blow dryer diffuser is one of those attachments.
The diffuser looks like a bowl with spikes coming out from it, but those spikes serve a purpose: to diffuse the air that blows out of the end of the dryer.
Heat is the enemy of any good hairstyle, especially one with lots of curls. Drying your hair with a diffuser can have the added benefit of speeding up the process of drying your hair so that the heat doesn’t take a toll on your tresses.
Another advantage is that they cause the cuticles to open slowly, meaning frizz won’t be an issue. Overall, these can add bounce to dull, flat curls and create a fuller, more voluminous look to the hairstyle.
While most diffuser attachments achieve similar results, there are specific types such as:
- Anti-frizz
- Volumizing
- Sock Attachment
- Mesh Diffuser
How To Use Diffuser for Curly Hair
Curly hair can be challenging to control and shape, especially if you don’t know your curl pattern or hair type. Investing in a suitable diffuser attachment and high-quality products can help eliminate the problems of over-drying curly hair.
Step 1: Wash and Detangle Hair
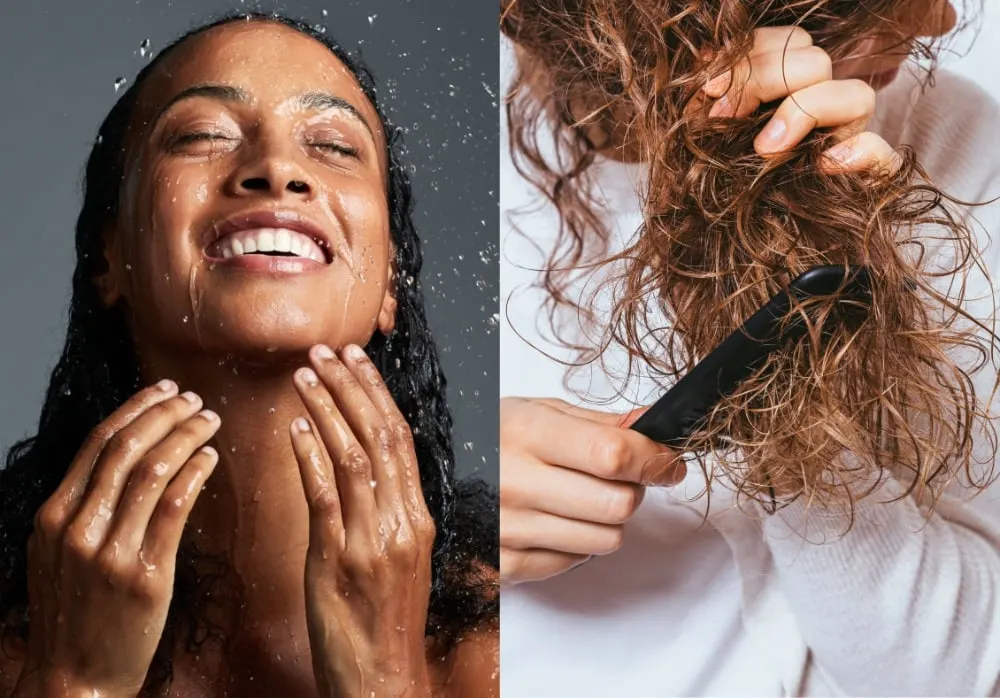
If you haven’t already, you may want to try finding a curl-friendly shampoo and conditioner. Look for formulas without sulfates or parabens and with various plant-derived oils and hydrators.
A diffuser cannot fix damaged, dry strands, so utilizing high-quality cleansing products are essential for ensuring your attachment works as desired.
After using your preferred shampoo and conditioning treatments in the shower, follow up with a wide-toothed comb and a moisturizing detangler to get stubborn knots and tangles from your hair.
Curly hair tends to be dryer than its straight counterpart since oil has to travel from the root and around the coil to the ends.
Make sure you hydrate all the strands, all the way to the bottom. Some people prefer to do this step while still in the shower, which also works.
Adding a conditioning mask after detangling is also an excellent way to hydrate the curl and lock in the curl pattern, but you should only use a treatment once a week to avoid weighing down your locks.
Step 2: Remove Excess Water by Wrapping Hair Up
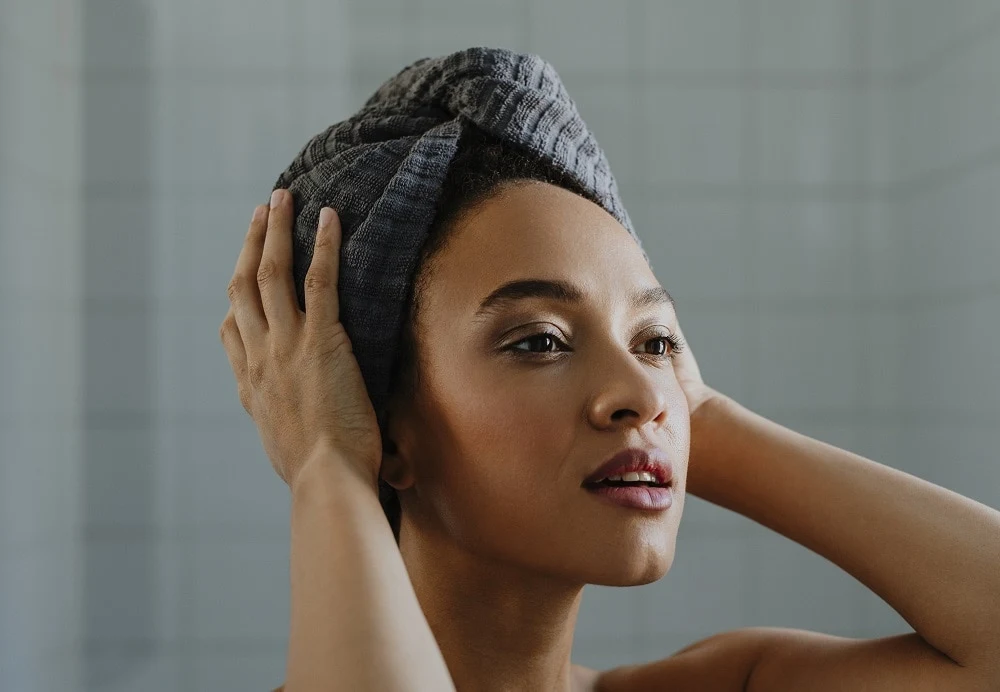
After you apply your detangler and comb your curls, it’s time to wrap your hair. And while you may think you can use a run-of-the-mill bath towel, those make your hair frizzy and dry your hair out.
Reach for a t-shirt or microfiber towel instead, and do not rub your curls to make them dry faster. Instead, wrap up the hair and let the water soak into the cloth.
You can gently squeeze sections of hair to help remove any excess water left in your hair. Some hair wraps that will help remove moisture and reduce frizz are:
- Microfiber towels
- Satin hair wraps
- Waffle knit towels
Again, a standard bath towel may be the simplest solution, but in the long run, your hair will thank you for using something gentler.
Step 3: Apply Preferred Styling Products
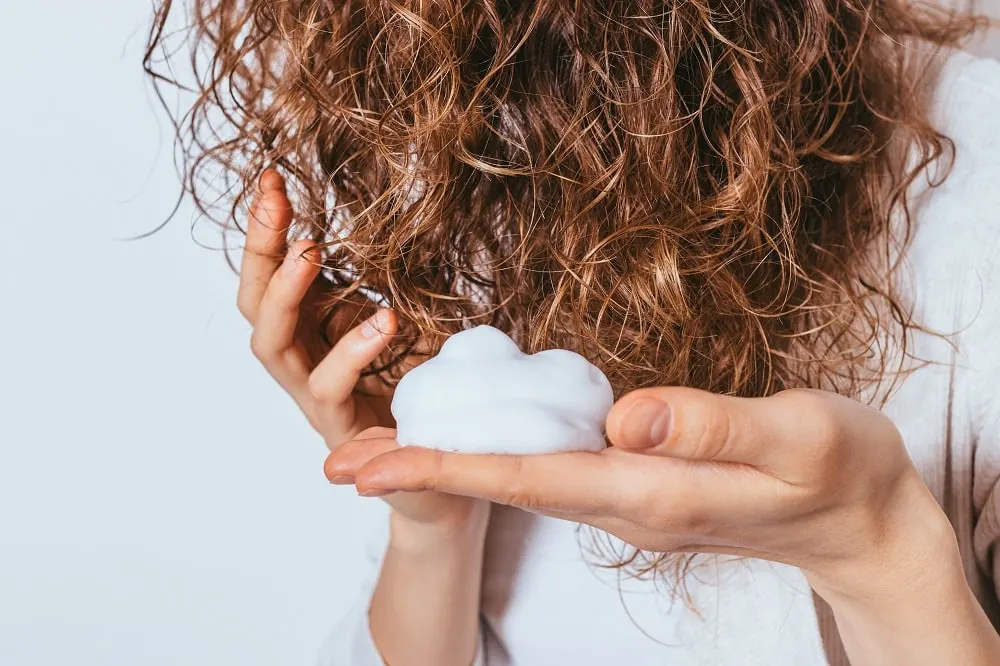
Once your hair has adequately been detangled and partially dried, you will want to use styling products to get your desired look.
Mousse is an excellent product because it is light enough that it won’t weigh curls down but still adds definition. Creams are also popular, but they might add more weight and change the curl pattern of your hair.
Take your desired product and add a small amount into your hand before gently pulling it through damp tresses.
Ensure you aren’t pulling the curls straight because it may interrupt their natural pattern. Spray a layer of heat-protectant all over the hair before moving on to the next step.
Step 4: Use the Diffuser Attachment
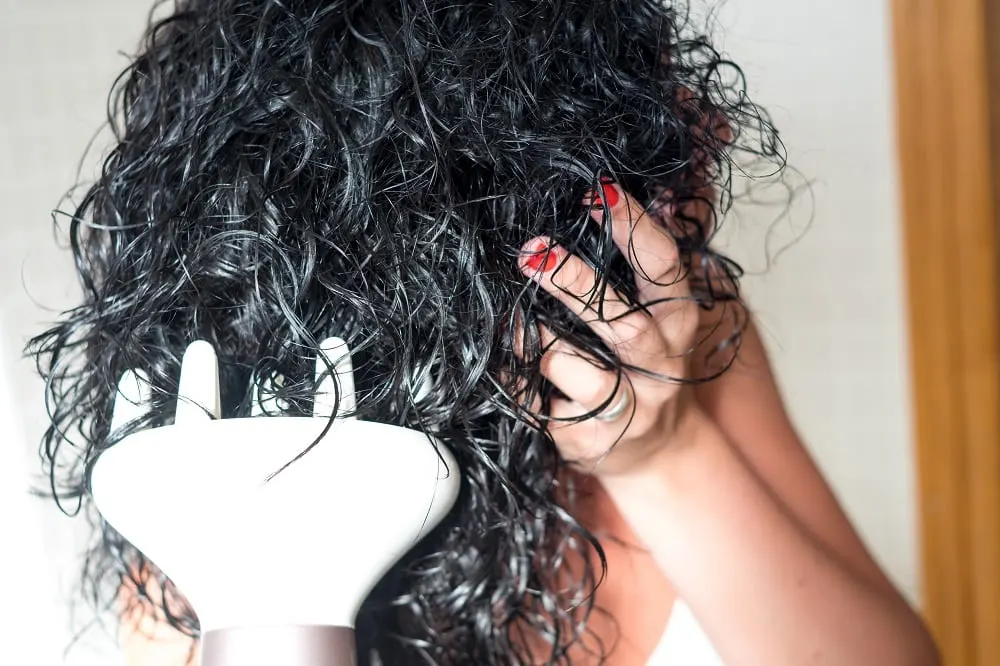
Add the attachment to the hair dryer, turn it on, and carefully pick up a section of curls and place them close to the diffuser. Start with a low setting, especially if this is the first time you’ve used a hair diffuser.
Allow the heat to disperse amongst the curls, pushing your hair around to ensure airflow. Be careful not to let the section of hair sit for too long, as too much heat will cause frizz and damage.
The best way to start is at the ends of your mane and work your way up your roots, which naturally dry faster because of the heat emanating from your scalp.
If you want more volume, try turning your head side to side or flipping your hair over to reach the underside of your root.
Step 5: Aftercare
Caring for your curls post-diffusion is essential for hair health and keeping your style looking fresh all day.
Use a lightweight spray to hold your hair in place, preferably one that’s made just for curls. Don’t overdo it, as you still want your hair to move!
You can follow up with a hint of more mousse to hold your definition, which becomes handy in humid summer temperatures. Mousse can also help your hair from becoming frizzy throughout the day.
Tips and Caution To Diffuse Curls Without Ruining
If you’ve never used a diffuser on your curls, it may seem intimidating. Below are a few dos and don’ts for keeping your tresses defined and frizz-free.
Buy a High-Quality Diffuser & Dryer
While there’s no need to go out and buy a dryer that costs hundreds of dollars, you want to invest in a dryer made with quality materials and attachments. Ceramic is one of the best materials for hair dryers, as it evenly distributes heat and tames frizz.
Diffusers typically come in plastic, which is fine if your dryer is of decent quality. You can purchase sock diffusers (made from fabric) separately from most hair-drying tools.
Don’t Start With the Ends When Applying Products
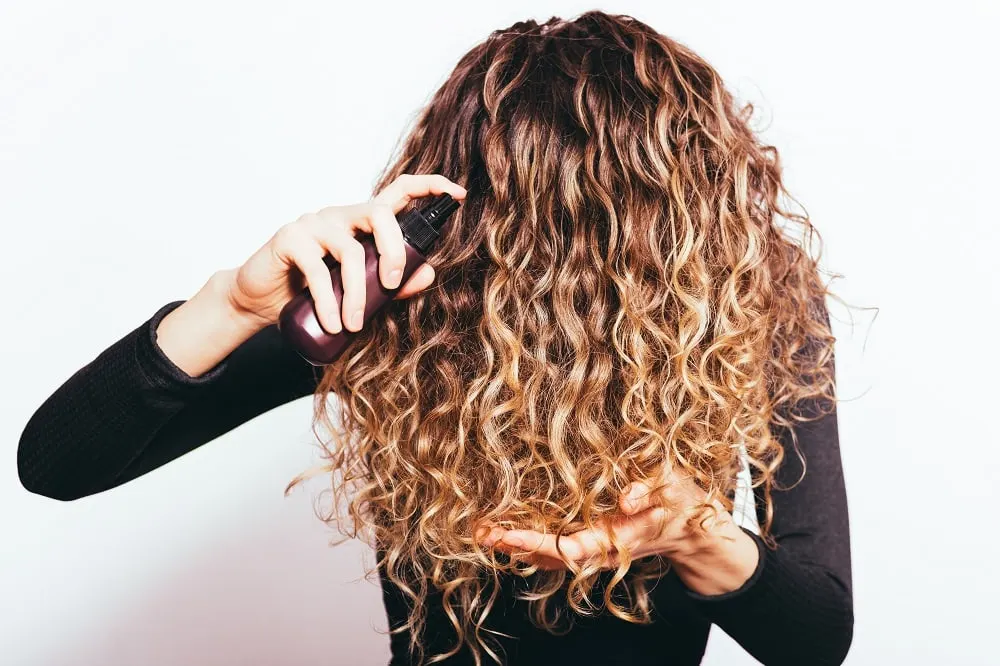
Straight and wavy-haired people often start applying products and heat at the ends of the hair, but if you’re curly-headed, always begin styling from the follicle.
You want to apply product to every strand, root to tip, but beginning at the ends can result in awkward styling and make your hair poof out at the bottom and lack volume at the top. Diffusing from the bottom up can also cause frizz and flyaways.
Use the Diffuser on the Cold or Cool Setting
It may seem counterintuitive, but using the cold setting on your dryer while using your diffuser is a surefire way to keep your locks shiny, soft, and manageable.
The cool temperature helps lock in moisture and does not make your hair follicles expand, preventing frizz and damage.
Frequently Asked Questions
Here are some frequently asked questions about using a diffuser on curly hair.
As mentioned earlier, it’s best to use the cold setting when diffusing your hair. You should only use heat in short bursts and never apply a diffuser on the hot temperature directly to your hair.
Choosing a diffuser over air drying depends on whether you prefer loose curls with a natural texture or tighter coils with smooth waves and bounce.
Air drying, while good for your hair due to avoiding excessive heat, lets the hair follicle slowly close, which causes more moisture time to invade the strands and create frizz.
If you want volume, you may wish to avoid air-drying, as it tends to make curls lay flat.
How long it will take to diffuse your curls depends on how much hair you have and how dense the coils are.
Typically, you should diffuse one section of hair for no more than thirty seconds and keep moving the hair around while diffusing to avoid stagnant air flow.
It’s a good practice to give yourself enough time in your routine to allow the diffusing process to proceed without rushing. Set aside ten to twenty minutes to avoid feeling rushed.
If you only wash and style your hair once or twice a week, you can use your diffuser to refresh your curls – that only takes a few minutes!
Whether you should scrunch or not depends on your desired result. If you want plenty of bounce to your curls, scrunching is an excellent way to get there!
Don’t overdo it, as this can add frizz and dry your hair, but moderate scrunching during diffusing is perfectly fine for your coils.
Some experts say absolutely, while others say no – it depends on your hair and its current damage level.
For example, if your hair is already dry and visibly damaged, you should apply a heat protectant whenever you use your dryer.
But if you have healthy hair and use the cold setting on your dryer, you can skip the protectant.
Yes and no. Since its invention in 1987, the hair-drying attachment has become one of the most popular ways to dry curly hair.
If you use the appropriate products, have a decent dryer, and practice aftercare, using a diffuser is safe for your curly hair.
Since a diffuser is less harsh on your hair than other direct heating methods, it’s okay to use it more often than curling wands or flat irons – specifically if you use the cold setting.
Remember that if you use warm or hot temperatures on your dryer, you’ll inherently cause damage.
It may dry your hair slightly faster, but you’re more likely to notice dry and frizzy coils during the day. If you use the warm setting, do not use your diffuser more than twice a week.
Yes, you can dry your hair without a diffuser. Always use the dryer on the cold setting and apply a quality heat protectant if you use a dryer without a diffuser. You can use your hand or a soft cloth for a makeshift tool.
A diffuser is one of the easiest ways to smooth, define, and dry curls. Remember that a great-looking hairstyle starts in the washing phase, so use in-shower products that add moisture back in to reinvigorate the curls.
Ultimately, your choice to decide what works for your hair. Don’t forget your favorite styling products, and make sure you apply a heat protectant, and you’ll be on your way to perfect curls each time you use a diffuser.
You May Also Like
