The beauty industry is one of the only in which old technology persists, like the curling iron. It’s fine in its place, but isn’t there an easier way? Enter the curling wand.
But what is it and does it make better curls than a curling iron? And if so, does it make them easier?
Let’s see why you might want to use a curling wand over a curling iron, which is old hair technology.
How to Use a Curling Wand for the Best Results
Here’s how to use a curling wand correctly:
1. Use a Curling Wand on Dry Hair
First things first: never use a direct-heat tool on wet hair. It literally boils the water that’s inside the hair and creates bubbles. This leads to fissures inside the hair and eventual breakage. Ideally, don’t use products that contain water either right before using a curling wand on your hair.
2. Choose the Right Size and Type of Curling Wand

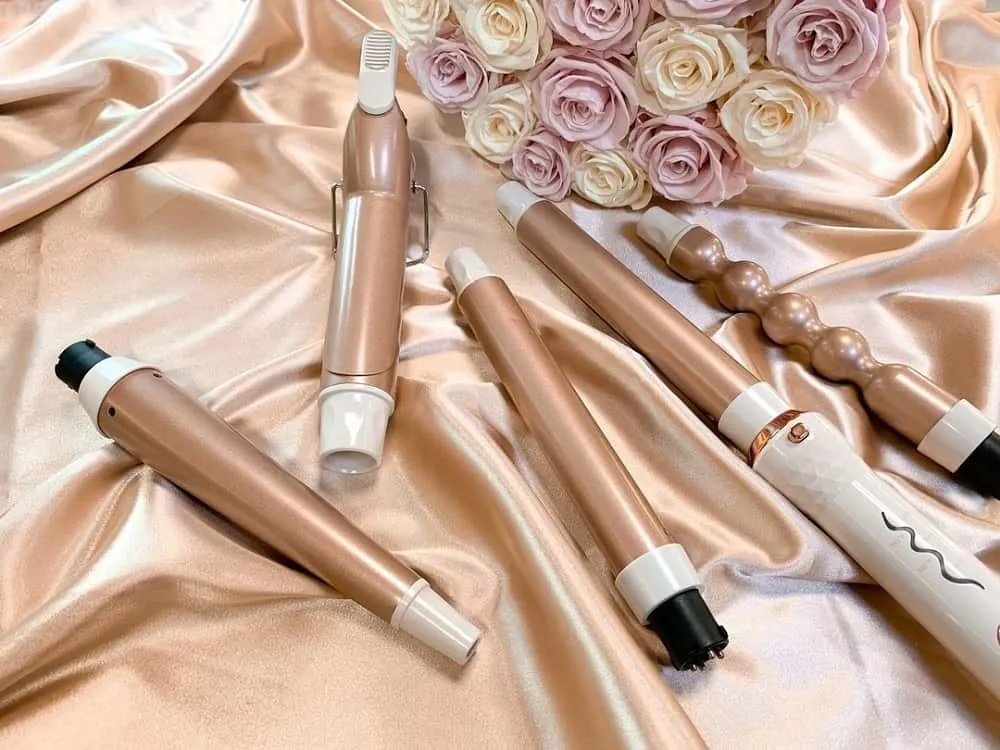
Wider barrels are for larger curls. Narrow barrels are for short hair and smaller curls. Curling wands also come in a variety of shapes to help you create the look you’re after:
- Bubble Wands: These create a well proportionate curl because the hair rests in between the bubbles to be heated. They’re great if you’re looking for a very curly look all over the head.
- Tapered Wands: These create tendrils that are slightly wider at the base.
- Straight Wands of Different Sizes: These create flowing curls. A smaller wand for smaller curls and a larger one for longer hair or larger curls.
3. Part Your Hair First
Visualize how you want the style to come out and part your hair accordingly before you start. A huge mistake we all make is thinking that once the curls are there, they will automatically lay the way we want them to. This isn’t true. Consider how you want your hair, then create the curls by section.
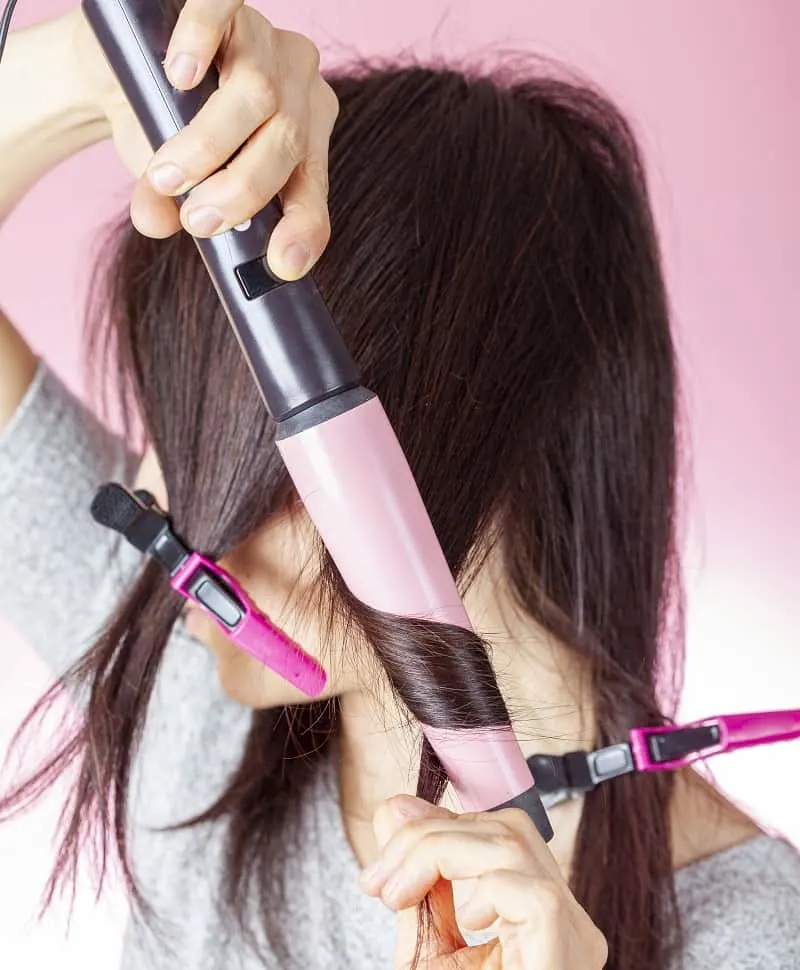
4. Start Rolling from the Roots or Midsection

When you look at a curling wand, it might seem like you should take the tip of the thing and wind the tips of your hair from that part down. But if you do it the opposite way, you’ll end up with a better curl.
Place the device near your head and start rolling the roots around the base of the barrel. Or, if you only want curls on the bottom, start wrapping at the midsection. Then wrap the length of your hair around the barrel until you get to the tips.
5. Allow the Curl to Set
After you’ve created your curls, wait until they cool down before styling. It will help even more if you hold the curl in your hand, scrunching it a bit after curling.
This will help them to set and last longer. If you rake through the curls with your fingers or brush them before fully cool, your curls might fall or become limp.
6. Shake, shake, shake
Before you attempt to style your curls, I want you to do something first. Turn your head upside down and shake your curls for all they’re worth. You might find, after that, that no styling is needed! Just use a little hairspray to hold things in place.
How to Vary Using a Curling Wand for Different Types of Hair

The technique for using a curling wand is going to vary slightly by hair type:
- Short hair: With shorter hair, you may need extra care when using the curling wand to avoid burning yourself because you’re working closer to the scalp. That being said, if you want to curl your hair using a curling wand, you can use one that has a barrel size of 0.5 to 1 inch and start wrapping the hair from the root for the most volume.
- Long hair: Wide barrels will work best for you because they will hold the entire length of your hair. But try a device that comes with multiple barrels so that you can experiment.
- Fine hair: Fine hair is more fragile, so use the lowest heat possible, definitely lower than 350 Fahrenheit. Also, don’t leave the hair on the curling wand past five seconds so that your hair doesn’t get too brittle and possibly break off.
- Coarse hair: Keep in mind that coarse hair is rarely the same as kinky hair. Coarse hair, with its wide strands, can tolerate high heat. Kinky hair, which is usually fine, cannot. That said, you can use a good amount of heat for your coarse hair. Just make sure to work in small sections because you want the wand to be able to heat your hair evenly.
Curling Wand Tips
There are a few other things to remember if you want to create the right curls without damaging your hair or suffering burns:
- Point the wand away from your head. If you curl from the tips of your hair at the base of the barrel and move up, the wand’s tip might graze your scalp.
- Use a heat protectant. If yours contains water, make sure to let it dry in your hair before using the curling wand.
- Experiment with directions. Try horizontal, vertical, forward and backward curls, but do it on days when you don’t plan to go out. You’ll find the right look for you in a relaxed manner.
- Start on a low heat setting. Just because “high” is there, doesn’t mean you have to use it. Start off on the lowest setting to see what your hair needs before going for higher heat.
Curling Iron vs. Curling Wand

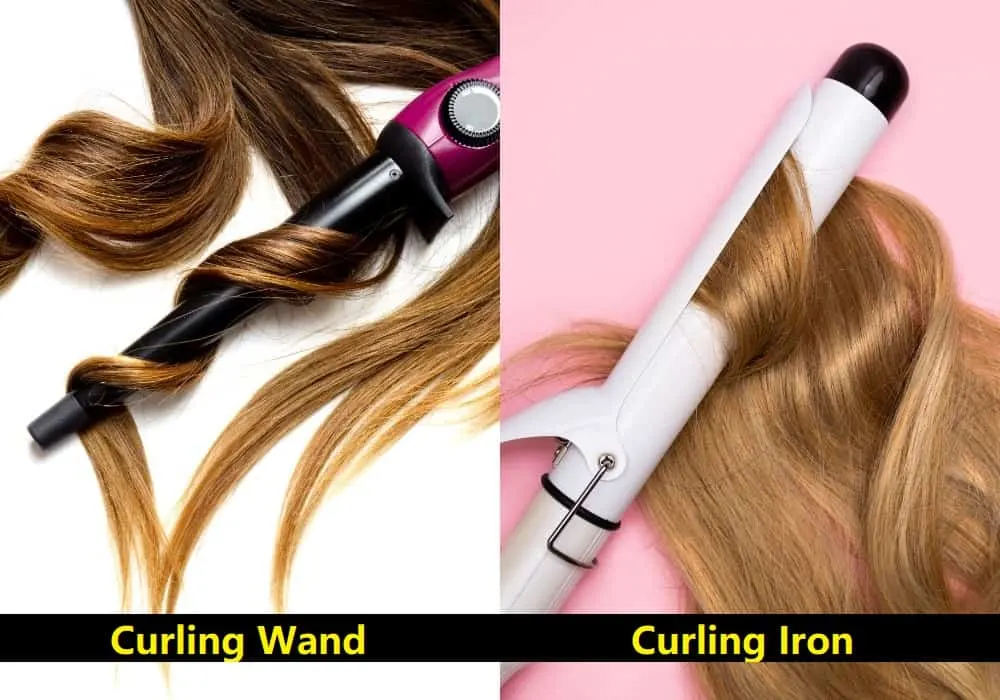
Just by how they are constructed, curling wands are better for the hair. As with curling irons, there are no springs on a curling wand that tend to catch your hair and rip it out. Here are a few other reasons you might wish to go for a wand:
- You can end up with bent ends from rolling the hair in the wrong direction. You can roll the hair in any direction and come up with new and different looks.
- Although you can curl in any direction, curling wands were made for creating spirals and are much better at it than curling irons. And spirals are what everyone’s got these days, right?
- Curling irons are best at creating volume near the scalp, as this is where they hold the curl. Volume as in big hair, and that look hasn’t come back so far.
- Curling irons also tend to create tighter curls. In this way, they are like rollers. Curling wands, on the other hand, create looser curls.
- Curling wands create more natural-looking curls as they do not clamp the hair and create a definite shape with tension.
- Curling irons are designed to create uniform curls that you can brush out. Curling wands will create tighter curls at the root and looser at the tip.
FAQs
Use the basic tip when you’re just starting: curl the front of your hair away from your face and the back towards your face.
If you’d like more formation to your curls, here’s what to do. Section off your hair into clips so that nothing gets in the way. Then, going section by section, curl very small pieces at a time. Curl away from your face.
If you’ve already used a curling iron, it’s probably better for you as a beginner. But it’s easy to learn to use a curling wand.
Don’t hold it for longer than 10 seconds.
You should curl the front of your hair outwards and then back inwards.
You wrap the roots or mid-lengths of your hair around the base and the length you wrap towards the tip. Then, using the heat-resistant glove, hold the tips to the barrel to create tension.
It depends on how tight you want your curl or how long your hair is. Usually, if you want a looser curl or have long hair, you would choose a bigger curl barrel. 1.25 is slightly bigger than the one-inch average.
Use your iron or wand vertically and hold it in the hair for a shorter time to create beach waves. Then shake your hair to add texture or add salt spray.
This depends, but an indicator light usually goes off when the device is ready to use.
You May Also Like
