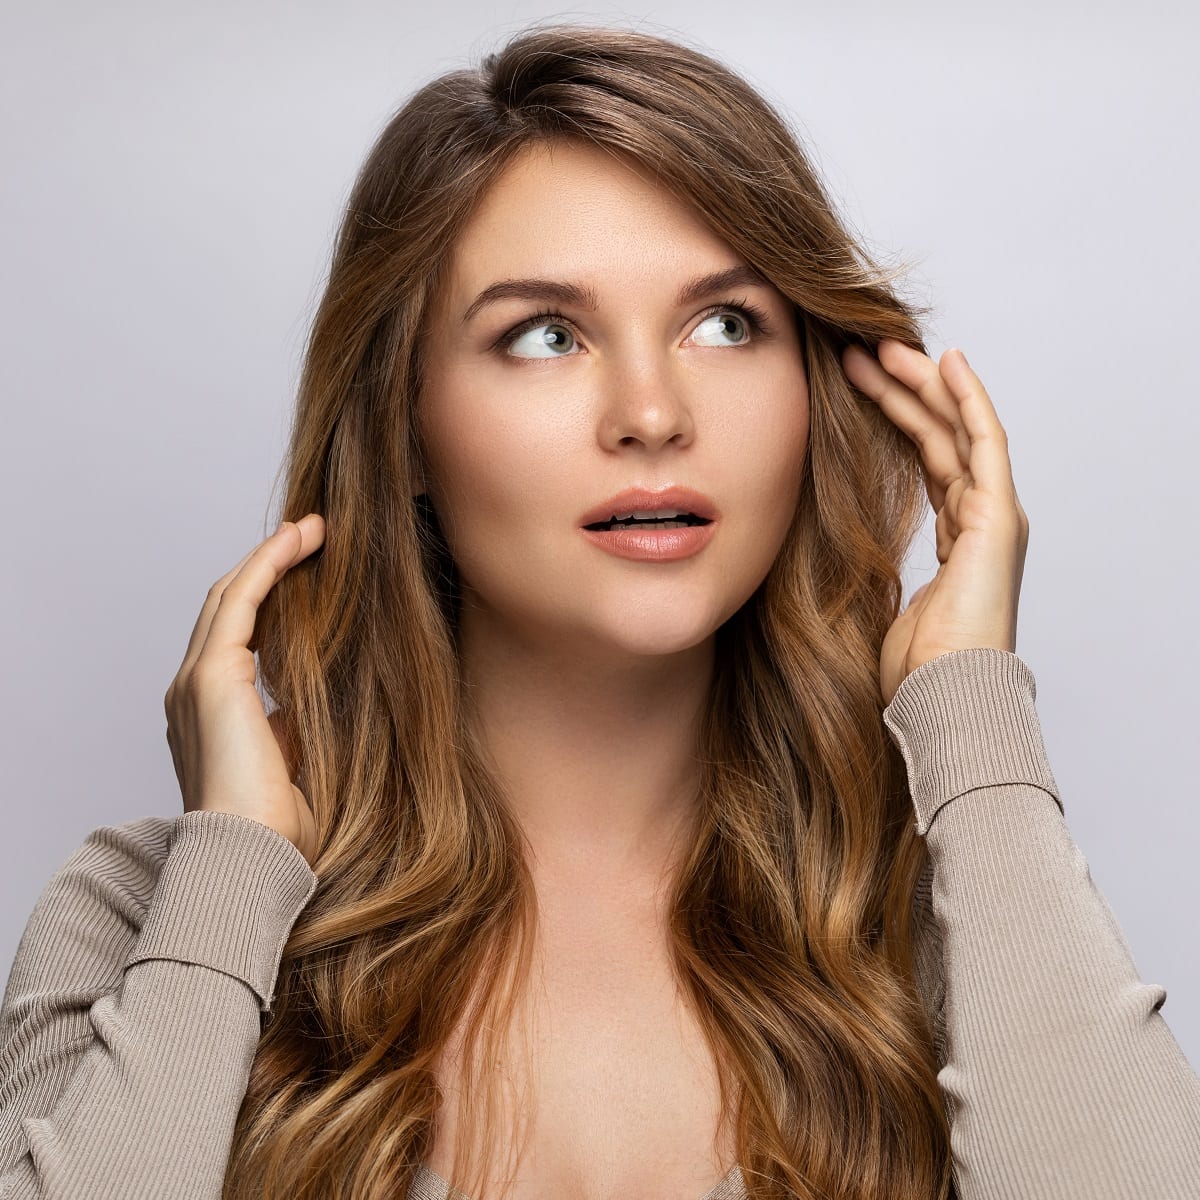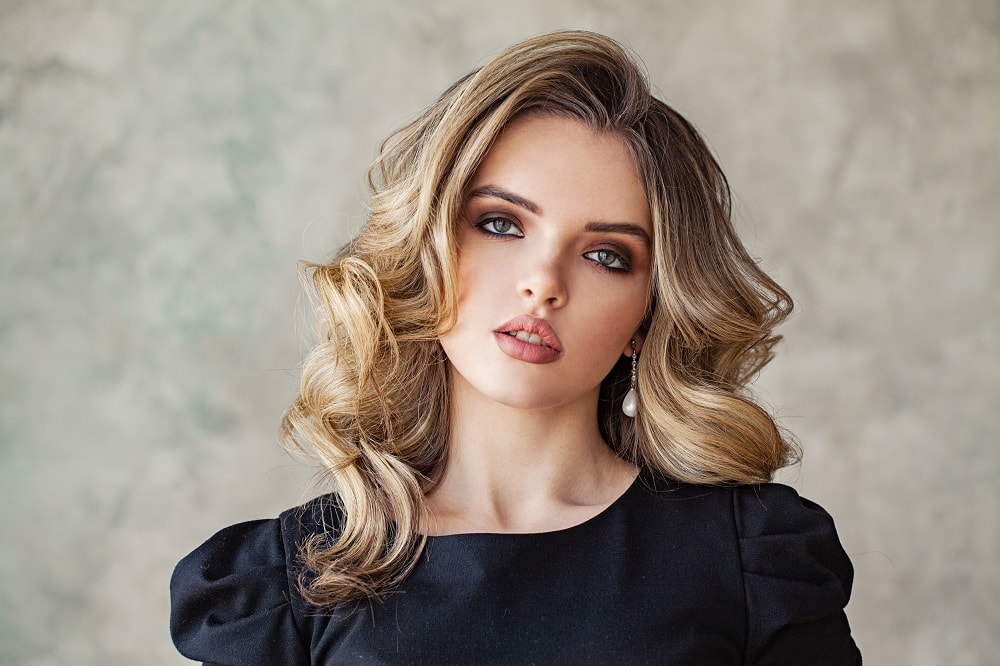


Balayage is a highlighting technique that has been steadily gaining popularity. “Balayage” comes from the French language and means “to sweep,” which is fitting, as certain pieces of hair in the top layer are ‘swept’ randomly with color to create unique, light, and gorgeous highlights.
While the style is easy to maintain and makes for an ideal first style for virgin roots, some might be put off by the seemingly required use of bleach to make those highlights pop.
However, it is possible to get breathtaking balayage results without bleach.
Senior stylist Emma Baxendale draws the candidate line clearly:
Creating a balayage with a high-lift color and no bleach is a great option for people with either a naturally light base, or someone who has a darker base but wants a warmer, more natural, or darker result than what bleach can achieve.
A high-lift color will not create a very bright or platinum result on most hair colors, and it is best to safely use bleach in a salon if that is the result you want.
Pros and Cons of Doing Balayage Without Bleach
Pros
- Avoiding bleach can reduce the intense drying that comes with lightener, but high-lift color can still dry and weaken hair.
- Upkeep won’t require bleach, but high-lift color still needs aftercare to support the health of your hair.
- Produces a natural, fresh look.
- If you decide you don’t like the look, you can just let it grow out and rest easy knowing you avoided bleach, but you should still treat your hair gently after any chemical color.
Cons
- The colors may be a little less vibrant when you forgo bleach.
- You may need more frequent upkeep if you want to maintain the style.
- It is harder to apply crazier or unnatural colors, such as neons and pastels.
One con deserves more weight than a bullet point.
High-lift formulas are still chemistry, Emma Baxendale warns: “Although high-lift color is a bit more gentle than bleaching the hair, it can still be very drying and damaging when not done correctly, or done on hair that is already in poor condition. A salon stylist can safely bleach the hair with equally minimal damage and produce a great result, because they know how far they can push the hair before it is compromised.”
How to Get Balayage Without Bleach
Preparation
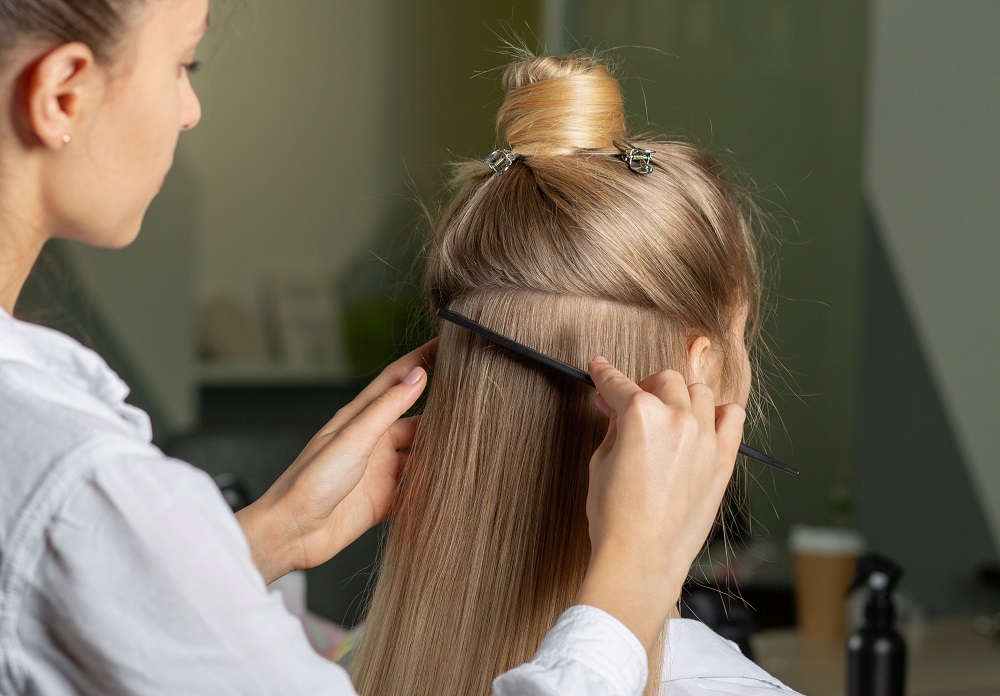
If you’re looking to avoid bleach, you’re in luck! While blonde-haired beauties can sometimes lift without bleach using high-lift permanent color, those with glamorous darker hair can sometimes avoid bleach by using high-lift permanent hair dye made for dark hair.
Look for high-lift permanent color lines, such as L’Oréal Excellence HiColor (made for dark hair) or Wella Koleston Perfect Special Blonde. Note: High-lift dyes only work on virgin hair. If your dark hair has been previously dyed, color cannot lift color, and you may need a professional to safely correct it.
To get your hair ready for some balayage magic, start with dry hair; it does not need to be freshly washed unless it is heavily coated in product, and a little natural oil actually helps protect the scalp. You’ll then section off your hair, putting the top and side sections into hair ties or clips, leaving the bottom section free.
Before starting, put a towel around your shoulders to protect your shirt and skin from spills. Caution: Keep hair dye away from your eyes. If the product accidentally splashes into your eyes, flush them immediately and continuously with cool water and seek medical attention.
Putting petroleum jelly around your hairline and on your ears will prevent any product from settling on your face. You must wear plastic or nitrile gloves to protect your skin from chemical burns and irritation.
The Balayage Process (No Bleach)
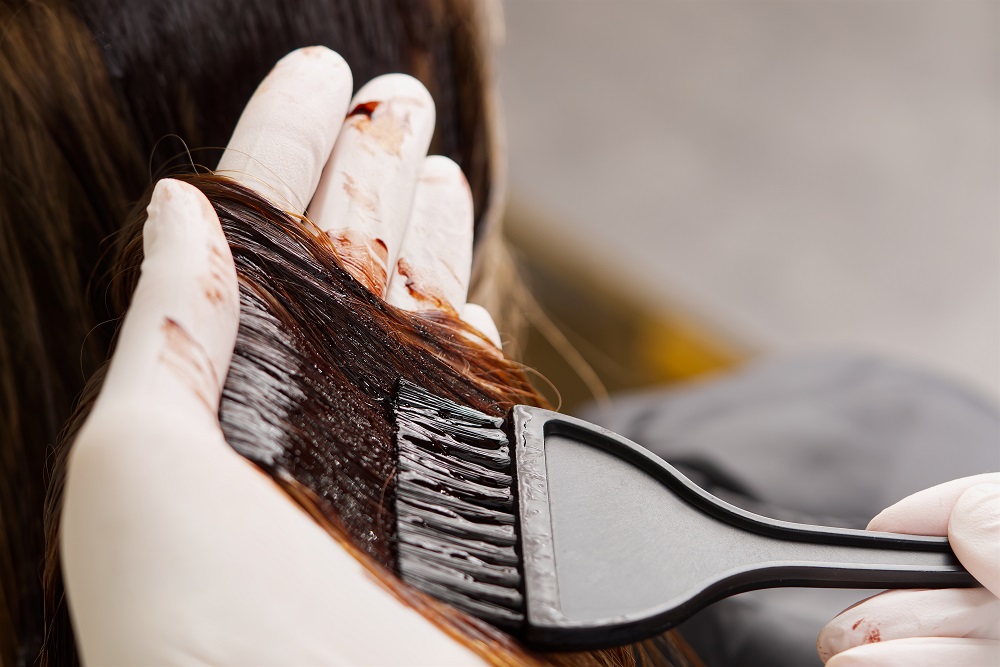
Remember to be thorough when picking a hair dye. You’ll want something natural, light, and easy to maintain. If you’re trying to achieve a very bright or light color, like neon blue or a pastel, remember that it won’t look exactly as it does on the box because you’re skipping bleach. It may be best to consider other color options when avoiding bleach.
After preparing your hair dye mix and setting up your workspace, you are ready to begin.
Have a colorist assess whether a high-lift permanent color is suitable for the desired balayage result. The exact product’s intended use and directions determine the developer; a high-lift category alone does not establish home-use suitability.
Higher-volume developers, particularly when used on the scalp, can increase the risk of chemical burns and hair breakage when used incorrectly at home. Suitability depends on the product, application and hair condition, not volume alone. Follow the exact product’s application restrictions.
Always perform a 48-hour skin allergy patch test first. If your hair is already color-treated, damaged, or compromised, or if you are unsure, see a licensed stylist instead of processing at home.
Then, perform a strand test on a small, hidden section of hair to ensure the color lifts as expected.
A strand test helps you see how the color will look on your hair. High-lift color on dark hair usually lifts warm, like caramel or copper, not icy blonde. After you confirm that you like the style and color, you can keep going and do the rest of your head.
Depending on what works best for you, apply the dye using a tint brush.
It is best to start at the bottom and work your way up your head, varying how heavily you apply the formula. Apply it most heavily at the bottom and gradually more lightly as you move upward. To avoid harsh lines, hold your brush vertically and feather the dye lightly upward in a “V” shape for a softer, blended transition.
Remember to alternate from side to side to capture pieces on both sides of your head; this keeps the result looking elegant and natural.
After application, follow the box instructions for the waiting period and then rinse with shampoo. Some kits include one, but if not, you can use your new color-protectant shampoo. Discard any leftover mixed color according to the product directions and local disposal rules; never cap and store an activated mixture for later use.
Maintenance Tips
To keep your new ‘do, it’s best to invest in some new shampoo and conditioner following your at-home hair dye. There are plenty of brands that have color-safe shampoos that will help keep the color from washing out, as well as temporarily smooth, strengthen, and maintain those delicate sections affected by the dye.
You may also need to alter your washing routine. Fine or straight hair may do well when washed every other day with lukewarm water, but curly and textured hair should usually be washed 1–2 times a week to preserve moisture.
Deep-conditioning your hair at least once a week will help keep your locks smooth and soft; you can invest in hair masks or a leave-in conditioner.
Keep an eye on your hair to determine when you want to reapply. This will depend on how fast your hair grows and how well the color lasts with your color-protectant and deep-moisturizing masks.
Balayage With Bleach vs. Without Bleach
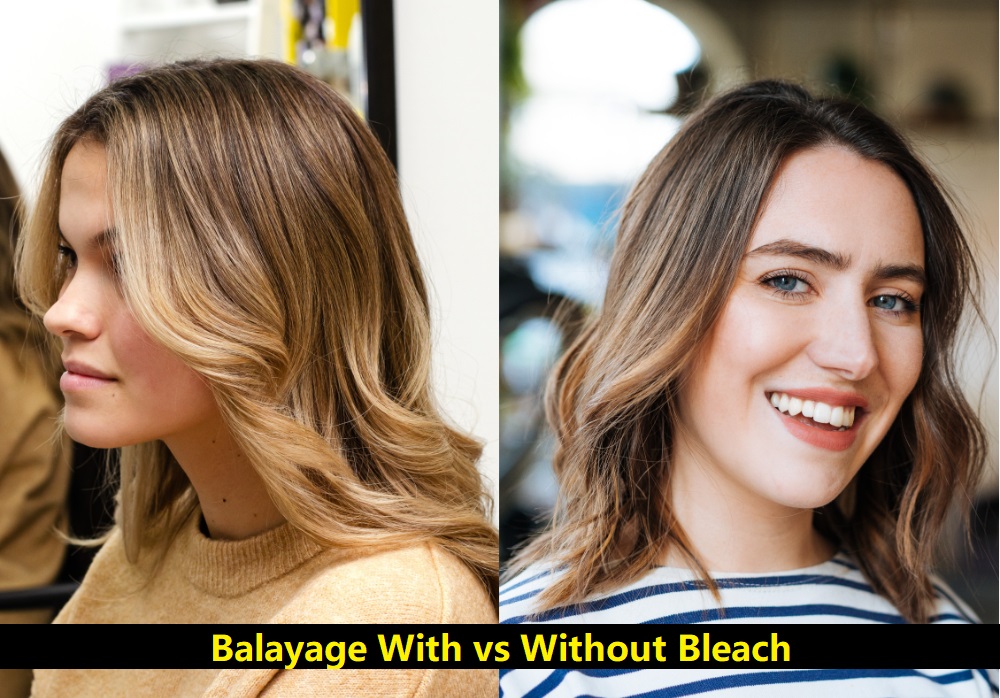
iStock.com/Serhii Tychynskyi; iStock.com/Drazen_
Balayage with bleach will help give you more vibrant and colorful layers.
Balayage without bleach is just as beautiful and can be gentler than bleach for some people, but it can still cause dryness and damage because it uses developer and strong alkaline ingredients. While you may need more frequent upkeep to maintain your color, you can keep the style for longer without bleach exposure.
Emma’s happiest no-bleach results share a profile: “My best results on a no-bleach balayage client have been on someone who is naturally brunette and wants a sun-kissed, warm-toned result. This is when realistic expectations are set, and the result suits their natural hair color a lot more than a bright or platinum result would.”
If you want to shake things up with a look that is natural and effortlessly gorgeous, balayage without bleach is a worthy way to get there.