Hair color treatments have become very effective over the years, but there is one big downside: modern hair dyes are loaded with harsh chemicals. These chemical hair dyes can cause damage to our hair and cause scalp irritation in those sensitive to chemicals.
Natural alternatives to chemical hair dyes are gaining popularity as people become aware of the harmful effects of chemicals on their health and the environment.
If you are considering coloring your hair but don’t want to use a chemical-based color, you have come to the right place!
In this article, we will discuss various natural hair dyes, their effects, and how to use them. Say goodbye to chemical hair dyes; let’s explore some natural alternatives that won’t cause damage to your beautiful hair.
Natural Alternatives to Chemical Hair Dyes
Do you want to color your hair but are worried about the chemicals in traditional dyes? In fact, you should be, as chemicals like ammonia and peroxide can be harsh on your hair and damage it.
So, here are some natural alternatives to chemical hair dyes that will give you the color you crave without the side effects.
1. Henna Hair Dye For Variety of Colors
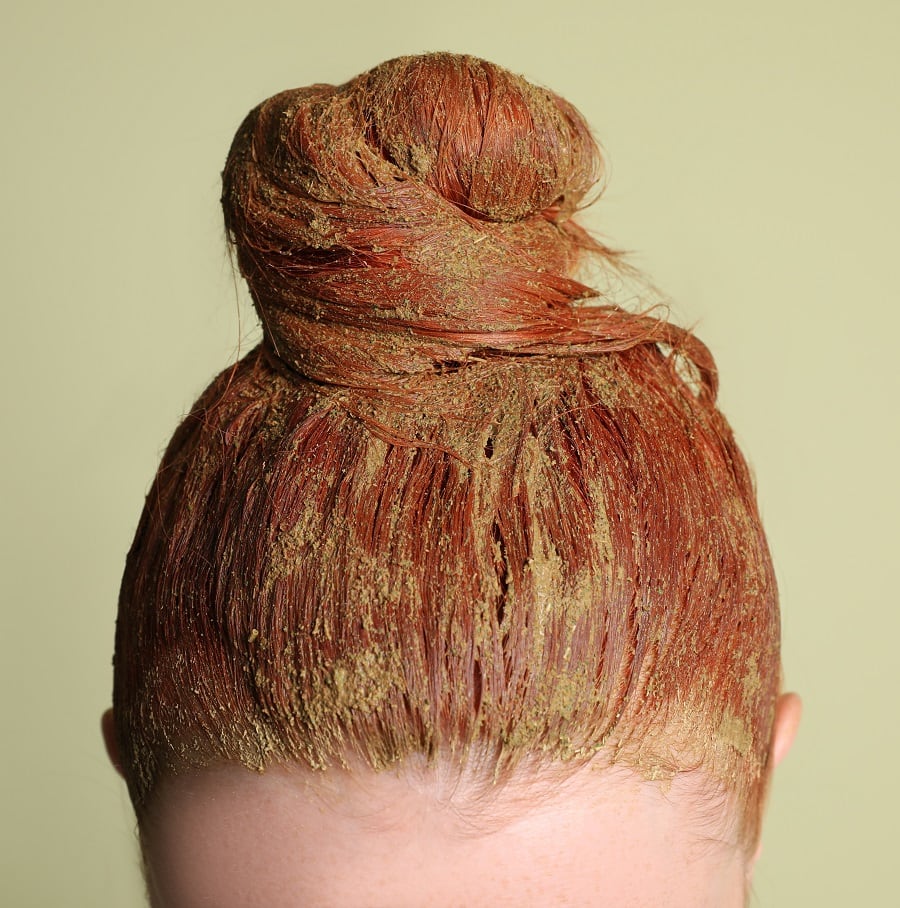
Henna has been a popular natural pigment for skin and hair for centuries. It is created by preparing a paste from the green leaves of the Lawsonia inermis tree, which grows in warm, arid regions such as Asia, Northern Africa, and Australia.
The great thing about Henna is that it not only dyes your hair but also contains some great side benefits. According to a study, Henna is generally considered hypoallergenic, although individual exceptions may exist.
Henna coats the hair shaft and deposits a reddish-brown pigment that can blend grays for a few weeks; it offers no proven effect on hair fall or the rate of graying.
One of the advantages of using Henna is the wide range of shades available, offering plenty of options to choose from.
Moreover, Henna hair color typically lasts between 4-6 weeks, gradually fading over time. So, the Henna hair color serves as a fantastic alternative to chemical-based hair color.
How to Use Henna to Color Your Hair
Coloring your hair with henna is not super complicated, but it can get a bit messy, so try to prepare yourself with some gloves, a cape, and a plastic cap.
You will also want to wipe the henna off of any surface that it touches during your coloring process.
The first step to coloring your hair with henna would be to prepare your mixture. Henna comes in powder form, so you will need to mix some water into about one cup of henna until you form a thick paste.
It is essential to add either lemon juice or apple cider vinegar to the henna mixture and allow it to sit overnight.
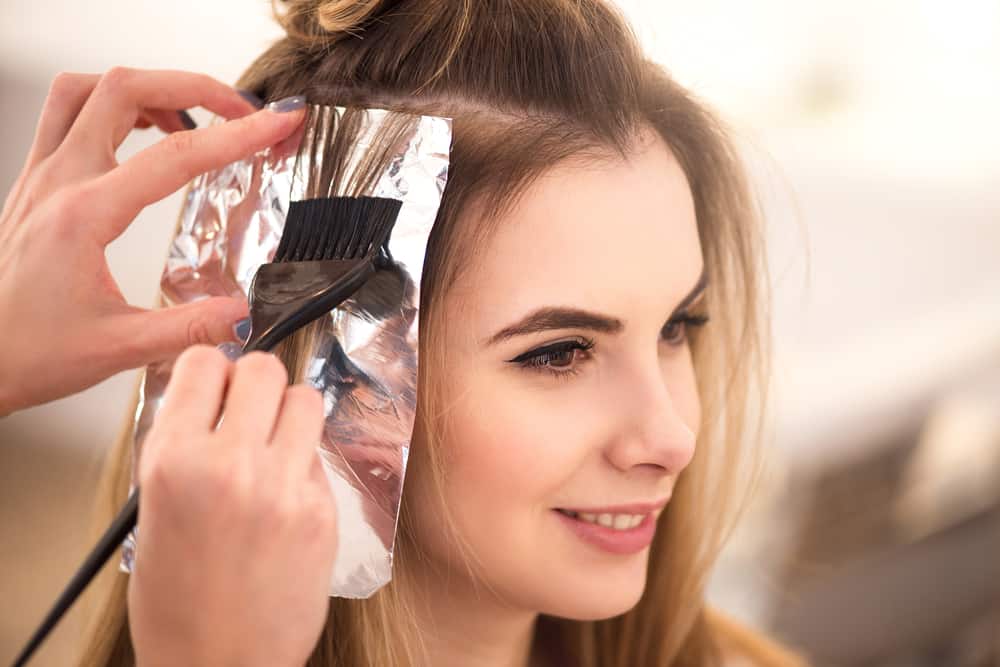
After you have covered your shoulders with a cape and your hands with gloves, section your hair into four basic sections.
Start applying the henna to your hair using a color brush and working from the back of your head to the front.
Apply the henna to small sections of hair, and ensure you are brushing the color onto your hair from roots to ends.
If your hair is long, clip it up to secure it. Put a plastic cap over your hair. Let the henna process on your hair for 4-5 hours or even overnight.
To maximize the effects of henna on your hair, expose it to sunlight or use a hair dryer after application. The application of heat helps the henna penetrate the hair strands.
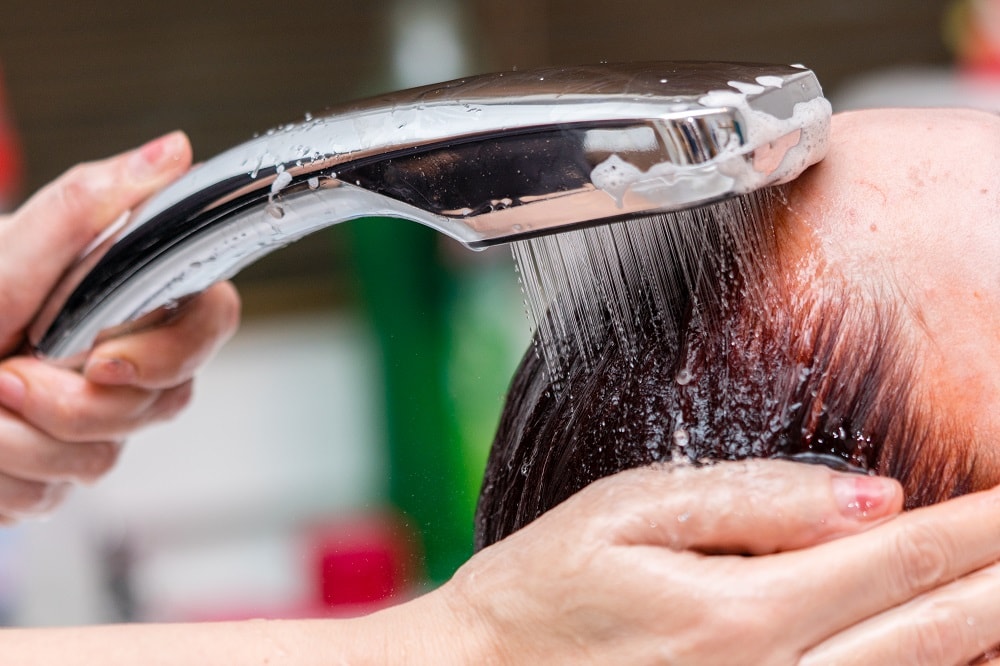
When your hair is done processing, rinse out the henna thoroughly with cool water, but do not use shampoo.
You may condition your hair if needed. Try to wait one or two days to shampoo your hair after applying henna.
When dyeing previously chemically treated hair with henna, select a high-quality henna product that is free from metallic salts as they can interact with the ammonia present in hair dye. That reaction can make hair heat up, smoke, and break off. The same risk applies in reverse: never apply bleach or permanent dye over hair colored with compound henna, and do a strand test if you are not sure what was in your henna.
Pros of Using Henna on Your Hair
- Go Natural: First off, henna is all-natural. You’re ditching the chemicals and opting for something Mother Earth gave us.
- Balance That Scalp: Henna helps keep your scalp’s oil in check. Say goodbye to overly dry or greasy hair.
- Fight the Gray: Worried about gray hairs showing up early? Henna’s got you covered. It can push back that gray clock.
- Smooth Your Strands: Henna’s coating can make dry, rough-feeling hair feel smoother and look glossier, though it can’t repair existing split ends or damage. Your locks will thank you.
- Boost the Body: Henna can make strands feel thicker and hair look fuller, but it doesn’t stimulate follicles or speed up hair growth.
Cons of Using Henna on Your Hair
- Stays Put: A heads up—once you go henna, it’s hard to go back. It sticks, and it’s not easy to remove.
- Prepare for a Mess: The application can get messy. Cover your bases with old towels and gloves.
- Texture Alert: If you’ve got curls, henna might change how they look or feel. Think about that before diving in.
- No Light Shades: If you’re thinking blonde or lighter hues, henna’s not your game. It darkens, but doesn’t lighten.
- Watch for Stains: Henna can stain your skin. Be careful during application, or you’ll have more than just your hair to show for it.
2. Sage or Black Tea for Darkening Your Hair
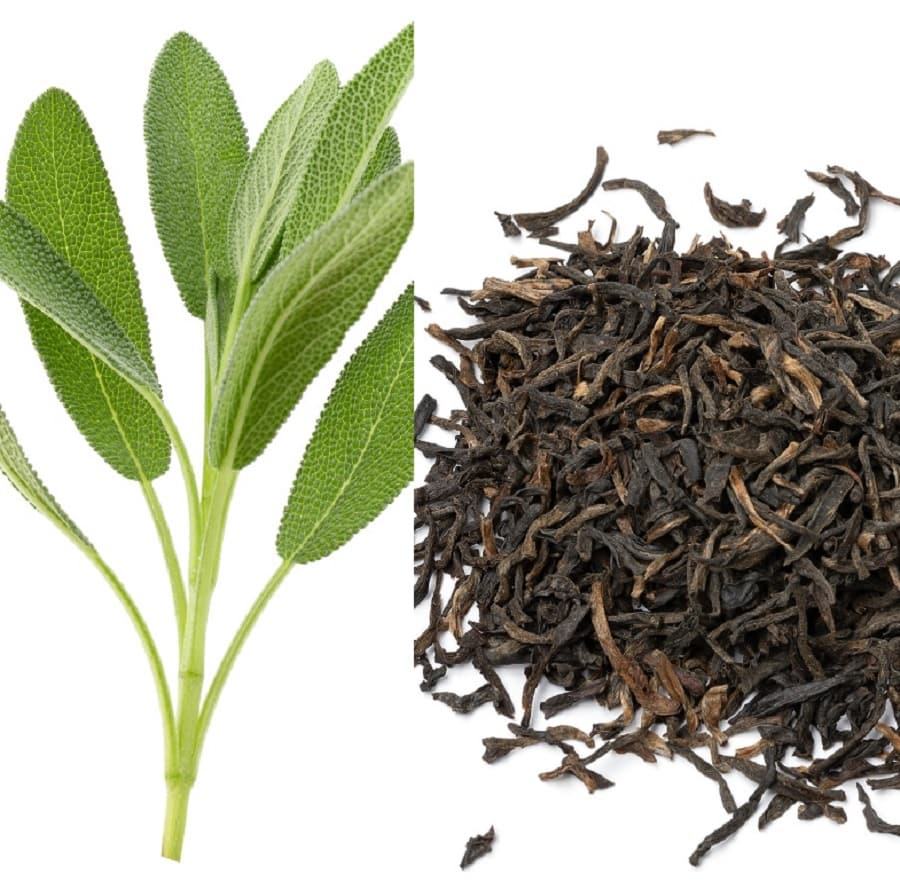
If your goal is to naturally darken your hair, or even cover your grays, sage or black tea are great options.
Although the initial results of using sage or black tea as a hair dye may not be striking, the advantage lies in the ability to reapply it as desired until you get your desired outcome.
How to Use Sage Tea Hair Dye
The process of darkening your hair with sage is basically like making sage tea for your hair.
There are many different opinions on exactly what ratio of sage to water should be used in the steeping process, but the general consensus is that the higher the potency, the darker the pigment.
If you want a less potent solution, try adding just a few sprigs of sage to two cups of water. For a more potent and, therefore pigmented solution, combine one cup of sage with three cups of water.
You can simmer the sage leaves in water for anywhere from 5 minutes to 30 minutes, and you can let it continue to steep for 30 minutes to 2 hours. Make sure to let it cool and remove the sage leaves before applying it to your hair.
Before applying sage tea to your hair, make sure that your hair is clean. You can either apply the sage to completely dry hair, or to slightly damp hair. Flip your head over and pour the sage tea onto your scalp and hair.
Comb the solution through your hair so that all of your hair is thoroughly saturated. Cover your hair with a plastic cap and leave the sage on your hair for as long as possible, or until you see the desired results.
Lastly, rinse the sage tea out with cool water. Condition your hair if needed. Wait a day or two before shampooing your hair.
How to Use Black Tea to Darken Your Hair
Black tea is a great alternative to chemical-based hair color treatments if you want to subtly darken your hair at home. And, why not drink a hot cup of tea while you’re at it?
Using black tea as a hair dye is very similar to using sage. In fact, for more pigmented results, you can even combine black tea and sage. The information below will specify how you can use black tea to darken your hair.
Though it doesn’t work quite as effectively as sage for covering grays, because of its deep brown color, it is effective in darkening brown hair.
You may notice a more subtle pigment in your hair from the use of black tea, and this pigment will fade out after only a few washes.
To brew your black tea hair dye, you can use loose-leaf tea or tea bags. Loose-leaf tea may be more potent, so if you use tea bags, be sure to use at least three.
Just as is the case when using sage, if you want a more pigmented result, your black tea will need to be stronger, meaning a higher ratio of tea leaves to water.
Allow the black tea to simmer for at least 5 minutes and let it cool before applying it to your hair and scalp.
Make sure your hair is completely clean and dry before applying the black tea. (If you apply it to slightly damp hair, it will produce a subtler pigment.)
Flip your head over and pour the black tea on your scalp and hair. A liquid color applicator bottle may be helpful for this.)
Put a plastic cap on your hair. Let the black tea process on your hair for at least an hour, or longer if you want a more pigmented result.
Rinse the black tea out of your hair with cool water. Condition your hair but do not use shampoo. Wait at least one day before shampooing your hair. Pigment from black tea will start fading after about 5-7 days.
Pros of Using Black Tea or Sage on Your Hair
- Unlock the Shine: You’ll get a radiant glow in your hair using sage tea or black tea. It’s like adding a natural shine serum without the chemicals.
- Darken Your Locks: If you’re not a fan of grays, you’re in luck. Both sage and black tea can naturally darken your hair.
- Smooth and Manageable: Sage acts like a natural lotion for your hair, making it soft. Black tea also helps in softening coarse hair, giving you manageable tresses.
Cons of Using Black Tea or Sage on Your Hair
- Allergy Alert: Some people may have an allergic reaction to black tea. Always do a patch test first.
- Staining Issues: Both sage and black tea can stain your hair, which may not always be what you want, especially if you’re only trying to target grays.
- Dryness Factor: Black tea contains caffeine, which could potentially dry out your scalp and hair. Make sure to condition well afterward.
3. Chamomile Tea or Lemon Juice For Lightening Hair
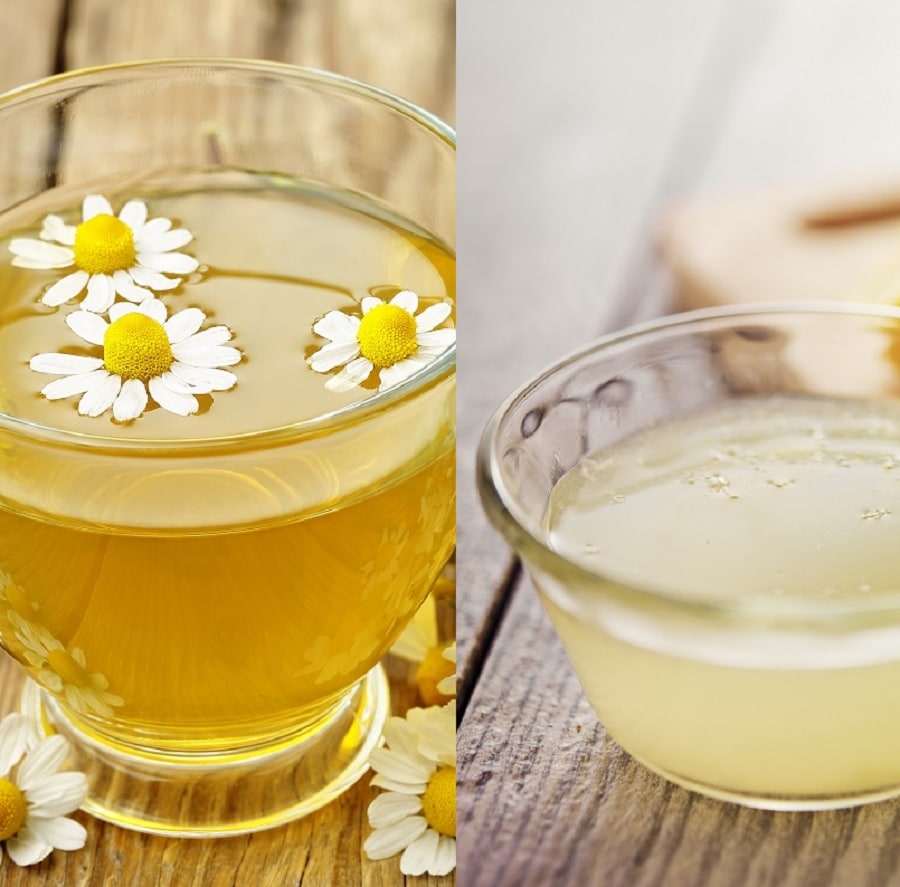
If you want to brighten up your hair for the summer but don’t want to use bleach or other damaging chemical lighteners, using chamomile or lemon juice can do the trick. You can also combine them to make your own hair-lightening elixir!
How to Use Chamomile Tea to Lighten Hair Color
Chamomile tea is a gentle and soothing solution for gradually lightening your locks, so that you can showcase your “sunkissed” hair this summer.
Chamomile does more than help you relax in the evening. Chamomile is renowned for producing yellow shades and enhancing light reflection.
This is attributed to the presence of quercetin, a natural compound found in chamomile. Unlike harsh chemicals such as ammonia, bleach, and hydrogen peroxide, quercetin offers a gentle lightening effect for hair without causing damage.
Like many other natural alternatives to chemical-based hair color, chamomile tea also provides many benefits to the scalp and hair. Chamomile can soothe and moisturize a dry scalp while softening and moisturizing your hair.
Once again, using chamomile tea as a hair lightener is much like brewing a pot of tea for your hair. Keep in mind that the tea will need to be very strong to have the desired effect.
Usually, it is best to use loose-leaf chamomile tea, but you can also use tea bags. Simmer the chamomile in boiling water for at least 15 minutes, and then let it continue to steep as it cools. It is best to apply chamomile tea to your hair when it is lukewarm.
Ensure your hair is completely clean and dry before applying the chamomile tea. Flip your head over and fully saturate your hair with chamomile tea.
You can do this by pouring it on your hair or dipping it into a big bowl containing the tea.
Put a plastic cap on your hair. Let the chamomile tea process on your hair for anywhere between 15 minutes and several hours. The longer you let it sit on your hair, the lighter your results will be.
After you have let the chamomile tea process, wash it out with a moisturizing shampoo, and then apply a deep conditioning mask to your hair. Make sure you use lukewarm water to shampoo and cool water to condition.
To maintain your bright hair color, use this lightening method once a week. Remember that you will need to deep condition your hair afterward.
How to Use Lemon Juice to Lighten Hair Color
Lemon juice is a commonly known hair lightener that many of us have used at one point or another. The combination of lemon juice and UV rays can be very effective in naturally lightening hair.
Surprisingly, lemon juice contains some great benefits for the scalp. It can help remove product buildup and leave the scalp feeling refreshed, but it has no proven anti-fungal or hair-growth benefit.
Along with the benefits of using lemon juice are a couple of downsides. Lemon juice may not be as effective in lightening darker hair colors and is better suited for lightening hair that is already blonde or dark blonde.
Also, because lemon juice contains citric acid, it can dry out your hair and shouldn’t be used more than once every month.
To prevent excess drying, you have to deep condition each time you use lemon juice to lighten your hair.
Combining lemon juice and sunlight is a time-tested way to achieve those gorgeous highlights without leaving your backyard.
Using lemon juice to lighten your hair is easier than making lemonade and also gives you an excellent excuse to spend some time basking in the sun! (Not without sunscreen, of course.)
Lemon juice is at its purest when it comes straight from the lemon, so if possible, squeeze that juice directly from a lemon rather than using bottled lemon juice.
After you have your fresh lemon juice, you will need to dilute it with water. The standard ratio of water to lemon juice is 2:1.
For example, mix ½ cup of lemon juice with 1 cup of water. Pour this mixture into a spray bottle for easy application.
Spritz the lemon juice water mixture onto your hair. To lighten your whole head, go section by section and saturate each section of hair thoroughly. To add highlights, spritz the lemon juice on the parts of your hair that you want lightened.
Sit outside for at least an hour. For lighter results, you can sit in the sun for a couple of hours. When your hair has reached the desired result, shampoo it thoroughly with a moisturizing shampoo and apply a deep conditioning treatment.
4. Beet Juice To Add a Cool Red Tone to Your Hair
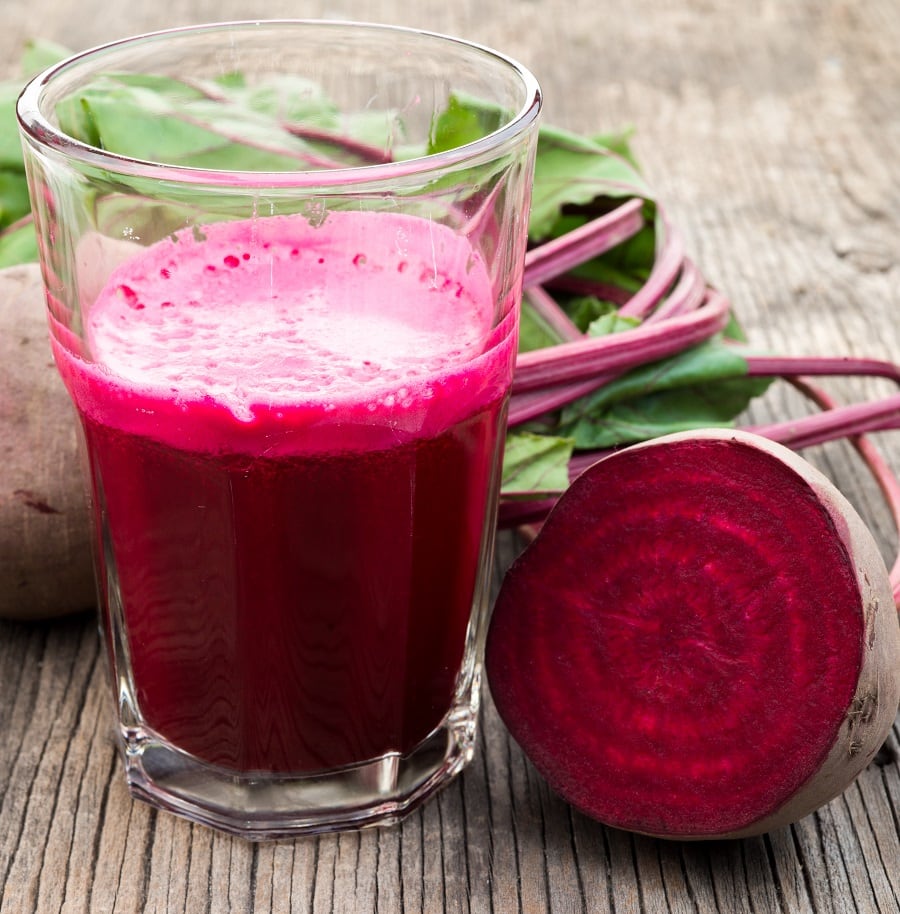
If you have ever cooked beets, you know how pigmented they are. I was shocked the first time I cut up beets and my hands stayed bright pink until the next day.
It’s no surprise that beet juice can be an effective hair dye as well. Using beet juice as a hair dye will add a cool red tone to your locks, benefiting your hair and scalp.
On hair, though, beet juice is simply a temporary tint; the health benefits of eating beets don’t carry over to a rinse.
Beet juice also contains electrolytes, iron, and potassium, which help to strengthen the hair and help minimize breakage.
It is clear that beet juice adds red tones to your hair and benefits your hair and scalp in various ways.
So, if you want to add a beautiful cool-red tone to your locks at home, beet juice is a good natural option.
How to Use Beet Juice as Red Hair Color
There are a few different ways to dye your hair with beet juice, and all of them are a bit messy. Dyeing your hair with beet juice is definitely effective, but it can also dye your skin, so keep some gloves, a cape, and some wet wipes.
For the best results, use a fresh beet and prepare the juice yourself. You can do this by chopping the beet into pieces, blending the pieces in a food processor, and then straining out the juice.
If this seems too much work, you can purchase already-made beet juice. Just make sure that it is pure.
Also, remember that beet juice needs to be added to a carrier. This could include conditioner, shampoo, or a carrier oil. If you want your beet juice hair pigment to be strong and potent, use a higher ratio of beet juice to the carrier. If you want only a subtle change, use a lower ratio of beet juice.
If you are using shampoo as a carrier, follow these steps:
- In a bowl, mix a moisturizing shampoo with the beet juice at your desired ratio.
- Shampoo your hair twice with regular shampoo to cleanse it thoroughly.
- Apply the beet juice shampoo to your hair and saturate it from roots to ends. (Make sure to rinse it off of your neck or face immediately.)
- Let the beet shampoo sit on your hair for at least 20 minutes.
- Rinse the beet shampoo out with lukewarm water and follow with a conditioner. Rinse out the conditioner with cool water.
If you want to use oil or conditioner as a carrier follow these steps:
- Mix the beet juice with your choice of carrier oil or conditioner. If using conditioner, you can apply it to wet or dry hair. If using oil, apply to dry hair only.
- Put a plastic cap on your hair.
- Leave the solution on your hair for at least 50 minutes. For more pigmented results, leave it on for longer.
- Shampoo your hair with a moisturizing shampoo. Condition your hair and rinse it out with cool water.
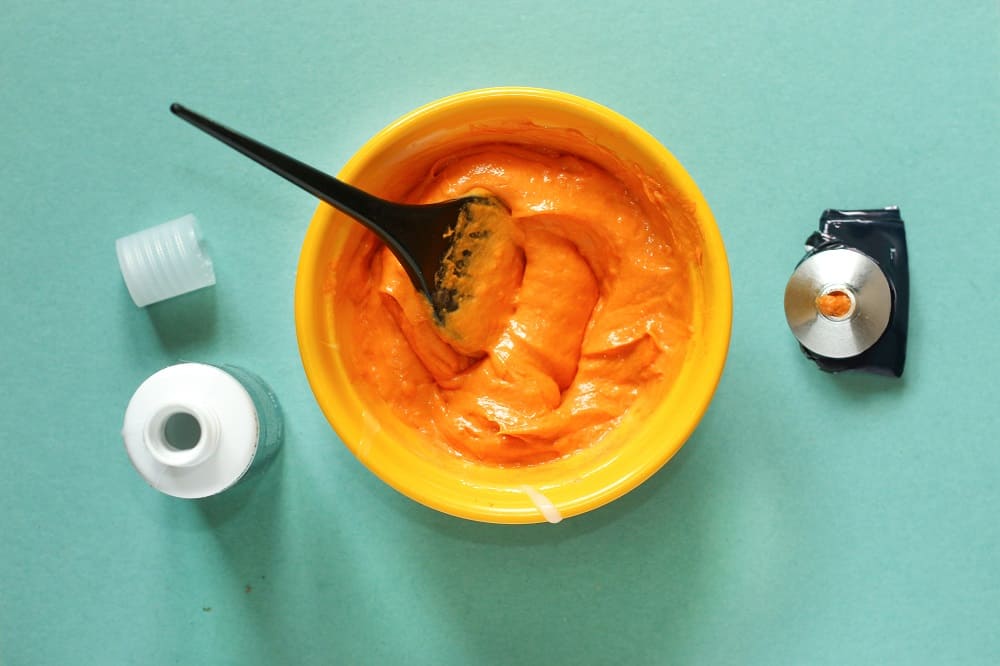
5. Carrot Juice As Reddish-Orange Hair Color
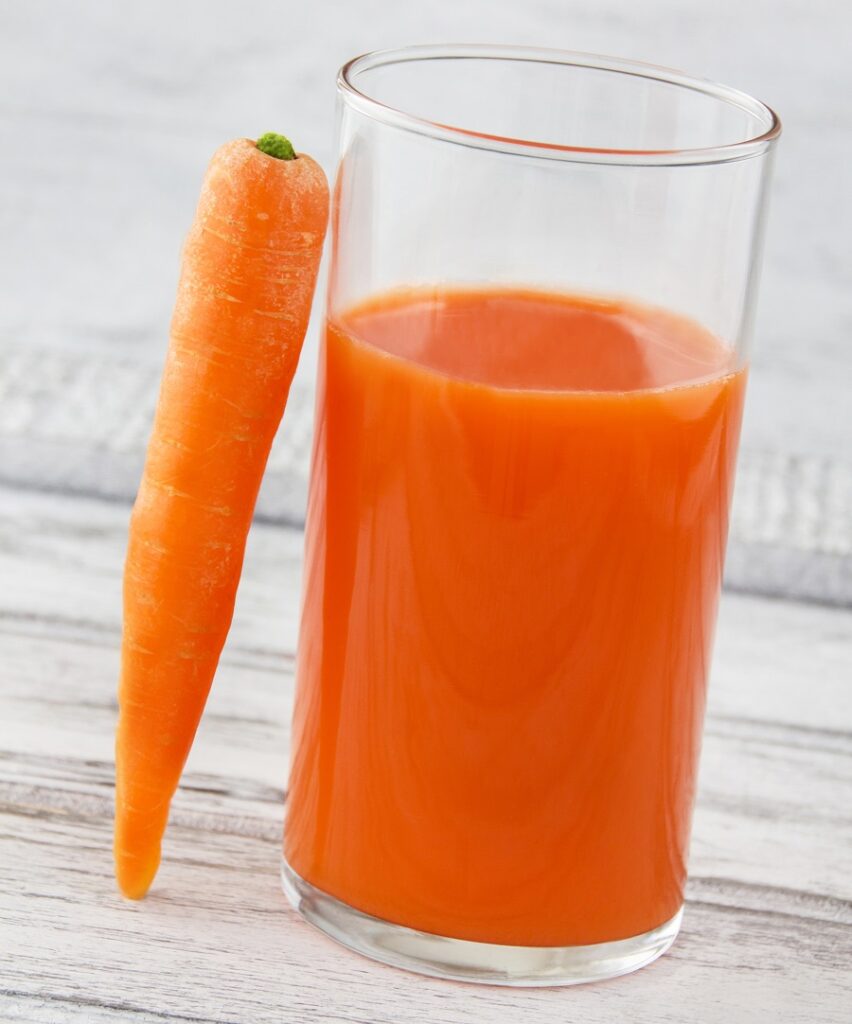
If you are looking to temporarily add a reddish-orange tint to your hair, carrot juice is a good natural alternative to chemical hair dye.
Carrot juice is an effective dye for lighter hair colors. It carries vast benefits for your hair because of its rich supply of nutrients, including vitamins A and E.
In fact, many claim that carrot oil is derived from the roots of carrots and stimulates hair growth and health.
How to Use Carrot Juice for Dyeing Hair
Coloring your hair with carrot juice requires only a few ingredients and a few hours of processing time. You will need carrots or premade carrot juice, carrier oil, and apple cider vinegar.
And even though it may not be quite as messy as beet juice, you should still be prepared with gloves and a cape to avoid turning your skin orange.
The great thing is that your hair dye should last for 7–10 days. With the vast benefits that carrots contain for your hair, using a carrot juice dye every few weeks may even help your hair’s health.
You can prepare the carrot juice or purchase pre-made carrot juice. Using a juicer is the easiest way to make carrot juice, but you can also use a blender or food processor.
Put the carrots in the food processor/blender with some water and blend until very smooth, and then strain out any chunks that remain. Then, you want to mix the carrot juice with the carrier oil, such as coconut oil, olive oil, or even grapeseed oil.
Here is how you can apply the carrot juice to color your hair:
- Ensure your hair is clean and dry before applying the carrot juice/oil mixture.
- Apply the carrot juice dye to your hair by either flipping your head over and combing it through your hair or by applying it section by section. Either way, make sure that your hair is fully saturated.
- Put a plastic cap on your hair.
- Let the carrot juice dye sit on your hair for at least an hour. For more vibrant results, leave it on for longer.
- When you are ready to rinse out the carrot juice, first rinse your hair with apple cider vinegar. This will help the color to stick to your hair. You can put the apple cider vinegar in a liquid color applicator bottle to make it easier to apply to your hair.
- Rinse everything out with lukewarm water.
- Apply a deep conditioner, and rinse that out with cool water.
You can showcase a new, vibrant hair color this summer without putting damaging chemicals on your hair.
There are so many natural alternatives to chemical-based hair color treatments that not only effectively dye your hair but also provide many benefits for the health of your hair and scalp. I hope this article will help you achieve your new hair color naturally.