
Are you tired of frizzy hair or curls that won’t behave? You don’t have to keep your hair tied back to keep it under control; you have another option. Straightening your hair smooths frizz and relaxes curls leaving you with manageable locks. It sounds great, but how do you know which types of hair straightening methods are best for you? What about potential pros and cons?
Ready to straighten your hair but don’t know where to start? Here’s everything you need to know about straightening hair.
Types of Hair Straightening Methods
Hair Straightening Method | Key Takeaways | Pros | Cons |
|---|---|---|---|
|
Hair Rebonding |
Chemicals, heat to restructure bonds, multiple steps |
Lasts 6-7 months, roots touched up every 4-6 weeks |
Chemicals damage follicle, split ends, breakage, hair loss |
|
Hair Relaxing |
Chemicals applied to restructure bonds, takes 1-2 hours |
Least expensive option, results last 3 months |
Chemicals damage follicle, split ends, breakage, hair loss |
|
Thermal or Japanese Reconditioning |
Heat and chemicals to straighten, multi-step process, follow-up treatment |
Straight hair, easy to maintain, can last 6 months |
Damages hair follicle, expensive, takes several hours |
|
Keratin Treatment |
Smoothes frizz, softens tight curls, gentler on the hair fiber than relaxers |
Conditions hair, gentler on the hair fiber than relaxers, can last 6 months |
Does not straighten hair, results may not look great when roots grow |
|
At Home Perms |
Inexpensive, easy to find, chemicals soften curls |
Least expensive, readily available, easy to use; kits use caustic chemicals, so patch test and follow the label |
Results don’t last long, do not entirely straighten |
Hair Rebonding
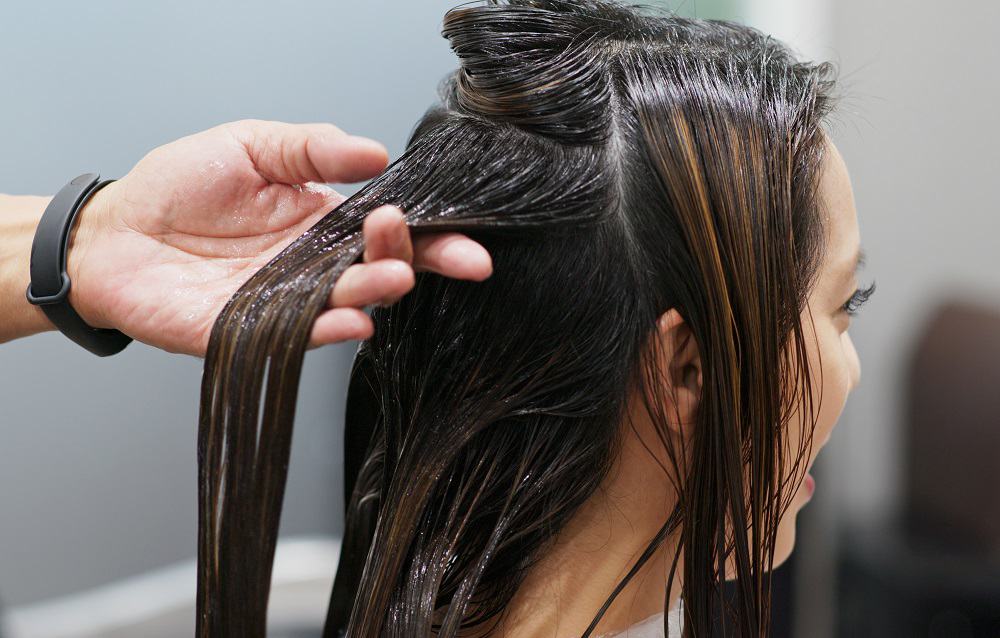
The bonds in your hair determine its shape, whether it is straight, wavy or curly. Rebonding uses chemicals and heat to relax and break the bonds down, allowing you to restructure your hair.
It’s a multiple-step process that takes anywhere from three to eight hours for hair rebonding. Longer, thicker hair will take several hours to restructure.
- Shampoo and dry your hair. Conditioner is not applied during this step.
- Your hair is divided and sectioned off to ensure each strand is chemically coated.
- The chemical relaxer is applied and left on for 30 to 45 minutes.
- Your hair is steamed for 10 to 45 minutes. Thicker hair is steamed longer than shorter styles.
- The relaxer is shampooed out, and a deep conditioner is applied.
- Your hair is straightened with a flat iron.
- A chemical neutralizer is applied to secure the bonds and left on for thirty minutes before rinsing out with cold water.
- Your hair is dried and re-straightened with a flat iron.
Hair rebonding typically lasts six to seven months. Women with fast-growing hair may need to get their roots touched up every four to six weeks.
Hair Relaxing
Hair relaxing is less expensive than rebonding, and the process only takes one or two hours.
Chemicals are applied to restructure hair bonds and rinsed off after a couple of hours. Your hair is conditioned, dried, and straightened with a flat iron. Results usually last around three months without any touchups.
Unlike rebonding, relaxers do not remove all curls from your hair. It does smooth frizz and loose hairs.
Pros and cons of chemical hair straightening (hair rebonding and relaxing).
Pros
- The treatment only takes a couple of hours.
- It is the least expensive of the salon hair straightening options.
- Results last for six months.
- New hair growth is less curly from the weight of your straightened locks.
Cons
- The chemicals straighten your hair by damaging the follicle.
- Split ends and breakage are common with chemical straightening.
- Hair loss can occur over time.
- You cannot perm or color your hair after the treatment.
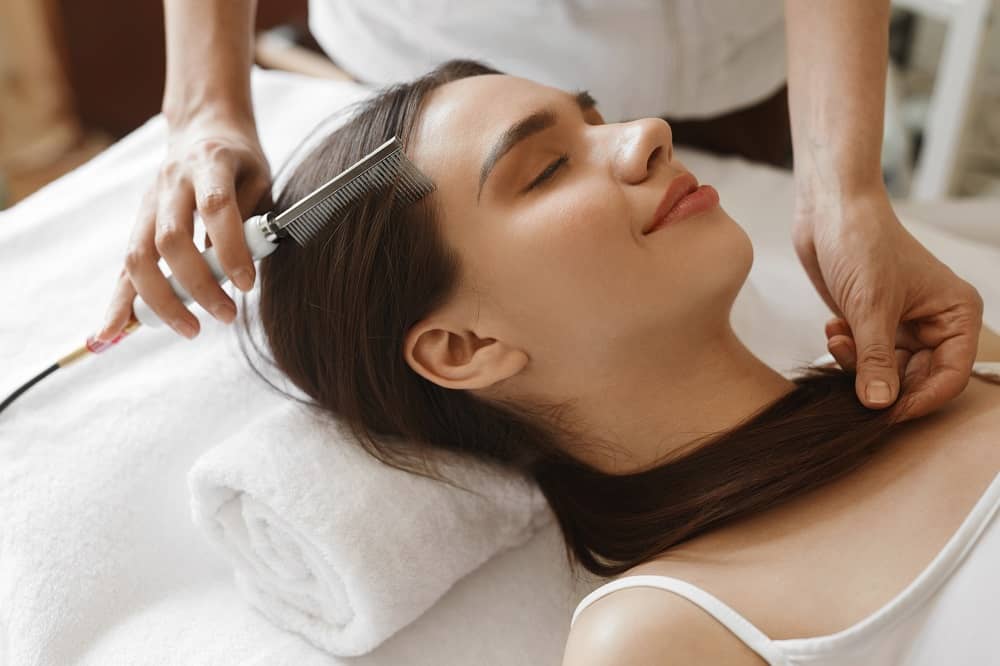
Thermal or Japanese Reconditioning
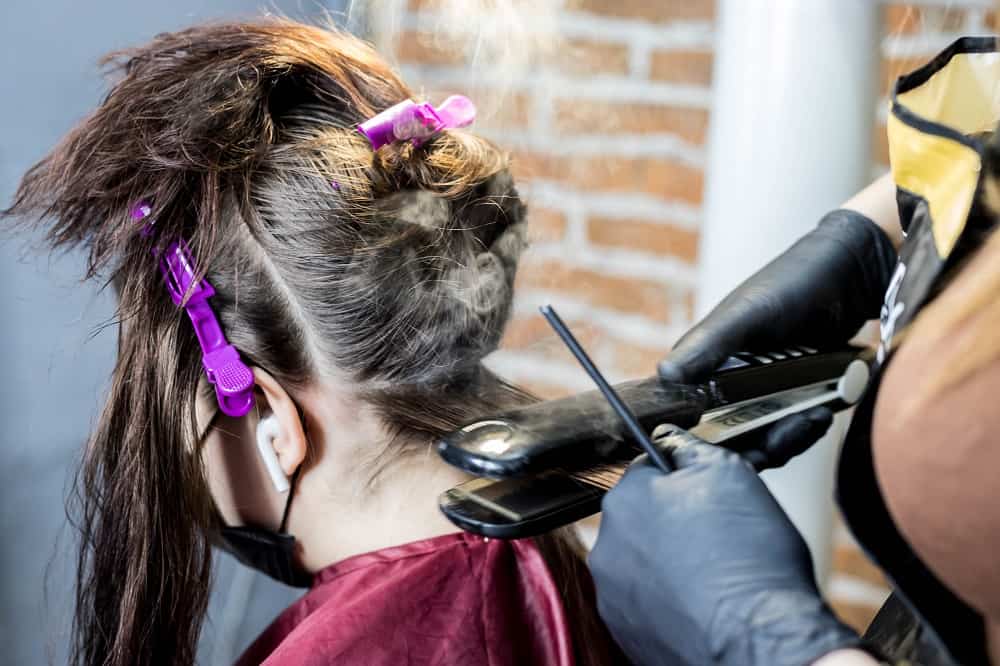
Japanese reconditioning uses heat and chemicals to straighten your hair, similar to rebonding. It is also a multi-step process.
- After washing and separating your hair, a relaxer is applied.
- The relaxer is rinsed out, and heat is applied with a straightening iron.
- Chemicals are reapplied to secure hair bonds.
You must return to the salon in three days for a follow-up treatment that solidifies the hair bonds. Your results will last up to six months, but you may need a root touch-up.
Japanese hair straightening uses a combination of treatments that can leave you silky straight hair but can also damage it.
Pros
- You get straight hair that is easy to maintain
- Results can last over six months
- The attractive straight style is currently in fashion
Cons
- The combination of heat and chemicals damages the hair follicle
- It is an expensive treatment that takes several hours
- Once you have the sleek, straight style, it is hard going back to curly locks
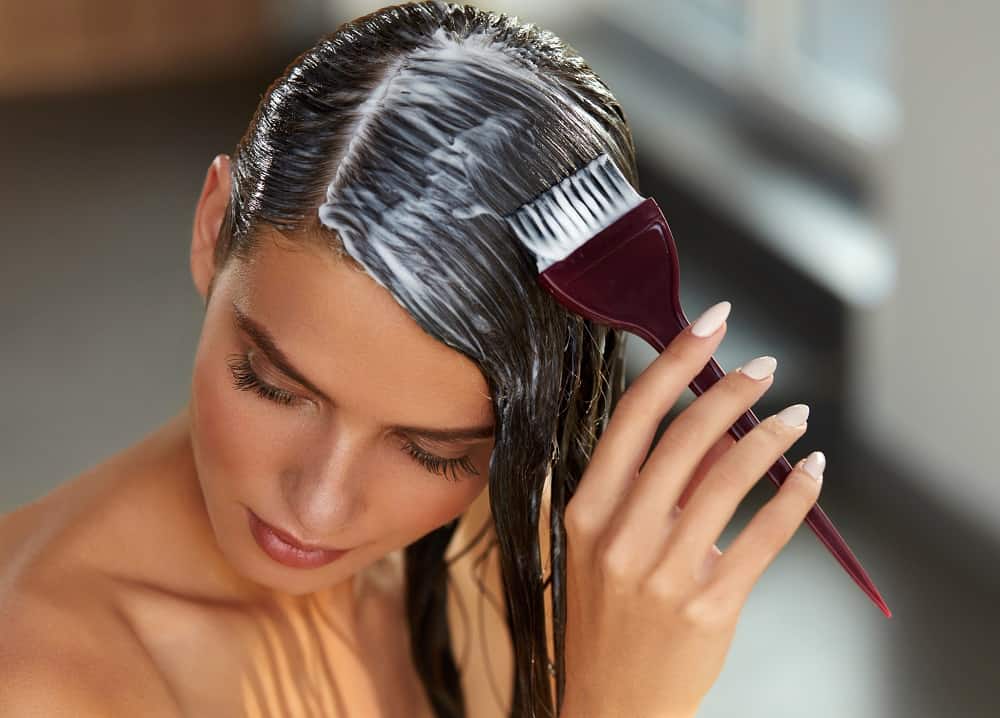
Keratin Treatment
You aren’t going to get perfectly straight locks with a keratin treatment, but it will smooth out frizz and soften tight curls. It is also called a Brazilian blowout treatment. It is gentler on the hair fiber than relaxers, but many keratin and Brazilian blowout products can release formaldehyde gas when heated, so ventilation and a patch test matter.
After your hair is washed and sectioned, a keratin solution is applied, and a flat iron locks it into each strand.
It is an expensive treatment but results last up to six months. Keratin treatments moisturize your hair as it straightens, but the treatment can have a few downsides.
Pros
- Keratin conditions your hair during the treatment helping to smooth frizz and add a healthy shine
- It is gentler on the hair fiber than relaxers, though keratin and Brazilian blowout products can release formaldehyde gas when heated
- The treatment can last up to six months with minimal root treatments
Cons
- The treatment does not entirely straightener your hair
- You may not like how your style looks when your curly roots grow over the straighter bottom half.
At Home Perms
At-home perm kits are inexpensive and easy to find at most drugstores. The chemical relaxer in the kit will soften curls, but they will come back when your hair gets wet. These kits are commonly used with a flat iron for best results.
The least expensive of the permanent hair straightening methods, you get similar results to a salon treatment.
Pros
- The kits are inexpensive, readily available at most drugstores, and easy to use
- Chemicals are less concentrated than at a salon, but at-home kits still use caustic ingredients that can burn skin, irritate the scalp, and damage hair, so patch test first and follow the label exactly.
- Less time-consuming than a visit to the salon
Cons
- Results do not last as long as those from a salon
- At-home kits do not entirely straighten thick or tight curls
- The chemicals can permanently damage your follicles
Hair Styling Tools
You can avoid chemicals and high salon prices using the tools you have at home. Almost every bathroom has a blow dryer. Combined with a round brush, you can straighten and smooth curls.
A hot comb by itself or with a blow dryer is another option. You get a sleek look with a smooth texture.
Electric or hot brushes work great on thick and fine hair. The large bristles heat up to smooth and straighten your hair as it dries.
Pros & Cons
You won’t have to worry about chemicals, but your styling tools can still damage your hair. Heat from flat irons, hot brushes, electric combs, and blow dryers can hurt hair follicles.
The results are temporary. Your straight hairstyle lasts until it gets wet or humidity levels climb too high. You must also incorporate it into your daily beauty routine for straight hair.
Natural Hair Straightening Methods
You can avoid hair damage caused by chemical and heat straightening treatments using one of the following methods.
Natural Hair Straightening Methods Comparison:
| Method | Ingredients | Preparation | Time | Benefits |
|---|---|---|---|---|
| Milk Spray | Dairy Milk | Pour into spray bottle, let sit for 30 min, rinse with cold water | 30 min | Smooths frizz with proteins |
| Hot Oils | Castor oil, Coconut oil | Mix and heat oils, massage into scalp for 15 min, let sit for 30 min, wash off with sulfate-free shampoo using cold water | 30 min | Adds shine, moisturizes, reduces frizz and breakage |
| Egg and Olive Mask | 2 eggs, 3 tbsp Olive oil | Apply mixture, let sit for 1 hour, wash with mild shampoo and cold water | 1 hour | Smooths hair |
| Milk and Honey | 1/2 cup milk, 2 tbsp honey | Mix ingredients, coat hair, let sit for 2 hours, wash off with sulfate-free shampoo and cold water | 2 hours | Reduces frizz, gives smooth style |
| Egg and Rice Flour Mask | 5 tbsp Rice Flour, 1 egg, 1 cup Fuller’s Earth | Combine ingredients, apply to hair, let sit for 1 hour, rinse with shampoo and cold water | 1 hour | Moisturizes and cleanses hair, gives smooth and frizz-free style |
1. Milk Spray
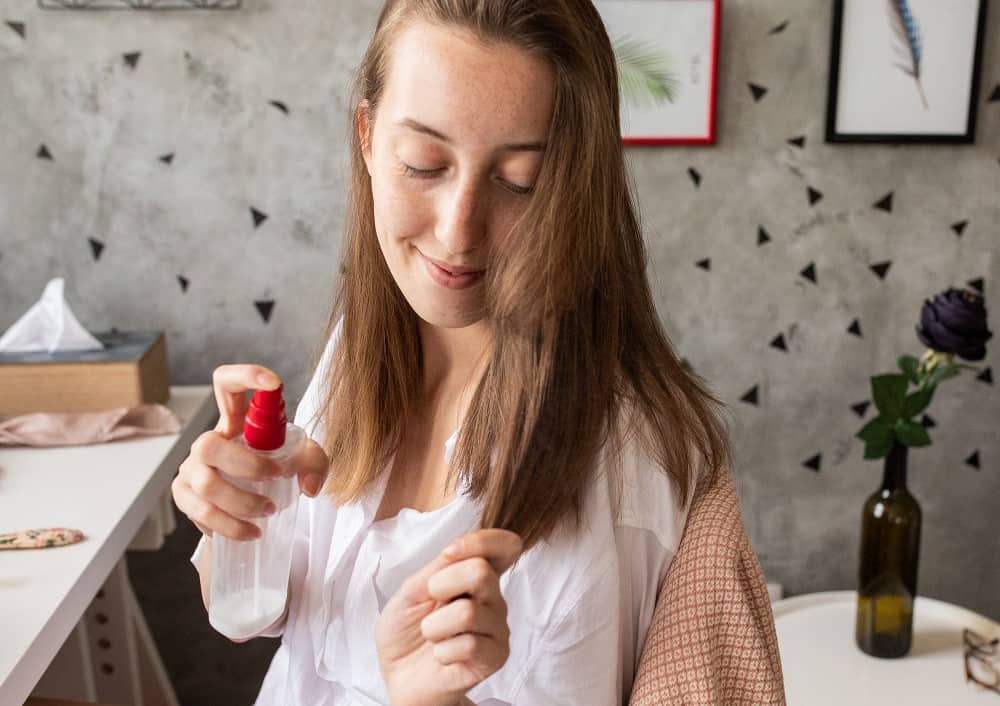
All you need is dairy milk. It doesn’t matter what brand, but milk with a higher fat percentage may give you smoother hair. It contains more of the proteins that smooth frizz.
Pour milk into a spray bottle. You only need enough to cover your hair. Let it sit for thirty minutes before rinsing out. Use cold water to help the proteins bond to your hair.
2. Hot Oils
You need:
- 1 tablespoon of castor oil
- 1 tablespoon of coconut oil
Mix the two oils, heat, and massage them into your scalp. Keep massaging for 15 minutes. You want to ensure the oils saturate all of your hair. If you have thicker hair or longer hair, you may need to double the ingredients.
Let the oils sit for thirty minutes and wash off with a sulfate-free shampoo. Try to use cold water. It helps with tightening the bonds.
Coconut oil moisturizes your hair, reducing frizz and breakage. Castor oil adds shine while also smoothing your hair.
3. Egg and Olive Mask
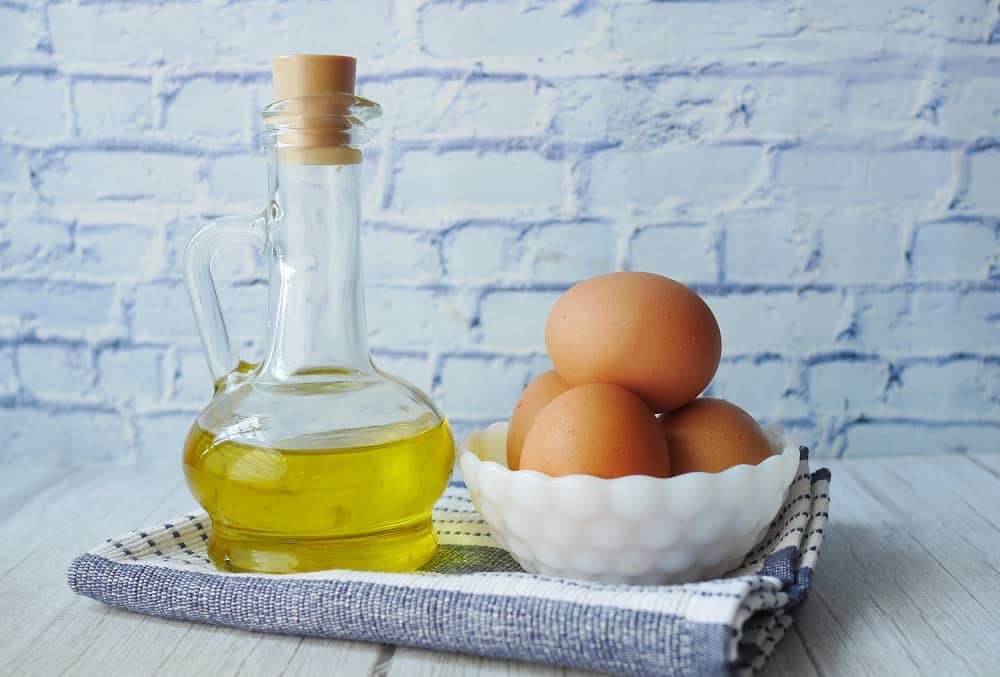
You apply face masks, so why not use one on your hair? You can have smoother hair with two eggs and three tablespoons of olive oil.
Let the mixture soak into your hair for about an hour before washing in cold water with a mild shampoo.
4. Milk and Honey
The method is a little messy. You want to have plenty of towels ready. Get together,
- 1/2 cup of milk
- 2 tablespoons of honey
Mix the eggs and honey and coat your hair. Leave the mixture for two hours before washing off with a sulfate-free shampoo. Use cold water to preserve the proteins bonded to your hair. It reduces frizz and gives you a smooth style.
5. Egg and Rice Flour Mask
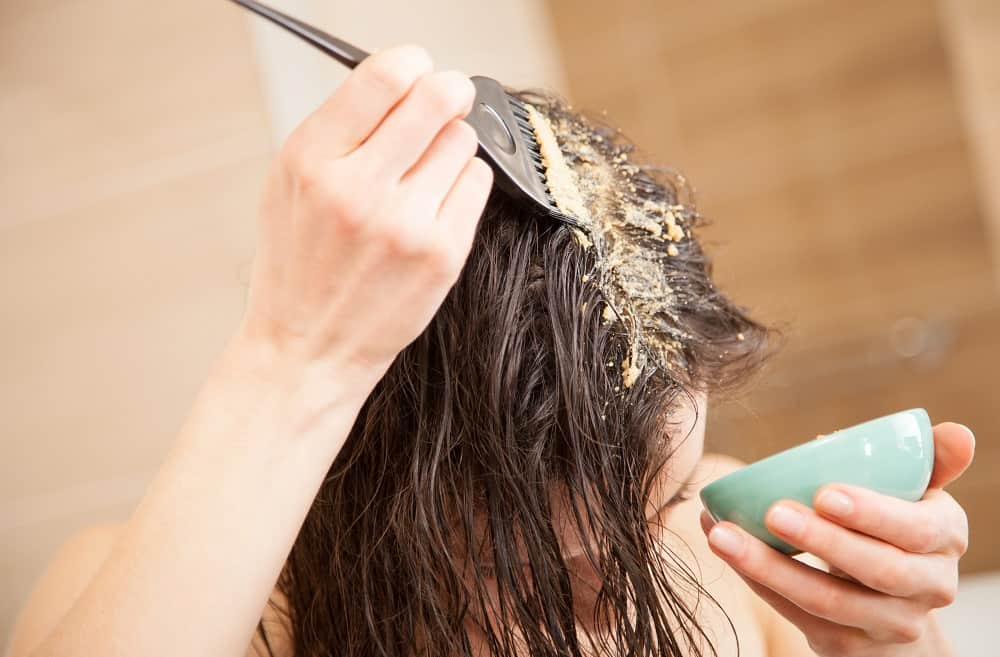
To make this nourishing hair straightening mask, you need
- 5 tablespoons of rice flour
- 1 egg
- 1 cup Fuller’s Earth
Combine all of the ingredients and apply the mixture to your hair. Let it sit for one hour before rinsing it out with shampoo and cold water. The mix moisturizes and cleanses your hair for a smooth, frizz-appear style.
Not everyone has Fuller’s Earth, a clay-like material at home. You can find it online and at most beauty shops and natural health stores.
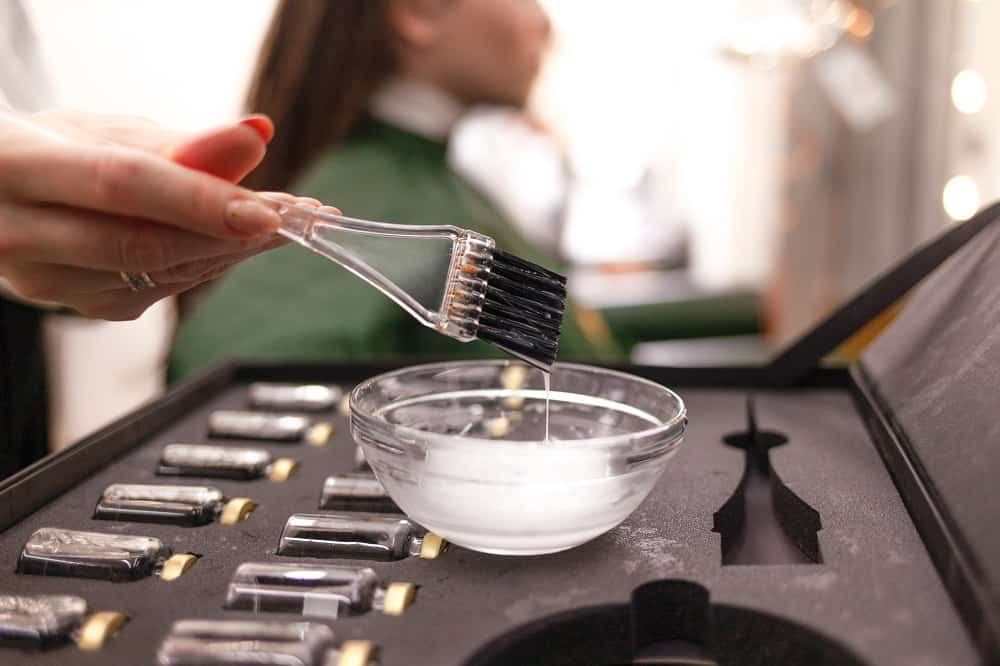
Hair Straighteners and Potential Side Effects
Chemical Hair Straightening
Chemistry varies by product. Traditional relaxers use lye (sodium hydroxide) or thio-based chemicals, not formaldehyde. Formaldehyde and formaldehyde-releasing ingredients are mainly a concern with keratin and Brazilian blowout smoothing treatments, which can release formaldehyde gas when heated with a flat iron. Formaldehyde is classified as a carcinogen, and the fumes can cause side effects.
Inhaling the chemical fumes as the solution is applied to your hair can result in respiratory issues. Your nose and eyes may become irritated, along with your scalp. If you experience any of these side effects, stop the treatment and rinse the chemicals out of your hair.
Before you change the shape of your hair, take a minute to look over the advantages and potential downsides. You don’t want to make the wrong choice when it comes to your hair.
Natural Hair Straightening Methods
Using natural methods for hair straightening has its advantages. Most of the ingredients are in your kitchen. It’s inexpensive, chemical-free, and improves the health of your hair.
Unfortunately, these methods are temporary and do not fully straighten your hair. Instead, they smooth frizz and flyaway strands giving you a sleeker, more manageable style.
Summing Up
When it comes to types of hair straightening methods, you have plenty from which to choose. Each has its advantages and downsides.
The suitable method for you depends on the style you want and the amount of damage you want to do to your hair.
You get the best and longest-lasting results with chemical treatments. They are also the most expensive and damaging to your hair. At-home kits do the same amount of damage with fewer results, but it is an inexpensive semi-permanent option.
Styling tools do the least damage to your hair for temporary results. Natural methods improve hair health, but they do not straighten curly hair.
It comes down to how much time and money you are willing to spend to straighten your hair.