
A ballerina bun is one of those styles that always looks intentional. It can read polished at work, elegant at a wedding, or stage-ready for a recital. The key is not “tightness.” The key is clean sectioning, the right brush, and pins that actually hold.
Before you choose a bun style below, learn the basic build first. Once you have the mechanics, every variation becomes easy.
Step by Step Process to Get A Ballerina Bun
- Start on dry or lightly damp hair. Apply a small amount of lightweight smoothing serum to the mid-lengths and ends. Then gather all of your hair into a ponytail at your chosen height.
- Secure the ponytail with an elastic. Keep it firm but not painful. Smooth the ponytail with a brush or comb so the ends are neat and tangle-free.
- Slide the ponytail through the hole of your sock bun or hair donut. Push the donut down so it sits at the base of the ponytail.
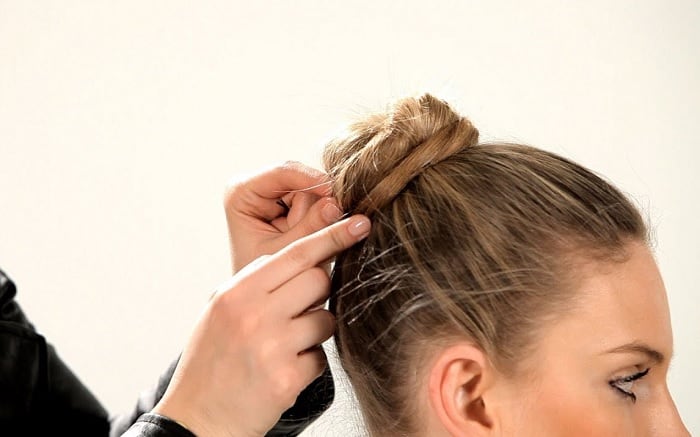
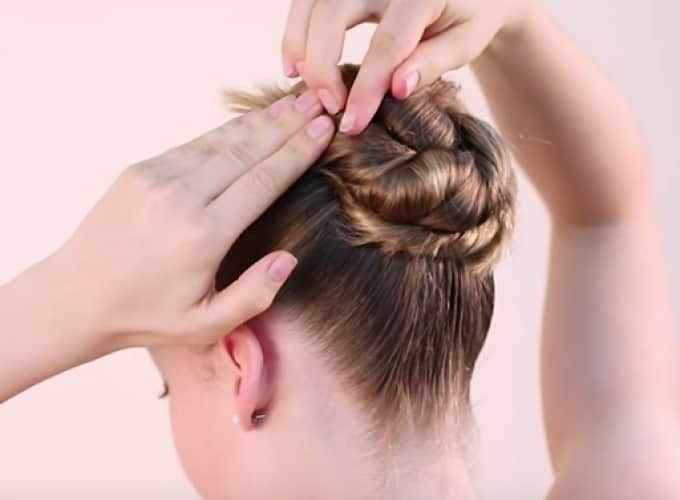
- Spread the ponytail evenly over the donut so it is fully covered. Secure with a second elastic. Wrap the remaining ends around the base and pin them in place with bun pins.
Tips to Hold The Bun into Place
- Use U-shaped bun pins (also called French pins) instead of flat bobby pins. U-pins grab more hair and anchor the bun without crushing it.
- Pin in a “lock” pattern. Slide the pin into the bun, catch a small bit of scalp hair, then turn the pin back into the bun.
- For dance recitals or stage, wrap a fine-mesh hairnet that matches the hair color over the bun, then secure it with U-pins. This is the pro trick for zero flyaways.
- If your bun feels heavy, add one more elastic over the base before pinning. This boosts grip without needing extra tension on the scalp.
Ballerina Bun Updos
Now pick the bun that matches your hair texture, your event, and how much time you want to spend styling.
1. Effortless Hand-Smoothed Ballet Bun
This is the classic “no donut” bun. Smooth your hair into a high ponytail, twist the length into a tight coil, then wrap it around its own base. Pin the coil down with U-pins, then smooth baby hairs with a small brush and a touch of gel if needed.
- Ideal For: Medium to thick hair that holds shape easily.
- Occasions to Wear: Office days, yoga class, casual brunch.
- Who Should Try: Anyone who wants a fast, 3-minute bun with minimal tools.
2. Elegant Side-Parted Bridal Bun
Start with a deep side part. Before you secure the ponytail, leave out a 1-inch face-side section. Build the bun, then wrap that loose section around the base to hide the elastic and finish the look cleanly.
- Ideal For: Long, straight hair or softly waved hair.
- Occasions to Wear: Weddings, galas, black-tie events.
- Who Should Try: Brides and bridesmaids who want a timeless bun that supports a veil.
3. Classic Low Chignon Ballet Bun
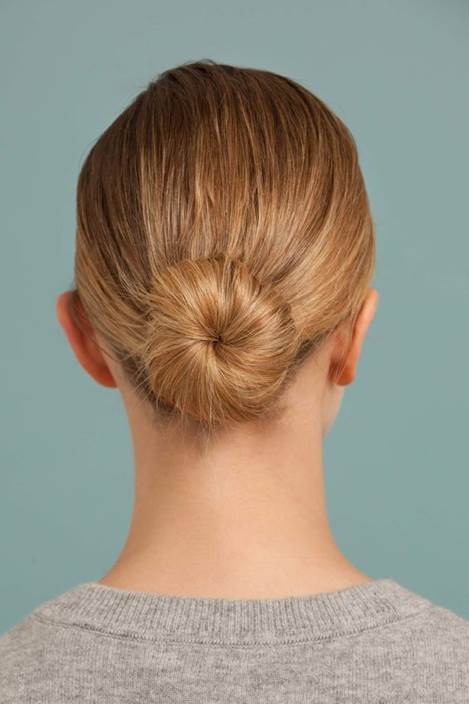
Brush hair sleek with a boar bristle brush and a lightweight smoothing serum, then secure a low ponytail at the nape. Twist the ponytail into a coil, wrap, and pin. This placement looks polished and feels gentler than a very high bun.
- Ideal For: Medium to long hair, especially straight or relaxed textures. (Adding this makes it consistent!)
- Occasions to Wear: Corporate meetings, formal dinners, ballet class.
- Who Should Try: Anyone who wants a sleek look with less scalp tension.
4. Soft & Romantic Wispy Ballet Bun
Secure a bun as usual, then gently pull soft, face-framing tendrils loose around the temples and ears. After the bun is pinned, lift the roots lightly with your fingertips for softer volume. Keep the bun anchored, but let the finish look relaxed.
- Ideal For: Wavy or curly hair with natural body.
- Occasions to Wear: Date nights, garden parties, weekend outings.
- Who Should Try: Anyone who finds ultra-slick buns too harsh on their face.
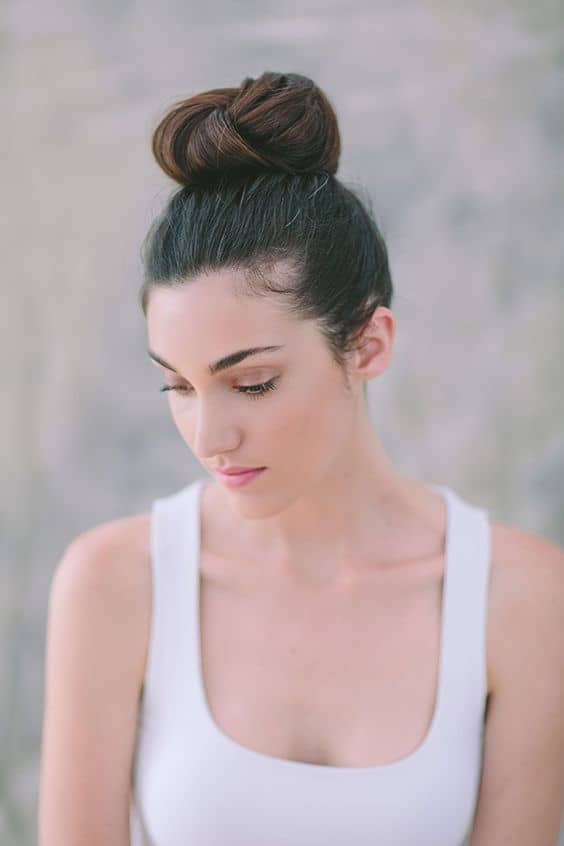
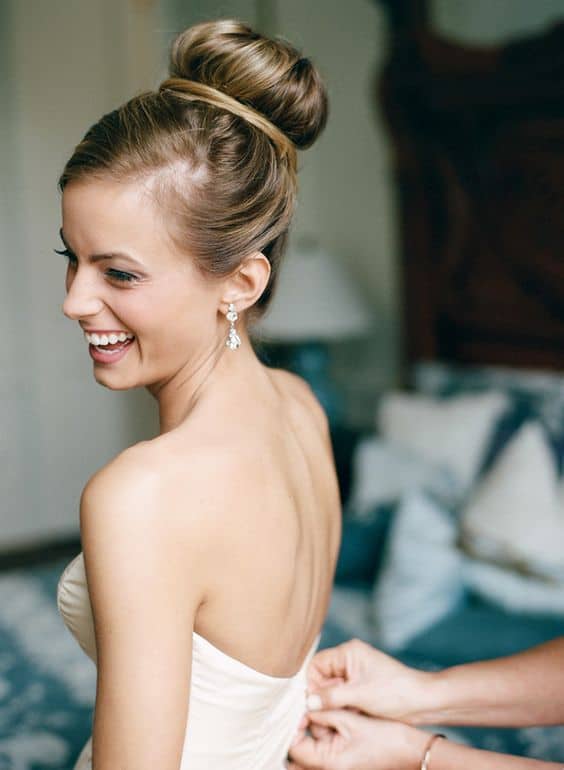
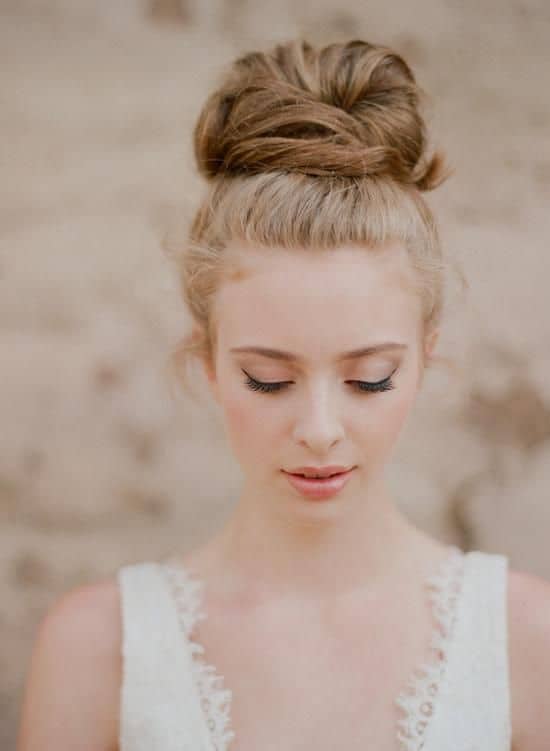
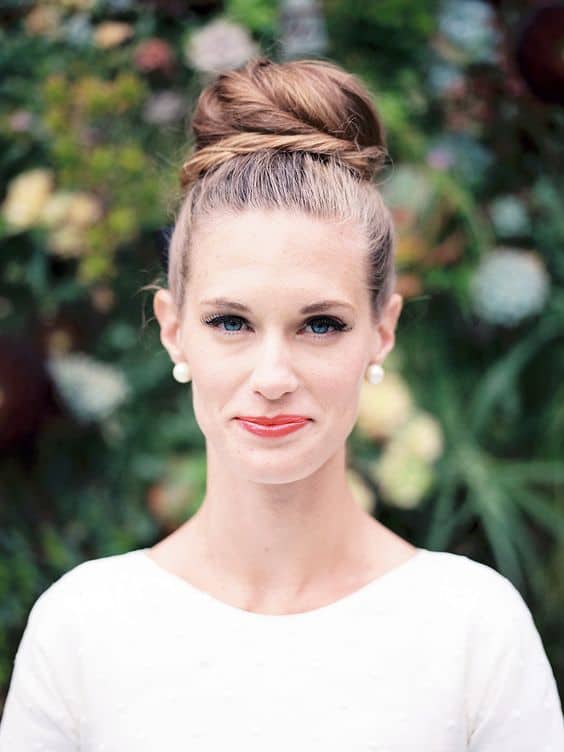
5. Voluminous Red Carpet High Bun
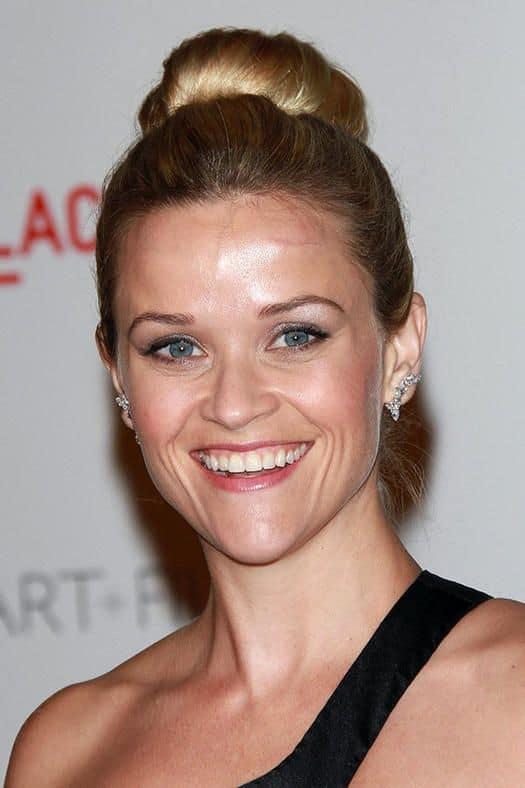
This look is all about placement and volume. Build a high ponytail at the crown, use a large donut for fullness, then wrap the ends neatly and pin. A high bun draws the eye upward, which highlights cheekbones, bone structure, and statement earrings.
Keep the ponytail firm, not painful. A too-tight base can cause headaches and stress the hairline over time.
- Ideal For: Fine hair, or anyone using a large donut for size.
- Occasions to Wear: Prom, formal parties, photo-heavy events.
- Who Should Try: Anyone who wants a dramatic, high-fashion silhouette
6. Texturized Lived-In Ballet Bun
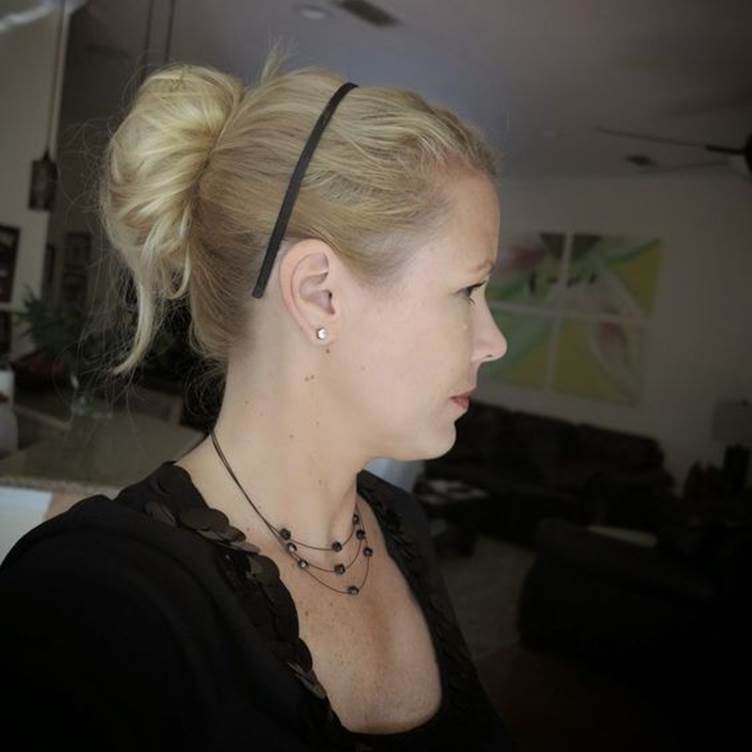
Prep the lengths with dry shampoo or texturizing spray, then gather hair at the mid-crown. Twist, wrap, and pin. Once it is secure, loosen a few outer sections to show texture and make the bun feel effortless.
- Ideal For: Layered hair or fine hair that needs grip.
- Occasions to Wear: Everyday wear, travel days, shopping trips.
- Who Should Try: Anyone who wants a “cool girl” bun that does not look too perfect
7. Flawless Recital Donut Bun
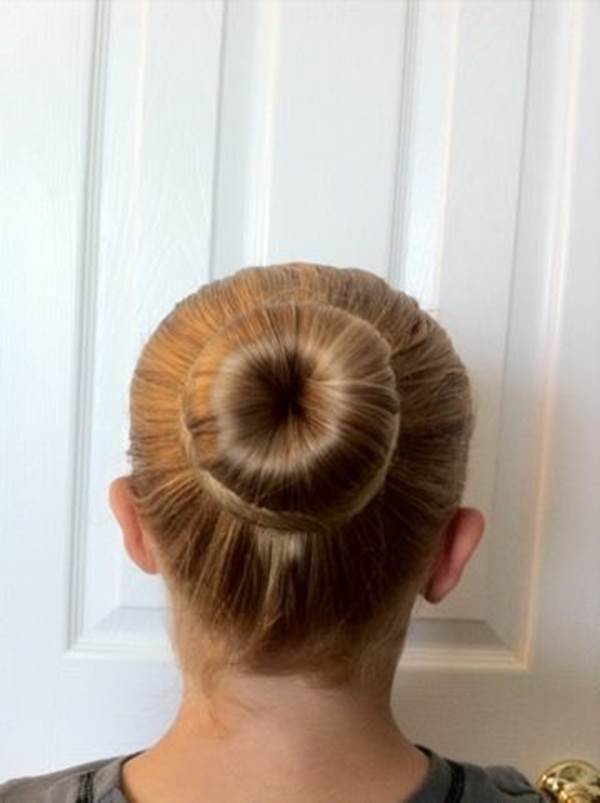
For stage, build the bun with a donut so it stays round and symmetrical. After the bun is finished, wrap a fine-mesh hairnet over it, then secure it firmly with U-pins. Finish with a light mist of hairspray to lock in flyaways.
- Ideal For: All hair types, since the donut creates shape.
- Occasions to Wear: Dance recitals, gymnastics meets, stage performances.
- Who Should Try: Dancers, athletes, or parents who need a bun that will not move.
8. High-Gloss Slicked-Back Bun
Apply high-hold gel to damp hair, then brush it into a high ponytail until the surface is smooth and glossy. Twist the ponytail tight, wrap it into a bun, and pin. If your hair is very long, wrap the last few inches around the base for a thicker finish.
- Ideal For: Second-day hair or hair that frizzes easily.
- Occasions to Wear: Hot summer days, events, photo shoots.
- Who Should Try: Anyone who loves a clean, sculpted “wet look” bun.
9. Geometric Perimeter Elastic Ballet Bun
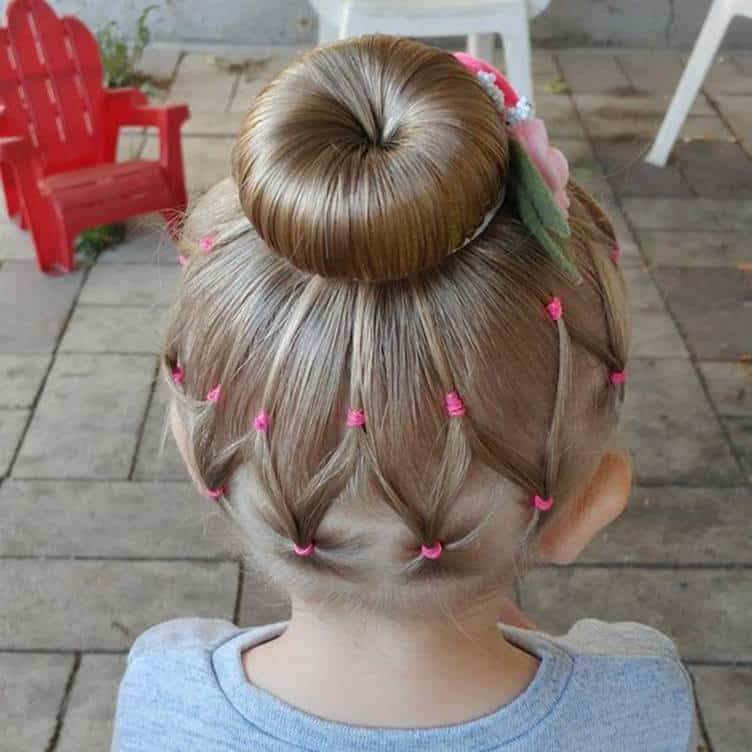
Create small, clean sections at the front using a rat-tail comb. Secure each section with mini elastics to form a simple grid or starburst pattern. Gather the ends into a ponytail, then wrap into a bun and pin. Add a ribbon if you want a finished, recital-ready touch.
- Ideal For: Fine to medium straight hair.
- Occasions to Wear: School days, spirit weeks, kids’ dance class.
- Who Should Try: Parents who want a fun style that stays neat for hours.
10. Double Cornrow Protective Ballet Bun
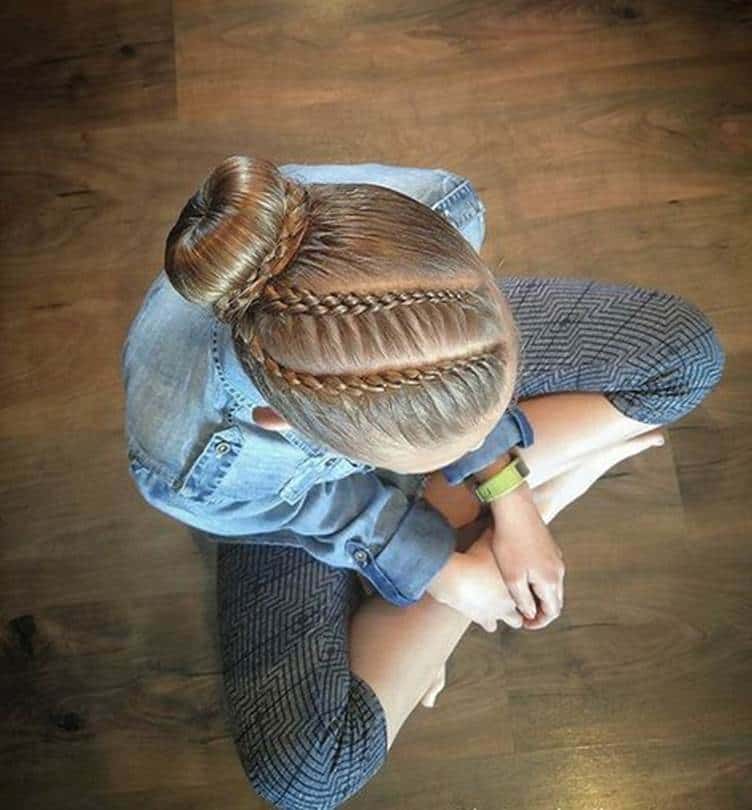
Create two cornrows that braid up toward the crown. Feed the braids into a ponytail. Then coil the loose ends into a bun and pin. If you want extra size, use a donut, but build the bun from the ponytail length so the cornrows stay visible and the style makes sense.
- Ideal For: Type 3 and Type 4 hair, and thick or coarse textures.
- Occasions to Wear: Workouts, travel, daily protective styling.
- Who Should Try: Anyone who wants a neat style that protects ends and lasts for days.